
How To: Brew Beer, Day 1
- By Captain DIY
- •
- 25 Sep, 2017
- •
Disclaimer-Captain DIY and DIYtoFI.blog highly recommend exercising extreme caution when attempting DIY projects. Not everybody can do everything, and some things should only be done by professionals. Keep your digits attached, and keep the insurance company off of your back. Do it right or call the right people!

Mmm, delicious, wonderful, life-giving beer. On a hot summer day, or a cold winter night, there is always time for beer. The problem is, good beer is expensive, and cheap beer isn’t good. What is a FIREwalker (someone on the path to FI) to do?
You could eliminate your car insurance and use that money to pay for beer, but that could end up backfiring, especially if you put the two together. You could get a job in a bar and hope for free beers as a benefit, but then you have to go to work to drink beer. No thanks.
If you want to be like Captain DIY, and I’m sure you do, you will find a way to Do It Yourself. Brew your own darn beer! I recently took this plunge myself, and I am elbows deep in wort and learning. Today begins the chronicling of my foray into the delicious and a little bit smelly world of brewing beer.
I purchased a beer brewing kit at my local home-brew store for $100. This includes all of the tubes, thermometer, specific gravy reader, sanitizer, fermenting bucket, carboy, and detailed instructions. I realizing going and buying the kit new is not particularly Mustachian
of me, but I couldn’t find anything on Craigslist.
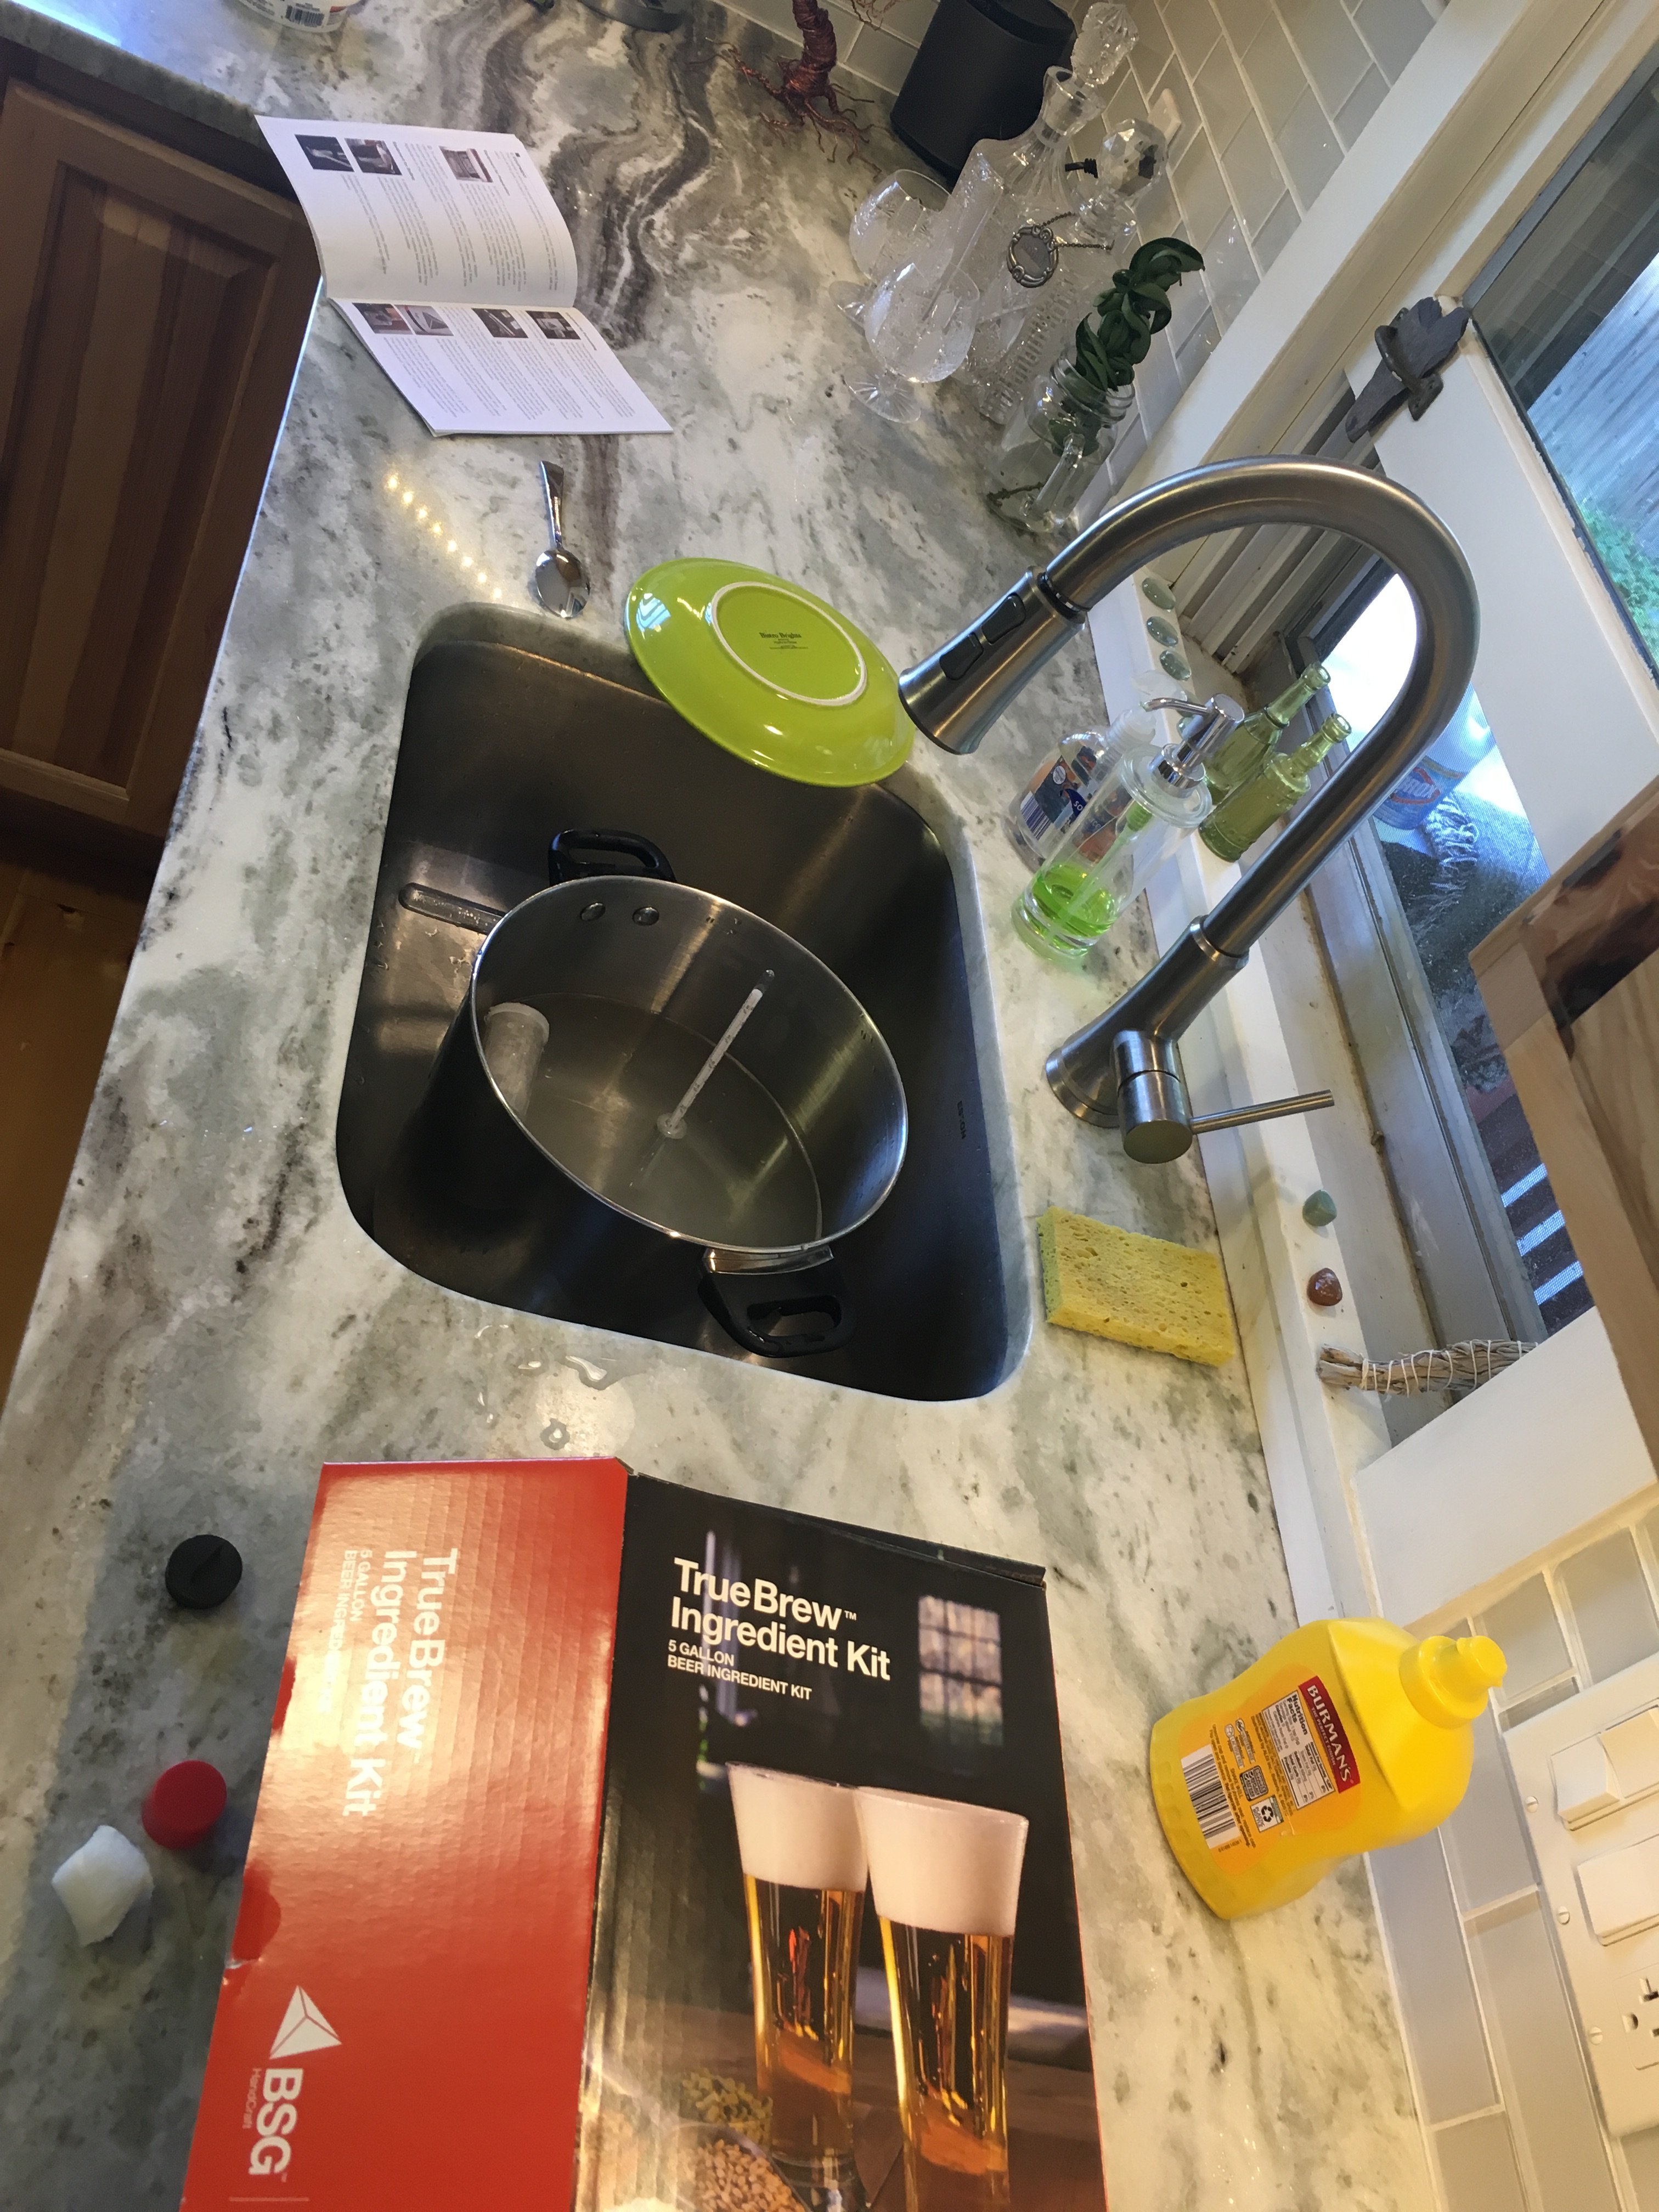
While I was there I picked up a TrueBrew ingredient kit to brew Oktoberfest. I have a positive relationship with Oktoberfest beers, and the guy at the store said it was a fairly easy type to brew. Tip: don’t start with an IPA, as they are notoriously difficult to get right.
Once I giddily unpacked everything and read through the instructions (Captain DIY is a fan of reading instructions, especially if you want your project look anywhere near what it’s supposed to), it was time to start sanitizing. I mixed a bit of sanitizing cleaner and warm water in a large pot and let everything soak for about 15 minutes. After the main boiling pot had been thoroughly cleaned and sanitized, I put about two gallons of water in and put it on the stove. Then I sat down and read a book while I waited for my electric stove to boil two gallons of cold water.
My ingredients kit came with specialty malts and a cheesecloth pouch, which I was instructed to combine and steep in the water (maintaining 155 degrees) for 15 minutes. Once that was done I pulled the malt out of the water and fed it to my chickens while I cranked up the heat to bring the water to a rolling boil. So far, I was about one hour into the process. Slow going, but this is my first time.
As I had finished my book, it was time to check and see if the water had reached boiling yet. Once it had, I poured in the liquid malt extract (tip: let the can sit in hot water for 15 minutes or so before you need to pour it so it has a chance of actually pouring. Otherwise it’s like chasing a mudslide of molasses on a cold day, as my pappy used to say) and followed that with the dried malt extract. I set a timer for one hour and let it roll at a boil will I stirred occasionally as I felt needed.
According to the package of hops that came in the kit, I was to install them into the wort (this is what industry experts such as myself call the liquid that will become beer) 45 minutes before the boiling process was complete. So, 15 minutes into the boil I dumped those suckers in there. Be prepared for some serious foam when you add the hops, apparently there is quite a reaction when they join the party.

At this point I should mention, anything that will come into contact with the brew should be sanitized regularly. I found out after the fact that having a large pot filled with sanitizing solution nearby is very handy, and will save many gallons of water. I should also mention it is highly recommended you take detailed notes as you go along so that you may replicate or change next time you brew.

45 minutes later I was ready for action, especially since Mrs DIY and one of the junior DIYlettes had left to go the family party we were all supposed to be at a half hour ago. Whoops! Apparently this process takes a little longer than I had anticipated.

As soon as the boiling process is done, the wort must be cooled down to around 100 degrees as quickly as possible. I had some ice in the freezer and a sink full of cold water, but that was woefully inadequate and I ended up filling the tub with cold water. It still took way longer than I hoped. After it cooled down a bunch I dumped it out of the boiling pot and into the primary fermentation bucket. This is a food grade bucket with approximately six-gallon capacity, and I filled it with cool water (always use water you are willing to drink-if you don’t drink it don’t brew with it) up to the five-gallon mark. I thought this would cool it quick, but alas I was again left waiting while the unspoken pressure from across town mounted.
Finally (finally!) it dropped below 80 degrees. This is when the yeast can be added without suffering damage or even death. After the yeast was added and lightly stirred in with just a spin or two of the spoon, I sealed the top and added the little gas release machine that allows gas to escape without letting air in. I really wish I could remember the name of it, that would make me sound a lot more official.

That’s it. The bucket is now sitting in my basement where it can be away from sunlight and sit comfortably at a constant temperature of around 60 degrees for a week or so until it has been three to four days without bubbling. Rest assured there will be an update to follow with more comprehensive photos and even more obfuscuous explanations.
Total cost: $100 for kit, $50 for ingredients
Check out the next step here.