
How To: Make Adjustable Dumbbell Handles for Less Than $13!
- By Captain DIY
- •
- 08 Nov, 2018
- •
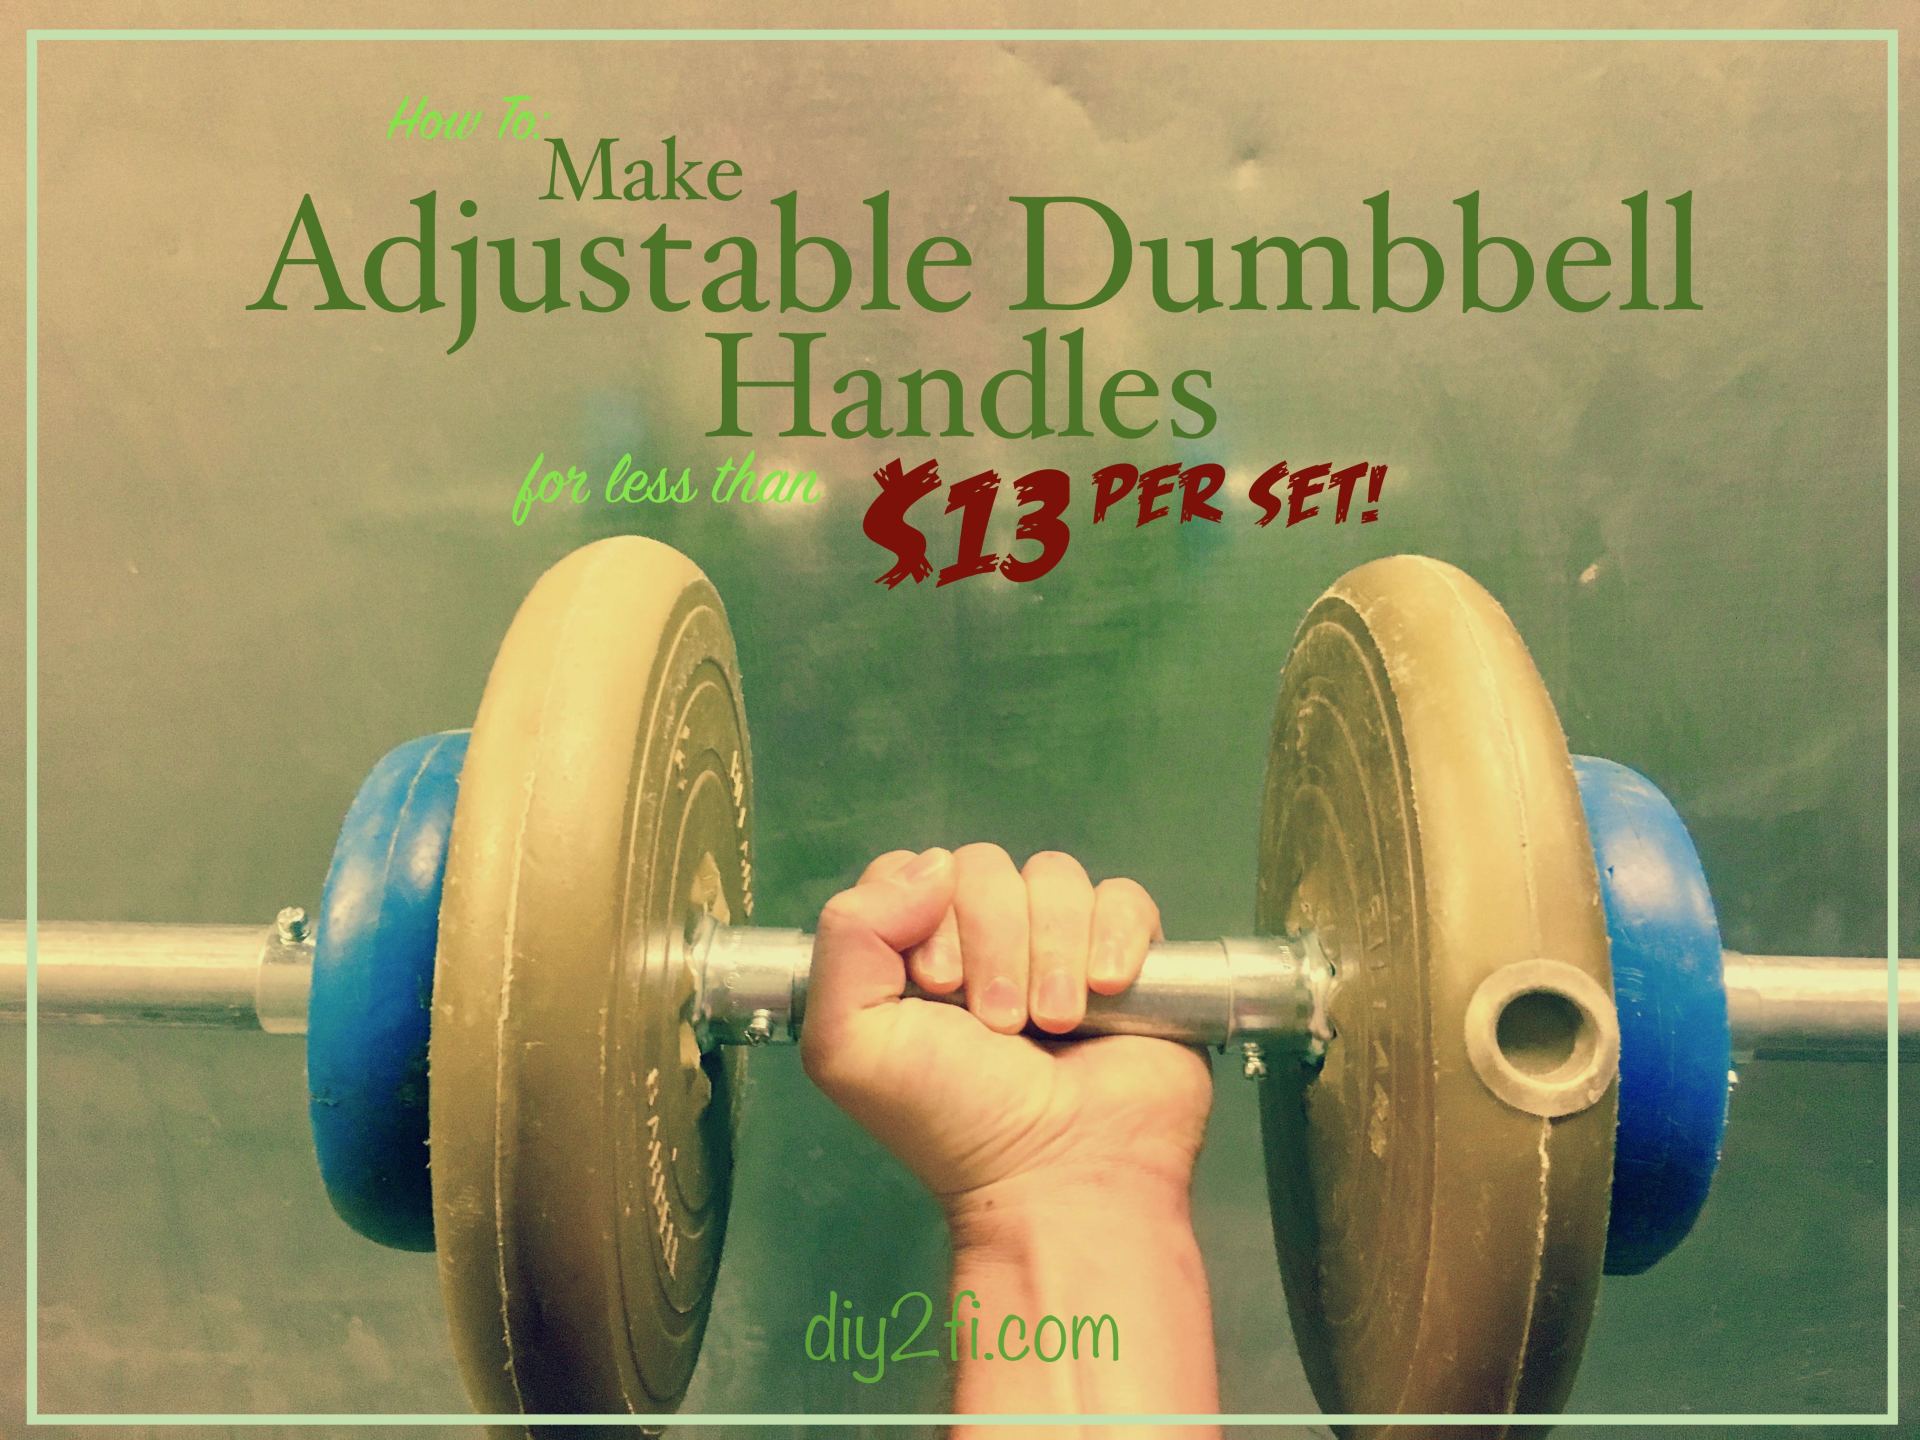
It’s been a little while since we got into a Fit To FI segment, but that is about to change with this quick and easy DIY Dumbbell Set! No need to rub sweaty elbows with the stinky masses at the gym when you can build your own gym at home! Let’s get started!
In the interest of full disclosure, I am recommending you use a different size pipe for your project, as I found that not all of my weights fit on the 1 inch pipe that I used.
In the interest of full disclosure, I am recommending you use a different size pipe for your project, as I found that not all of my weights fit on the 1 inch pipe that I used.
What You'll Need
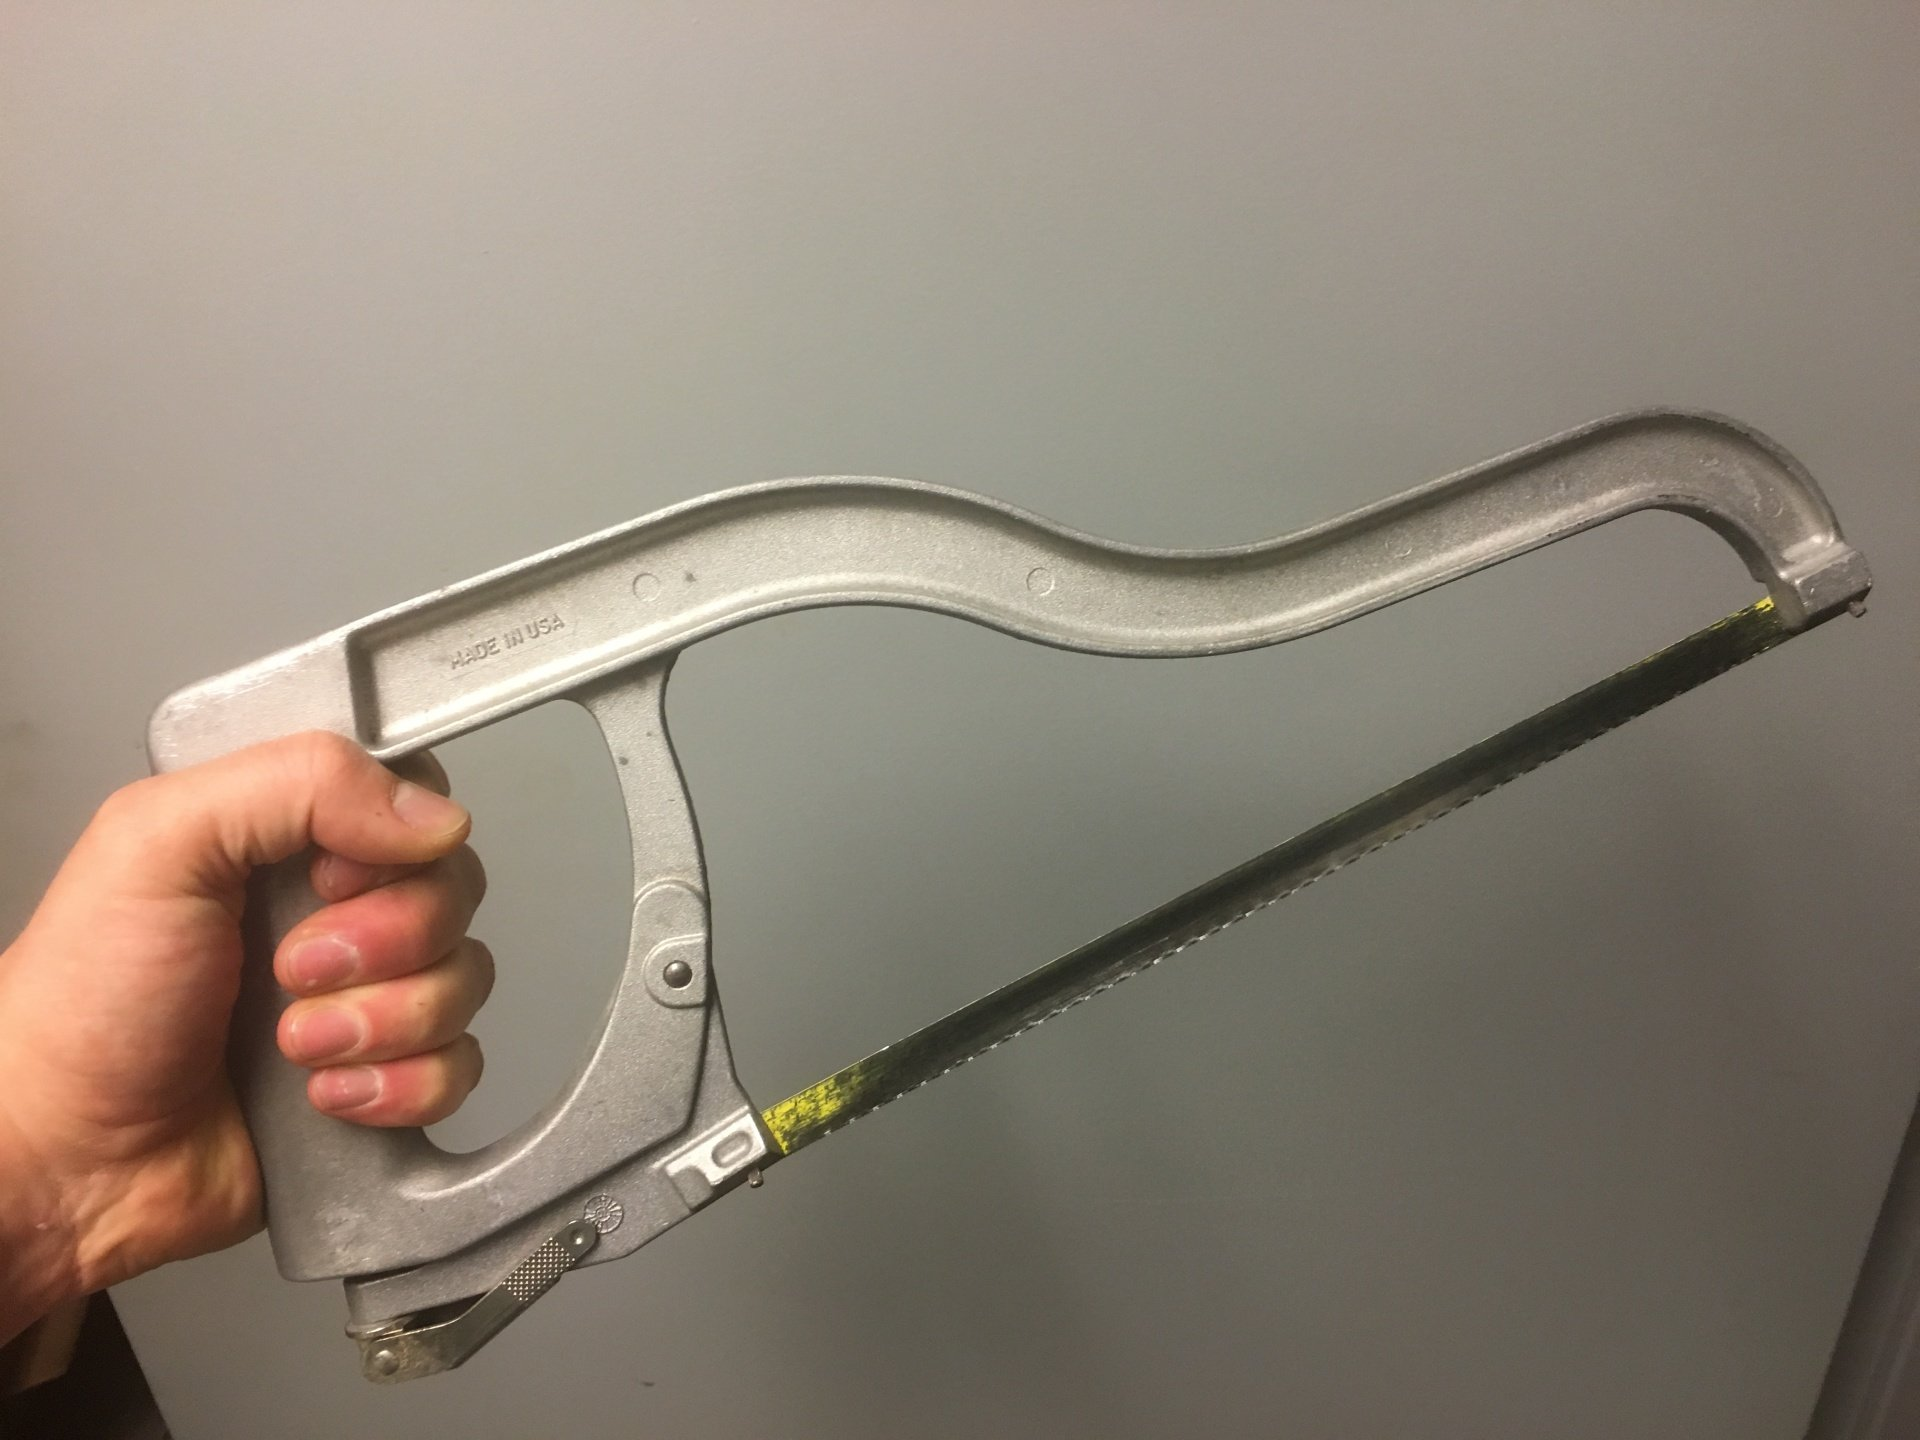
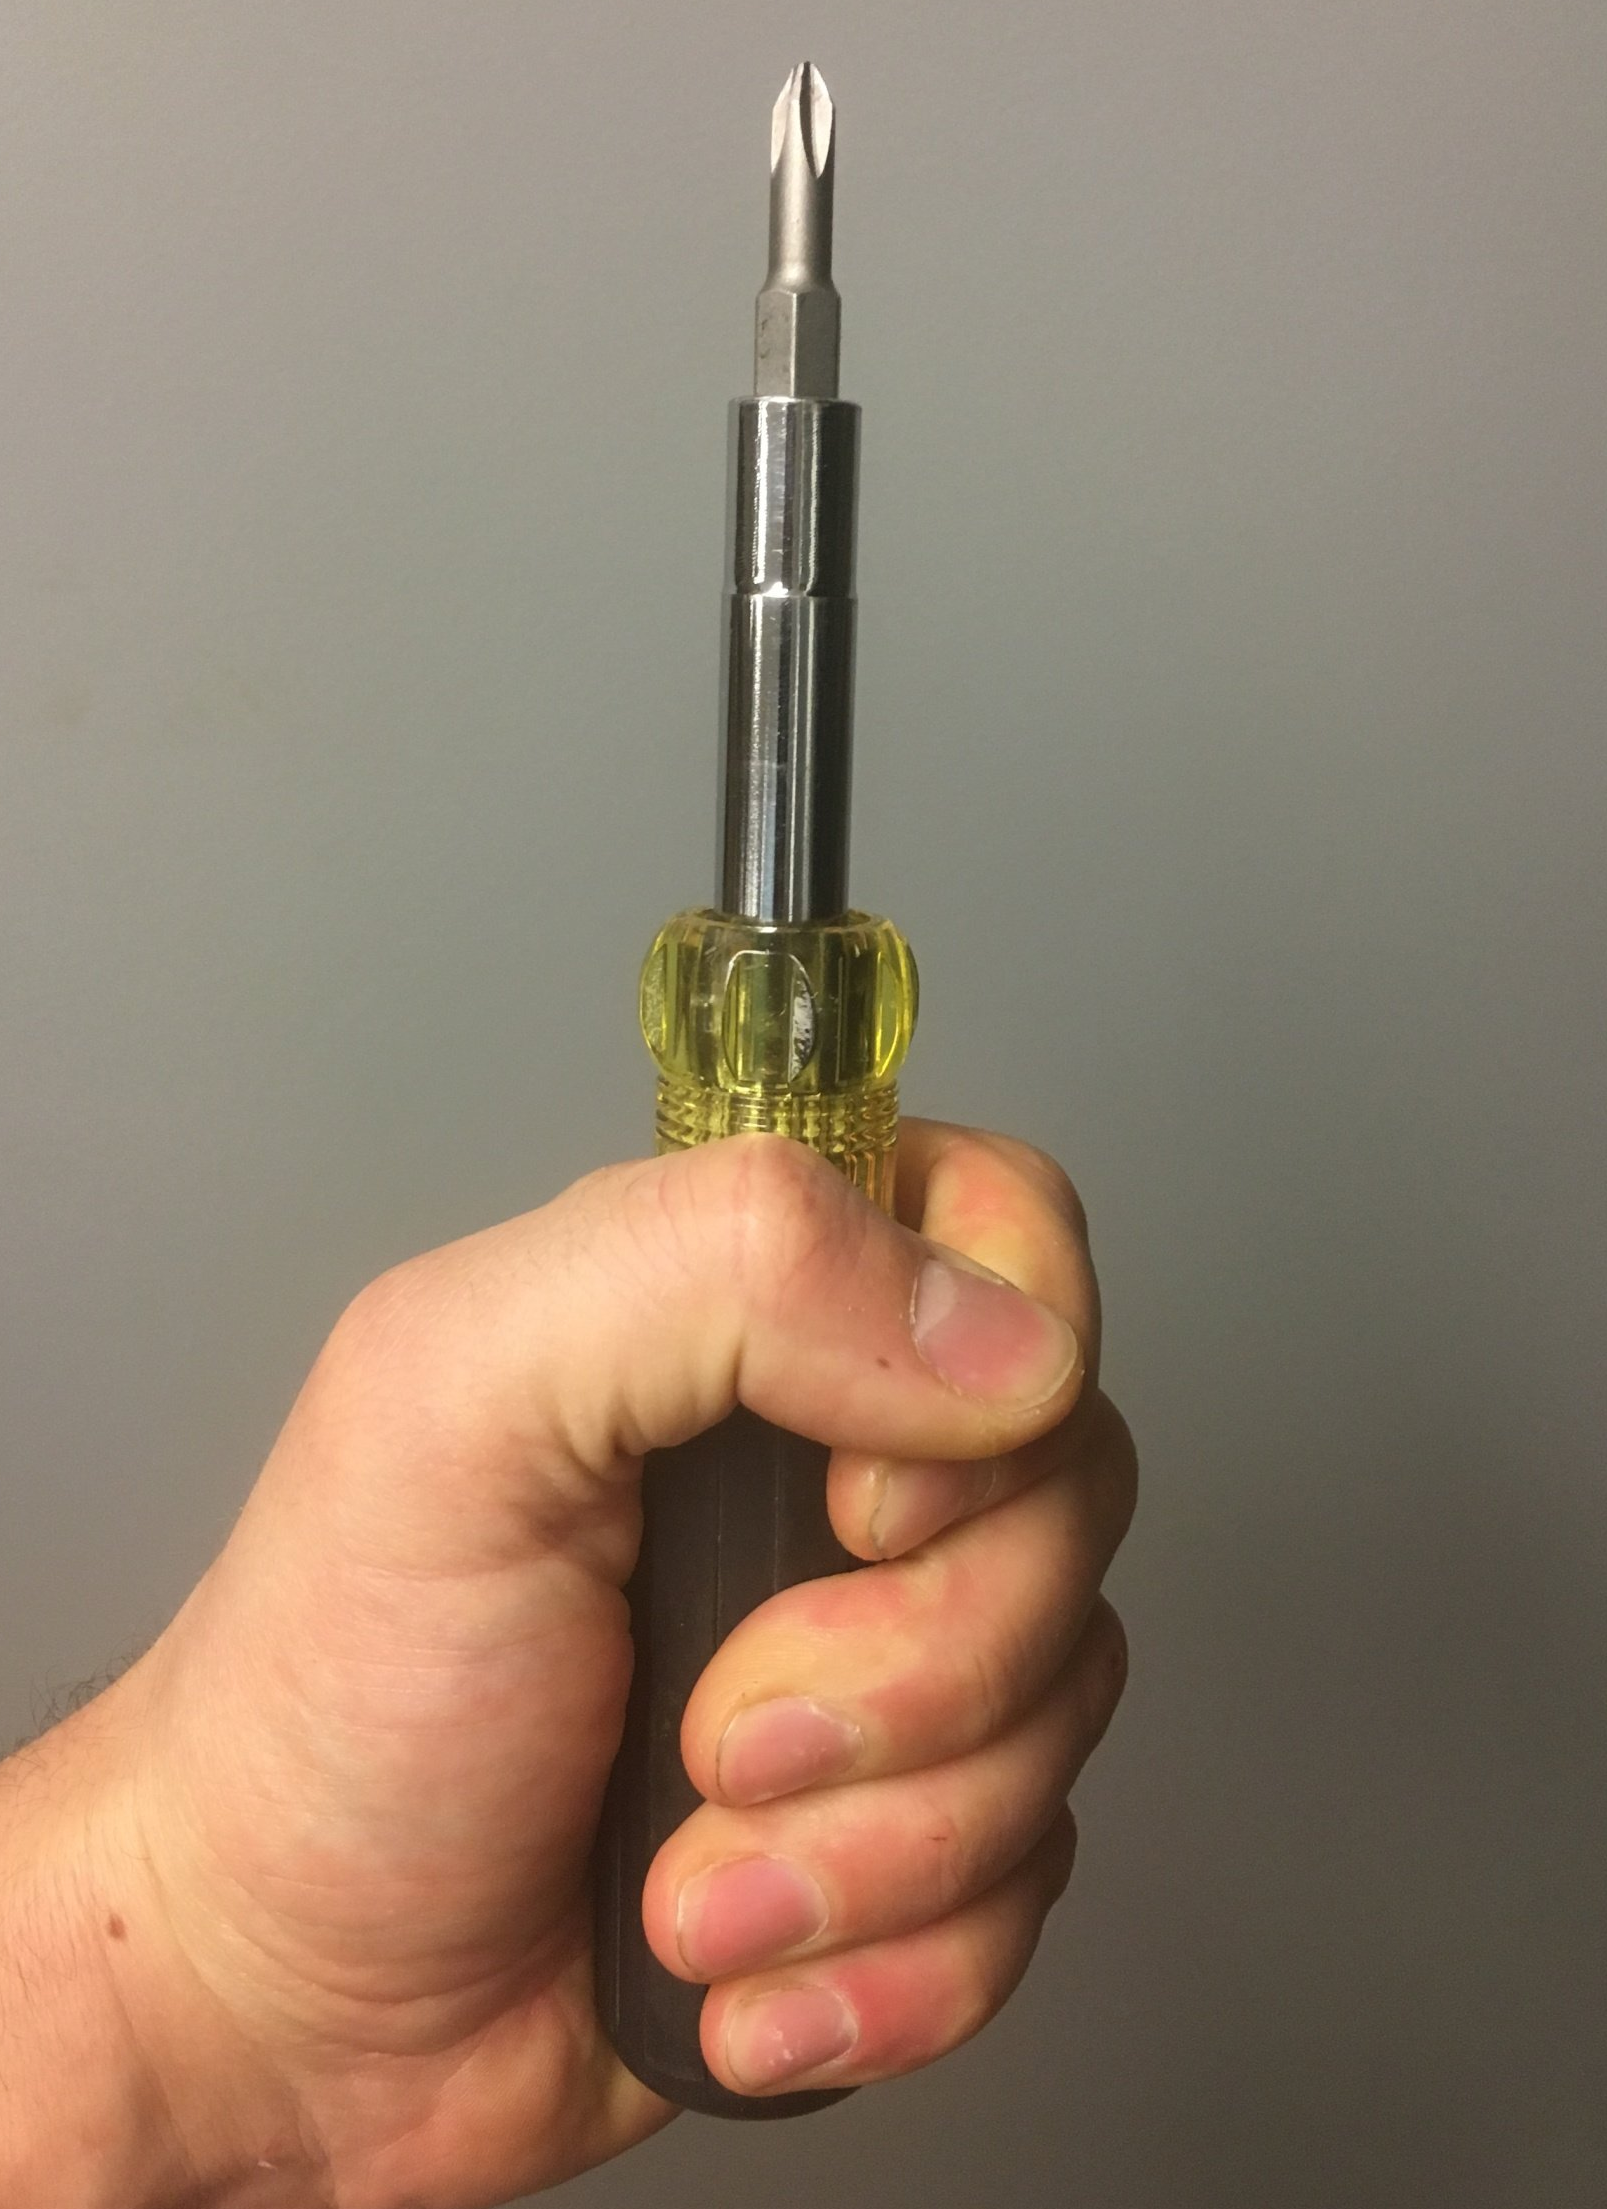
You’ll need a hacksaw and a screwdriver for tools.
You only need two different parts to build these, and here they are:
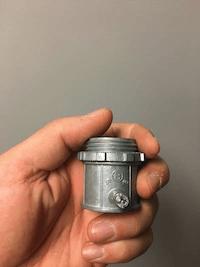
Three-quarter-inch EMT (Electrical Metallic Tubing) connectors - the dreaded Big Box Hardware Store sells these in 5-packs for just under $3, and for two dumbbell handles you’ll need a total of eight.
One piece of three-quarter-inch EMT. This comes in a ten-foot length, but you’ll only need about three feet of it. If they sell smaller sections, grab one of those instead.

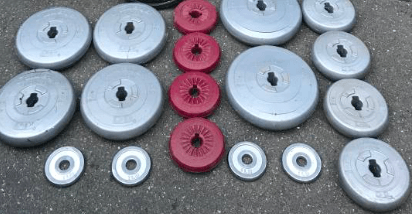
And that’s it! Of course, you’ll need weights as well, but this is just an article about making the handles. I found a huge pile of these crappy concrete-filled plastic weights on Craigslist for super cheap.
On to the Build
The first thing we are going to do is take the locknut off of the connectors as shown here:
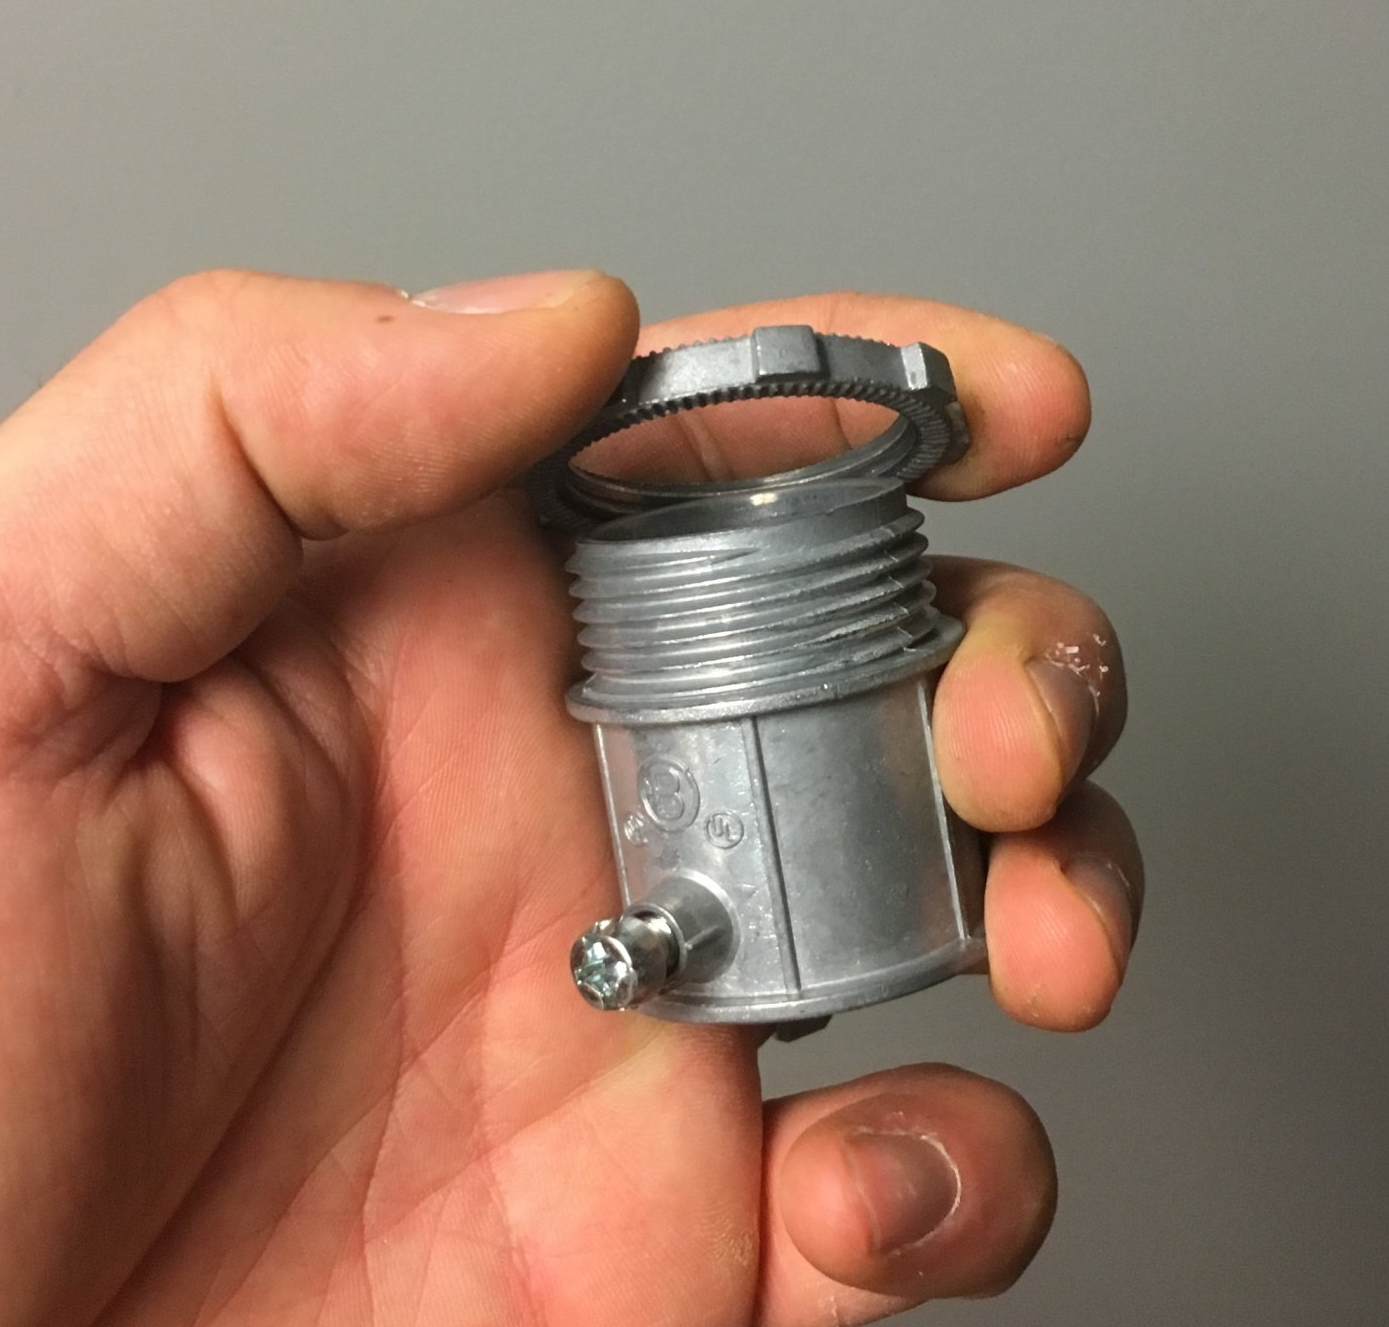
As you can see from this photo looking inside the connector, there is a little “shelf” on the inside that stops the pipe from going all of the way through. This needs to be removed.
I recommend putting the connector on the end of the pipe and tightening the set screw down, as this will make holding on to it much easier. It’s still going to be hard, especially when you realize you have to do it eight times, but we know from experience that there are many benefits to hard physical labor, don’t we!
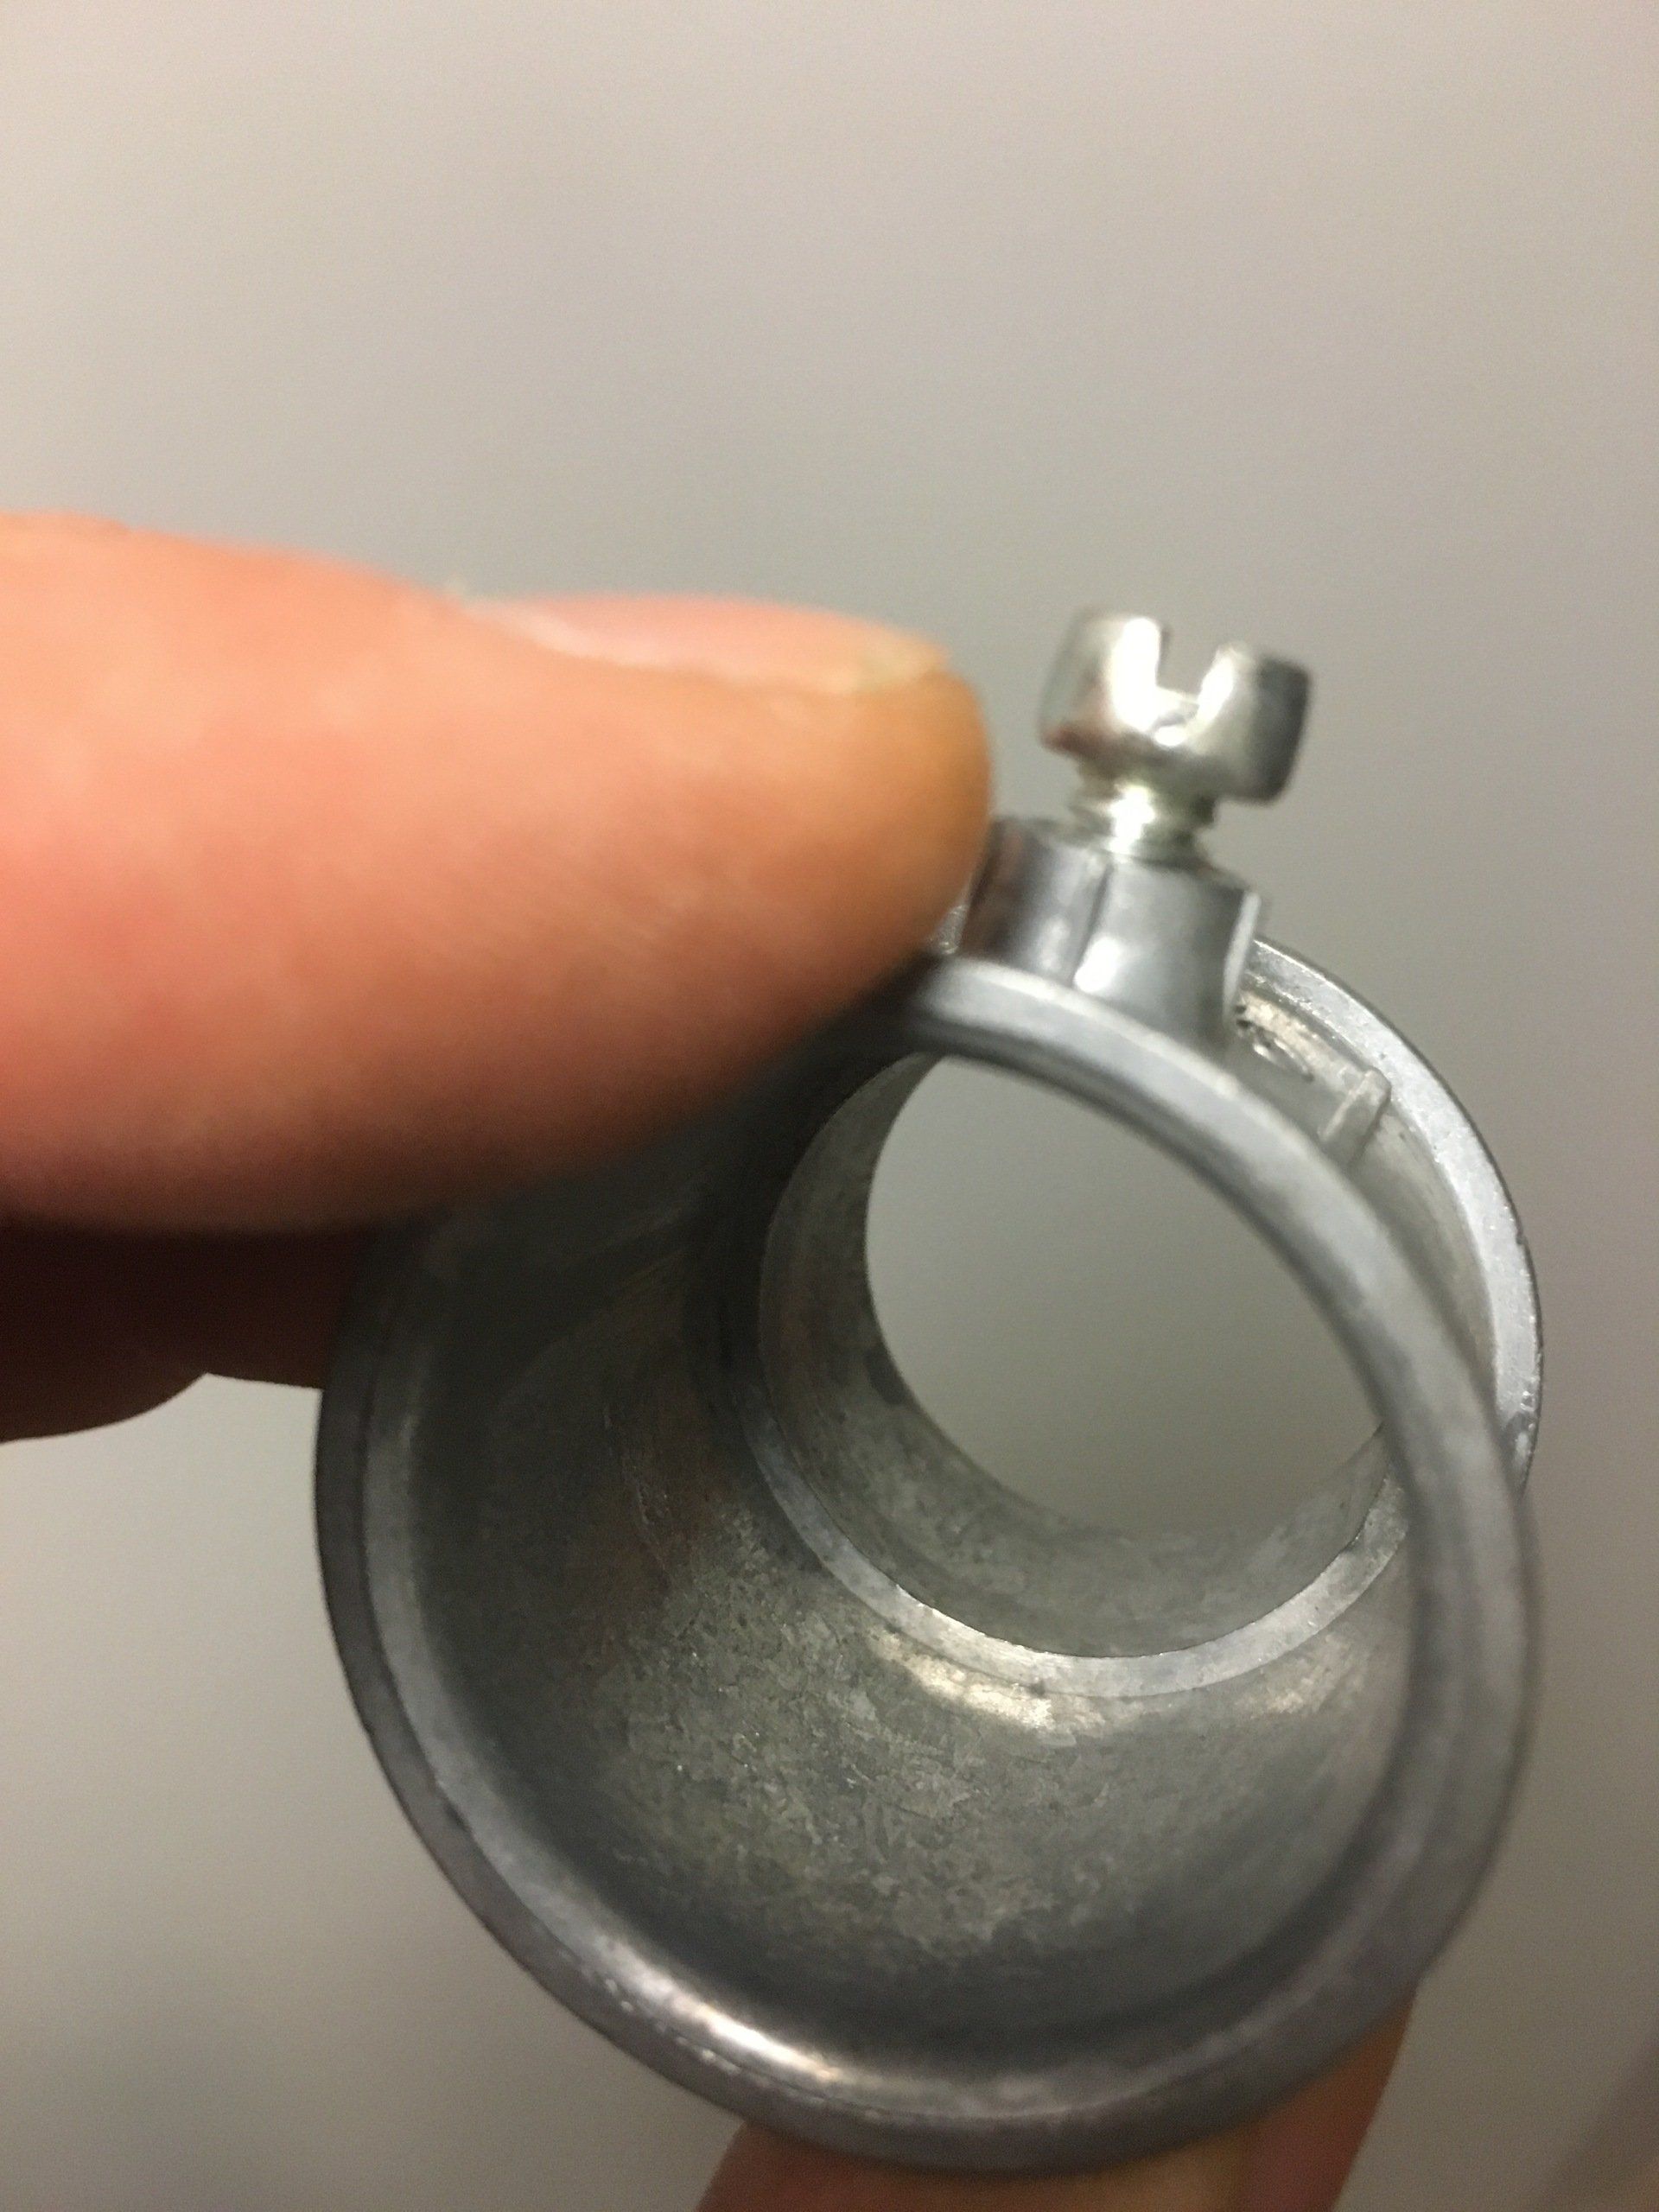
This is what the connector should look like once the end has been removed. Remember, we want to cut off the threaded part, plus a smidge, to make sure we get rid of the shelf inside.
This is what the connector should look like once the end has been removed. Remember, we want to cut off the threaded part, plus a smidge, to make sure we get rid of the shelf inside.

Ok, you finished cutting the ends off of all eight of those connectors? Great! See, you’re arms are tired, you’re sweating and breathing hard, and you’re not at the gym! And we haven’t even finished making our dumbbells yet! That’s a freebie workout for you there. You’re welcome!
Grab That Pipe
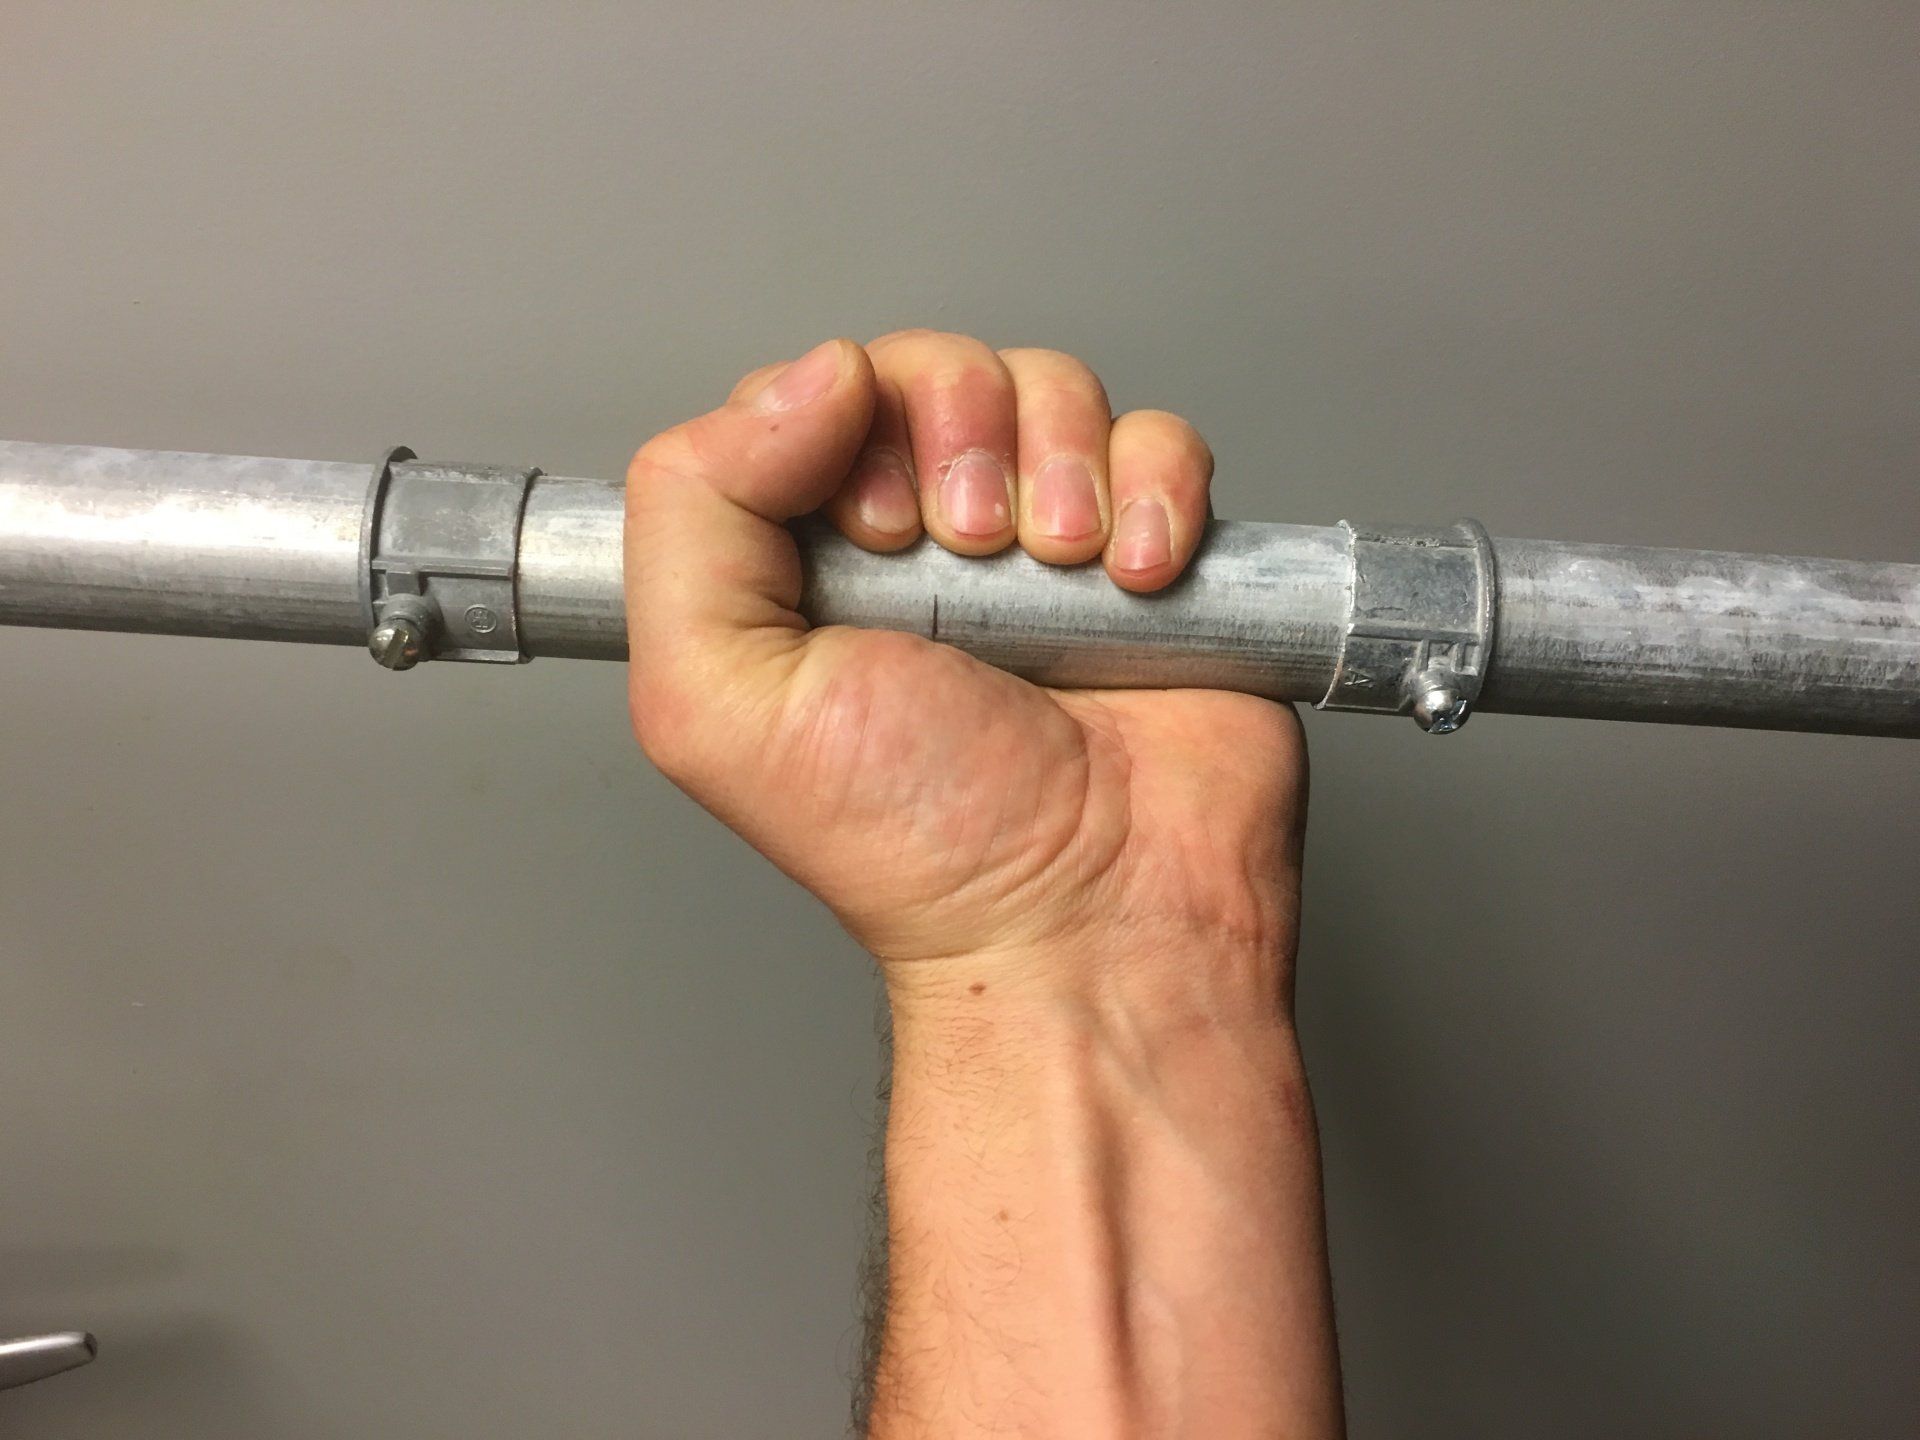
The way I determined the length of pipe I would use is I held it firmly and put a connector on the pipe just outside of my hand width. Then I added a good hearty length on either end for the weights, because I have an overly optimistic and unrealistic view of how strong I’m going to get. Isn’t DIY fun?
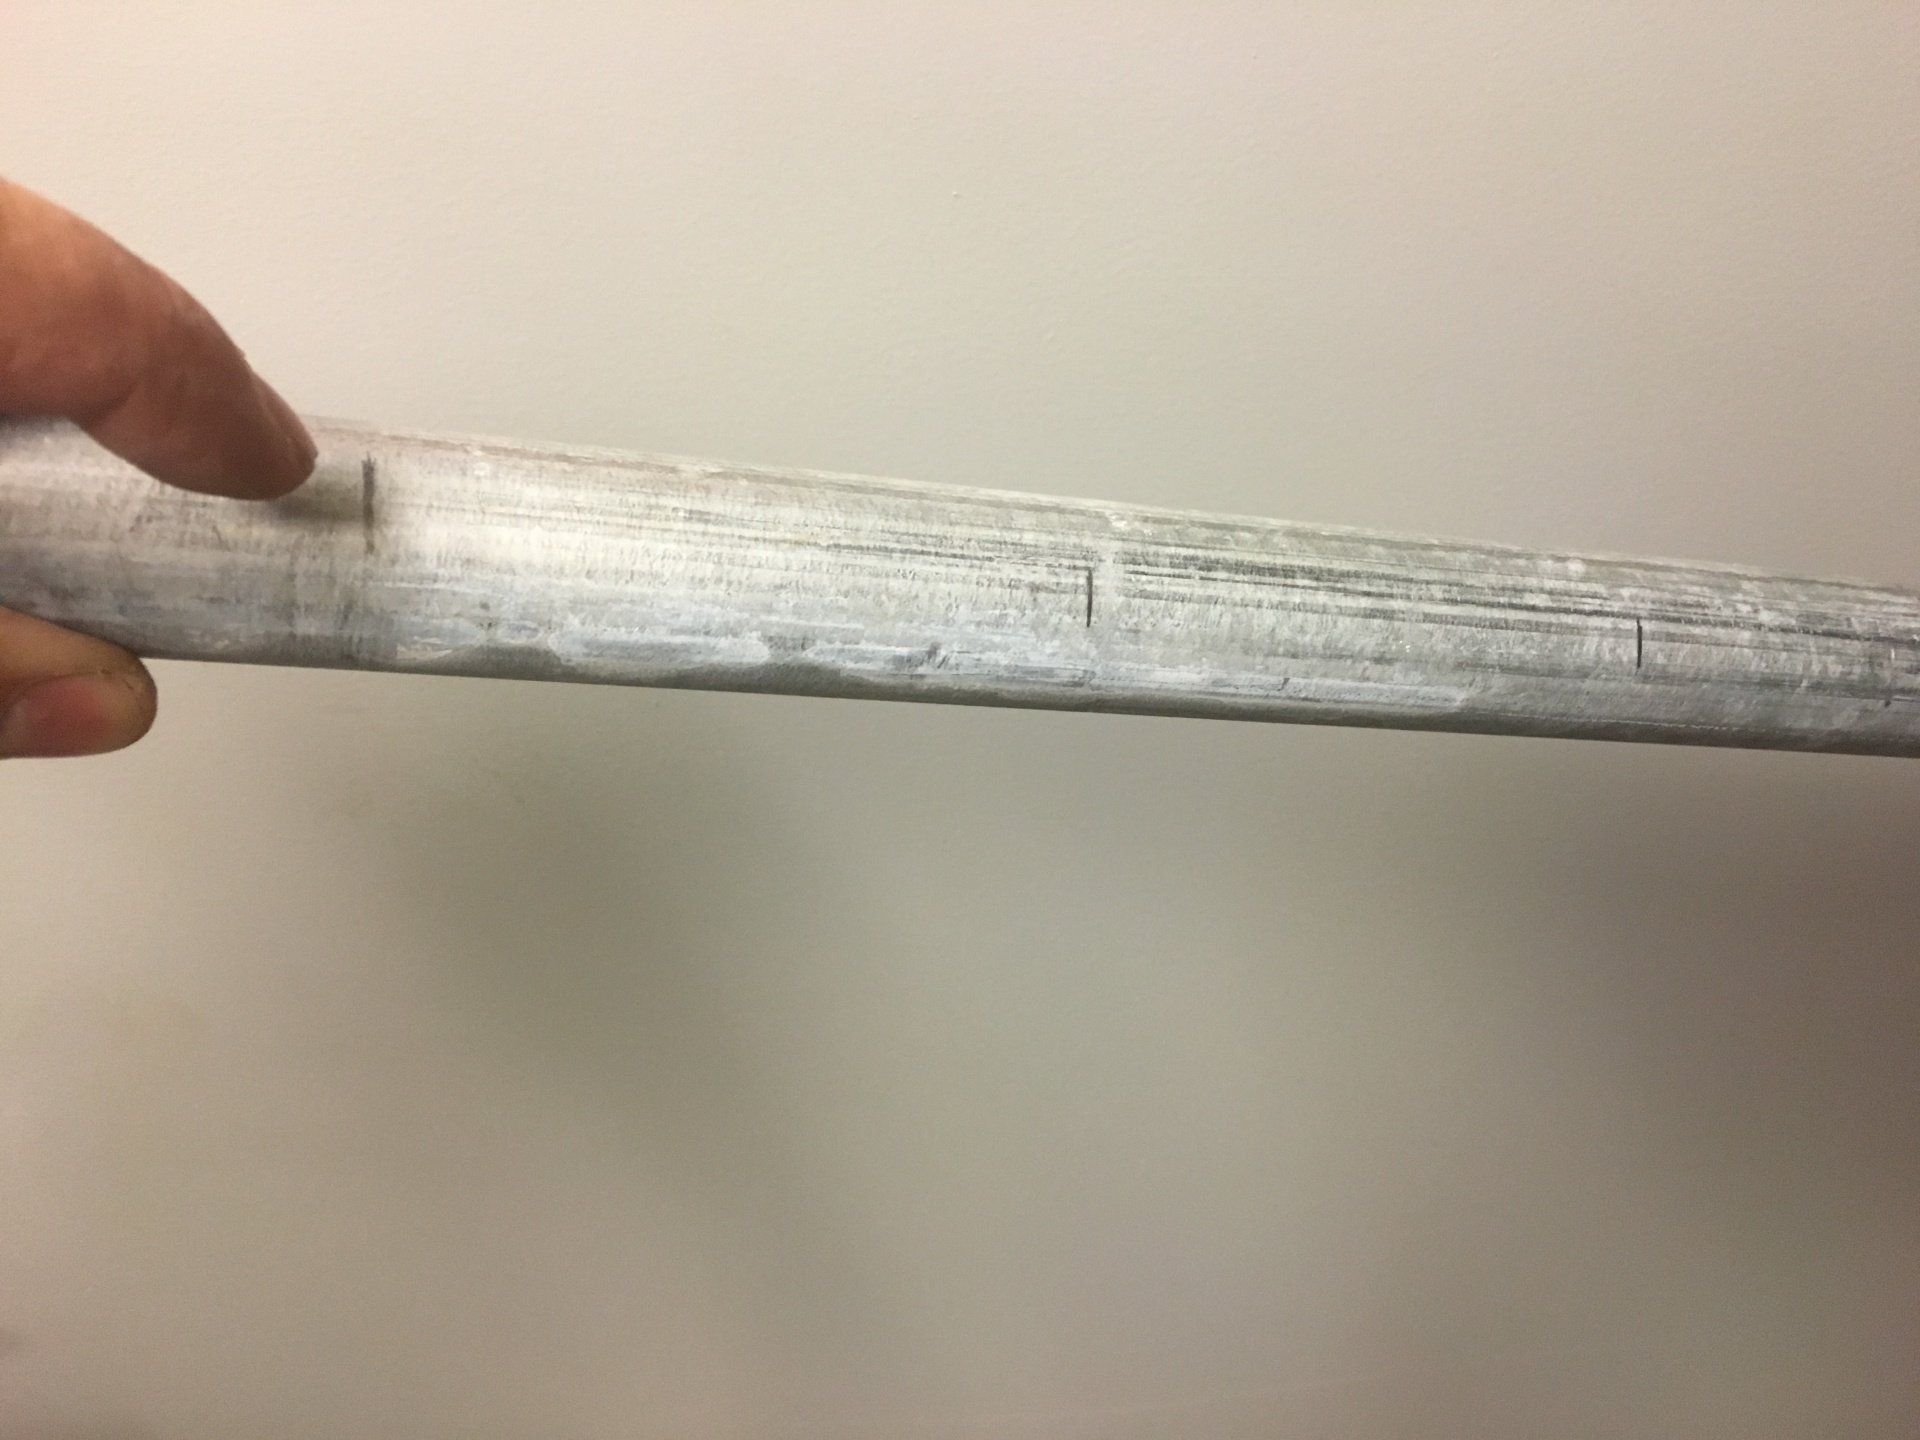
Once you get an idea of length (roughly 15-18 inches in my case), cut the pipe to that length and put a small mark in the middle. Then measure out about 3-4 inches to either side of that mark and put more marks. These marks will be where the inner connectors, or collars if you will, will end up.
Once you get an idea of length (roughly 15-18 inches in my case), cut the pipe to that length and put a small mark in the middle. Then measure out about 3-4 inches to either side of that mark and put more marks. These marks will be where the inner connectors, or collars if you will, will end up.
Slide those collars on the pipe so the little flange that didn’t get cut off is facing out and tighten them down as much as you can without hurting yourself. We’ll save the personal injury for the workout, thank you very much!
Now slide those weights on there and pop the other collars on to lock them in place.

There you have it! Time to feel that gymspiration! If you're looking for some great dumbbell workout ideas, hit me up on Instagram or Twitter @DiyCaptain and I'll send something your way!