How To Make Farmer's Walk Handles
- By Captain DIY
- •
- 31 Mar, 2020
- •
The Only Exercise Equipment that Trains You to Carry the Burden of Responsibility

The influence of the World’s Strongest Man and similar beefcake shows is ever increasing these days. Why is that?
It’s simple, really: ever since the dawn of humanity, we have seen evidence of the earliest man saying things like, “hey Brett, I bet I can pick up a bigger rock than you.” In fact, 9 out of 10 opthomologists agree that this single trait for dangerous, complex, and wholly unnecessary shows of brute strength are what separates us from the rest of the animal kingdom. That, and our unrivaled obsession with toilet paper.
Half Hour Hank Would Approve
I know, it’s been weird sitting around trying to find excuses to not do all of the things we never did before due to lack of time. Well, this is one project from the Brain Dump that you can have fun doing, and when you’re done you’ll have something to show for it! By which I mean a silly piece of workout equipment, unlike that waste of time kitchen remodel project.
What the Heck Is That?
If you don’t know what Farmer’s Walk Handles are, it would probably behoove you to start at the Farmer’s Walk. This is an exercise in which you, the dedicated meathead, picks up something heavy in each hand, such as a bag of groceries or your most recent dental bill, and you proceed to walk for some distance.
This exercise works nearly the entire body, and if you go heavy enough, it will make you question all of your life’s choices. This is how you know you’re doing it properly.
The Farmer’s Walk Handles are devices that allow you to load up more weight than you have any business carrying and safely (more or less) pick it up and carry it. Today we will go over how to build such devices.
It's Business Time
Here’s what you’re going to need for this project:
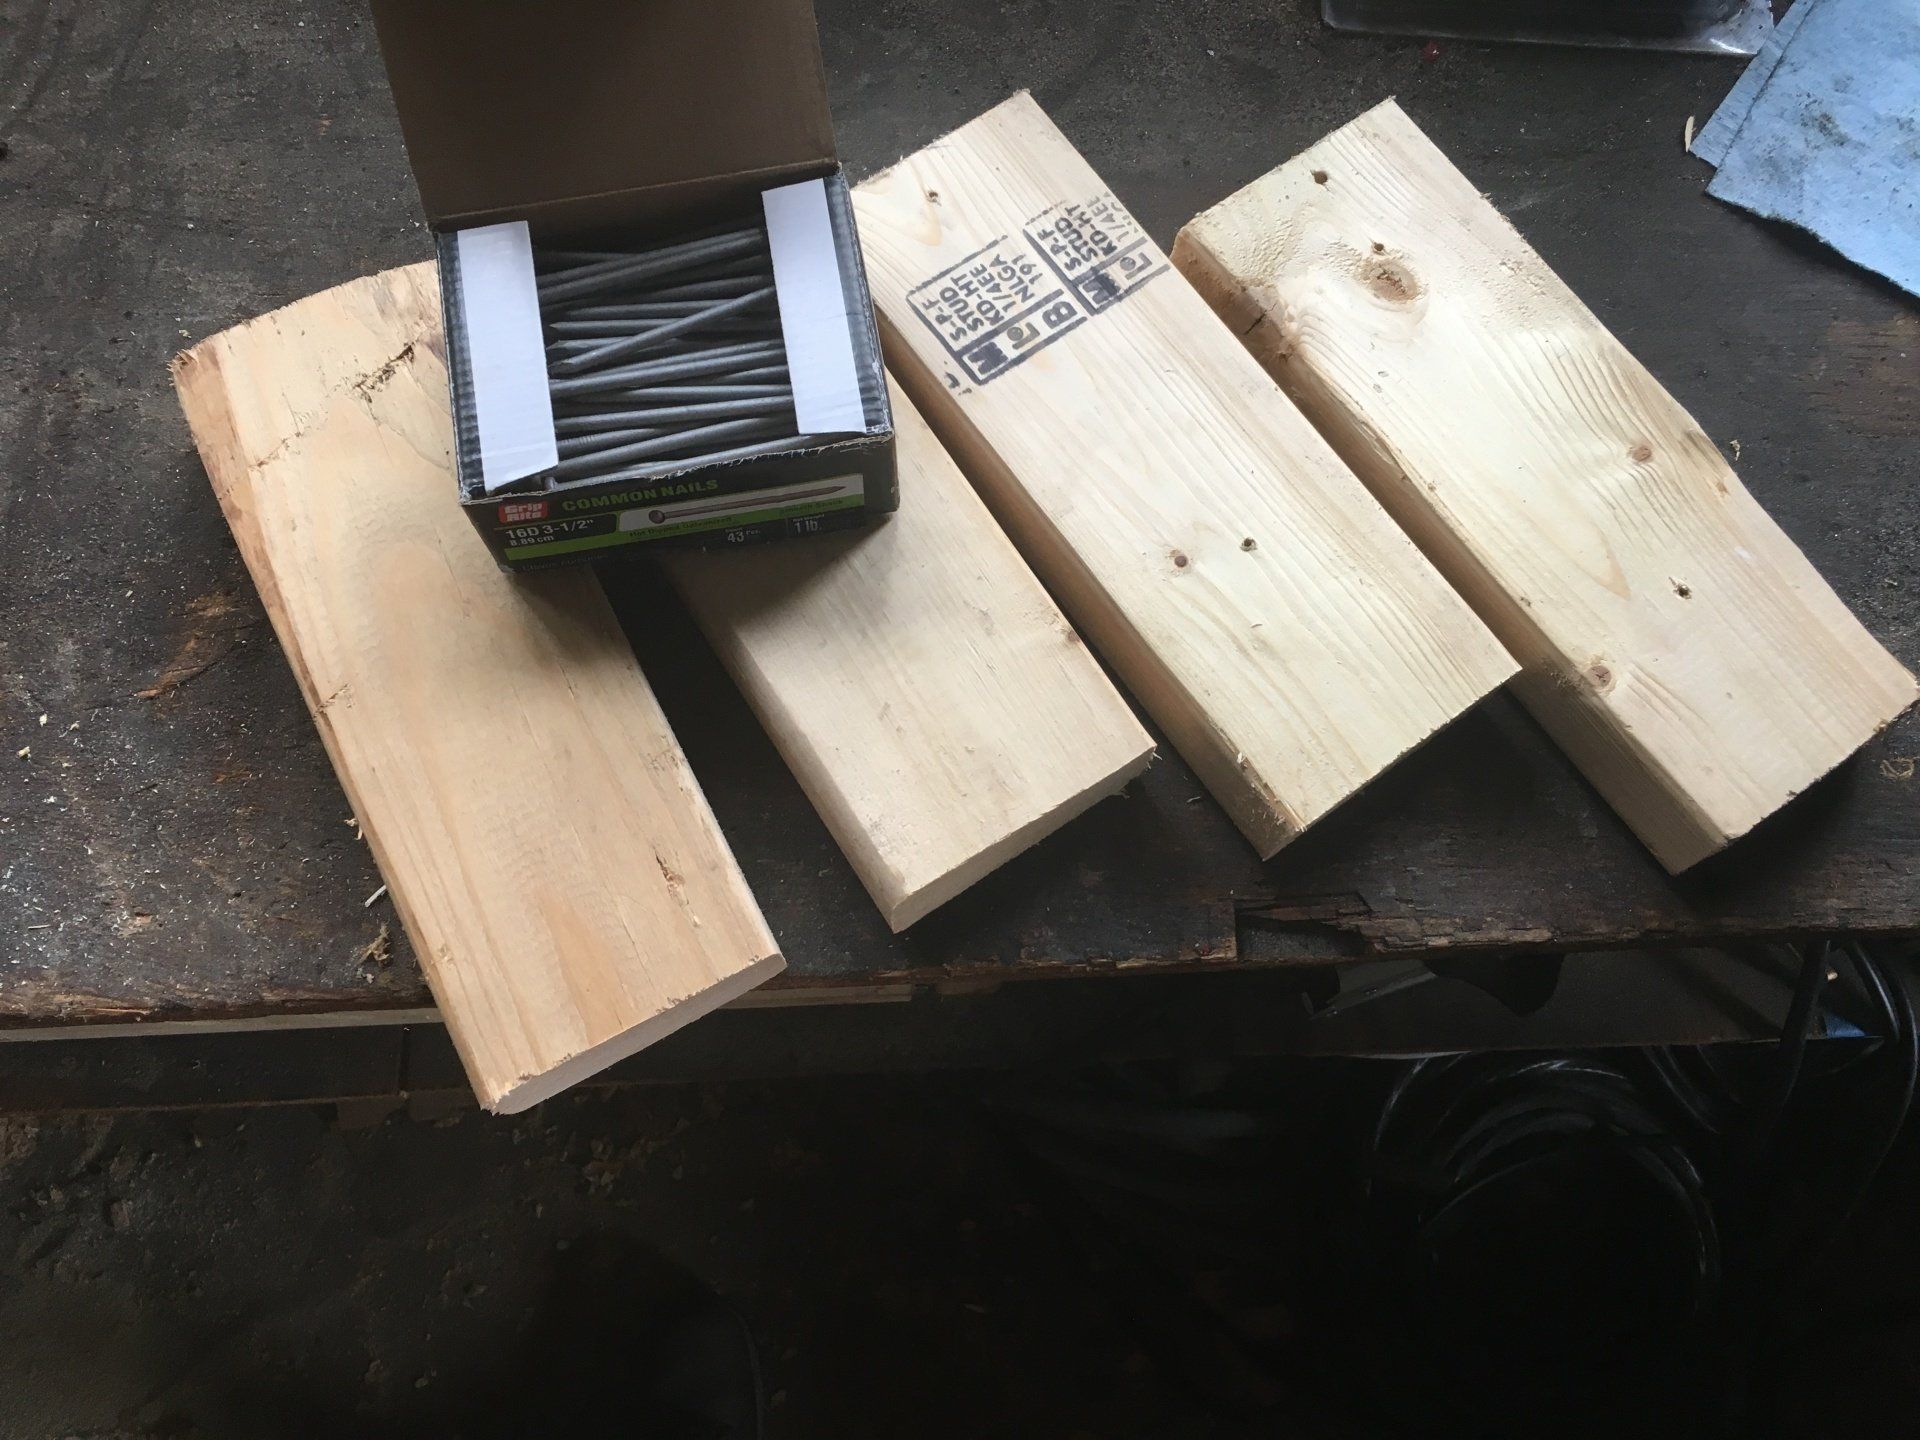
- 2 4”x4”x4’ pieces of wood. In my case, I bought one 8’ pressure-treated 4x4 and cut it in half, but I only bought pressure-treated because that’s all the hardware store had in stock.
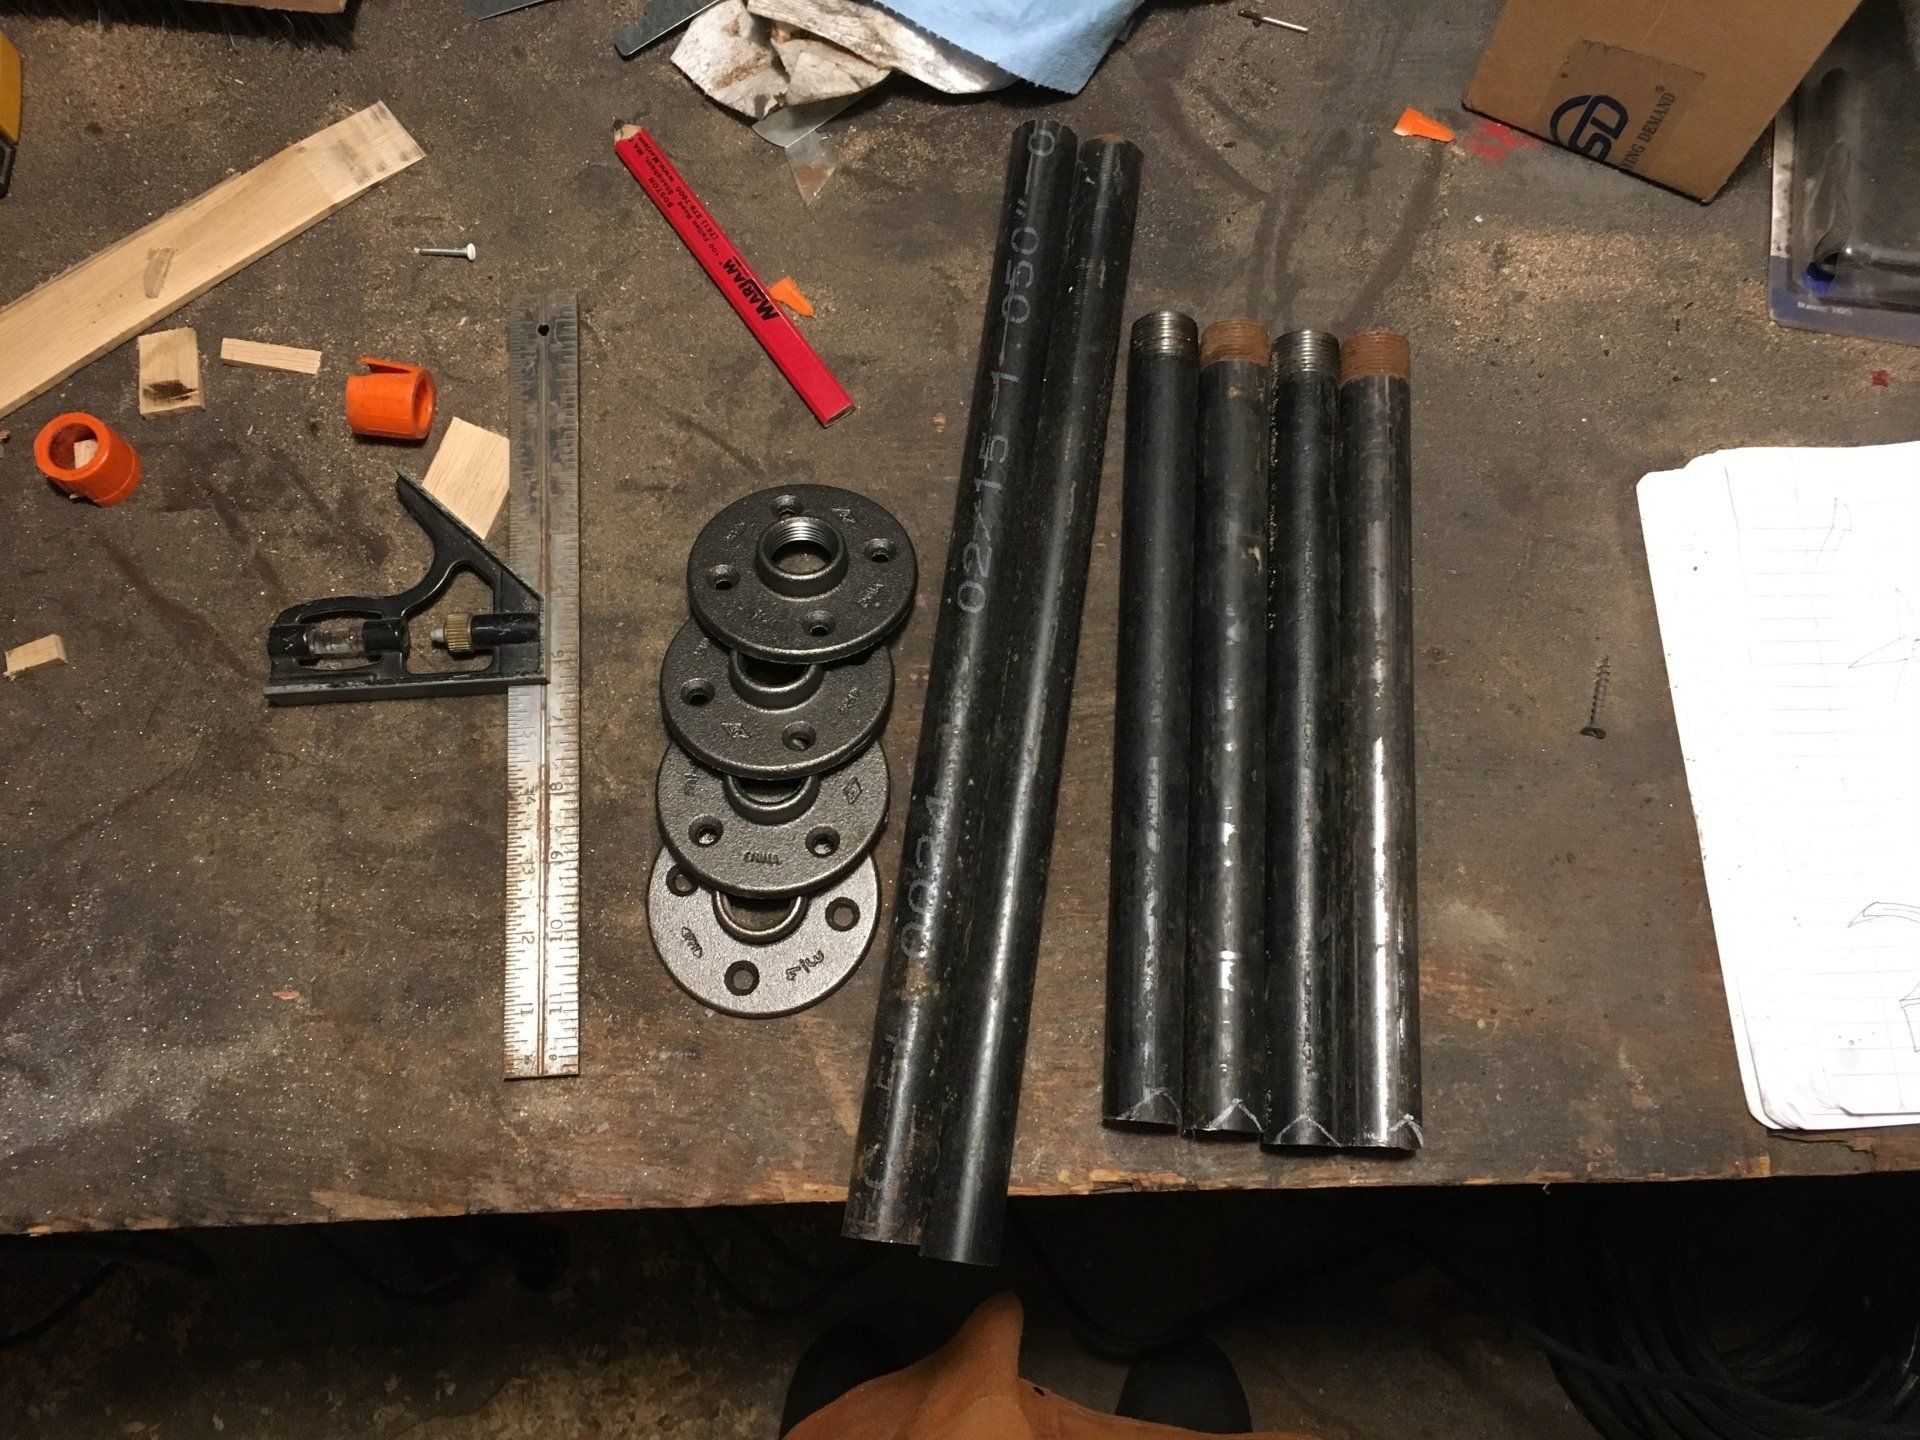
- 6 3/4”x18” black metal plumbing pipe nipples (heh heh)
- 4 3/4” 90 degree black metal plumbing pipe elbows
- 4 3/4” plumbing floor flanges
- 4 15”-18” pieces of scrap pipe whose diameter is slightly smaller than the hole in the middle of whatever weights you have. In my case, the pipes I used were right around the same diameter as the pipes I used for the handles.
- 4 short pieces of 2x4 (mine ended up being around 9”, but this does not have to be exact)
- 16 3” deck screws
I ended up welding my handles together because I didn’t have enough elbows or pipe nipples, and if you have access to a welder this method will work quite well. I understand not everyone has access to one, so I’ll write this as though I used the elbows. Just use your imagination. If you aren’t sure exactly what that is, I suggest looking it up.
You’ll start by taking one of the nipples and threading an elbow on to either side. When you get them as tight as you can with your hand, take a pair of channel locks, or whatever else you can find to tighten them further, and spin until both elbows are pointing in the same direction. Next, thread two more nipples on, one in each elbow. Then use those other nipples to figure out where you’ll need to drill through the 4x4. The best way to do this is find the lengthwise center of the 4x4 and make a mark. Then measure the distance between the two nipple ends, figure out center of that distance, and set them on the 4x4 at that point. Basically you want your handle center to be at your 4x4 center.
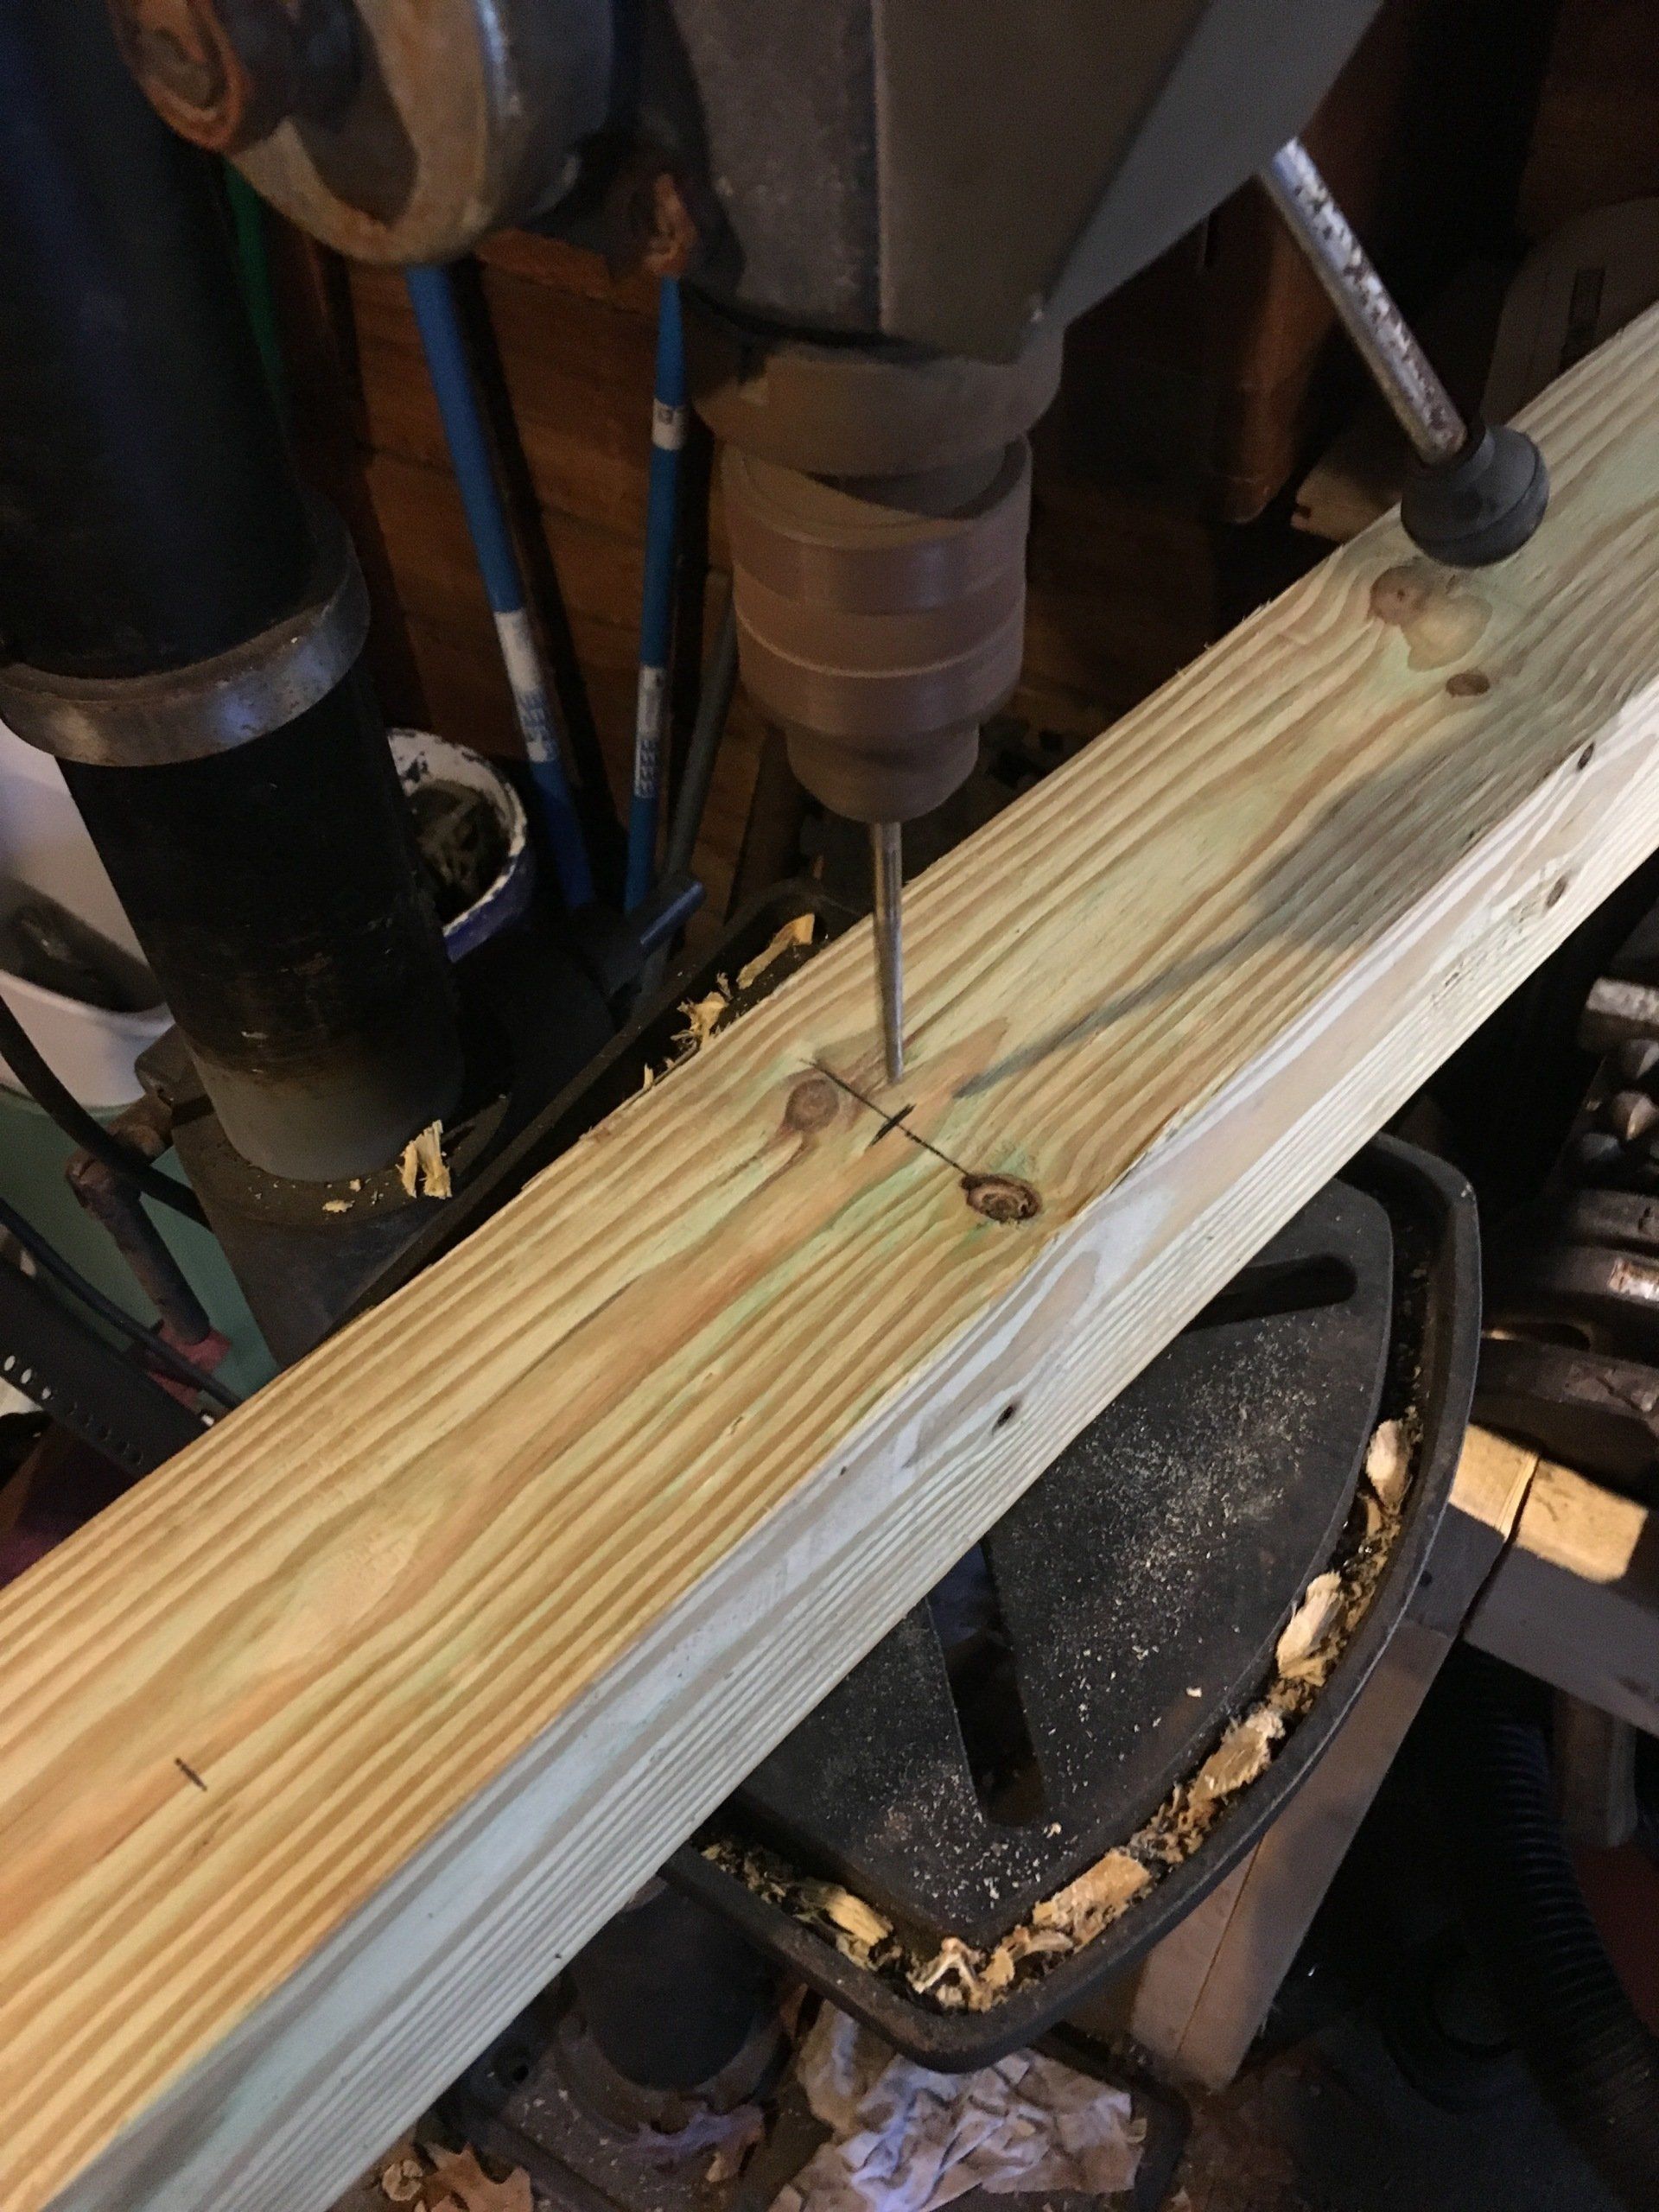
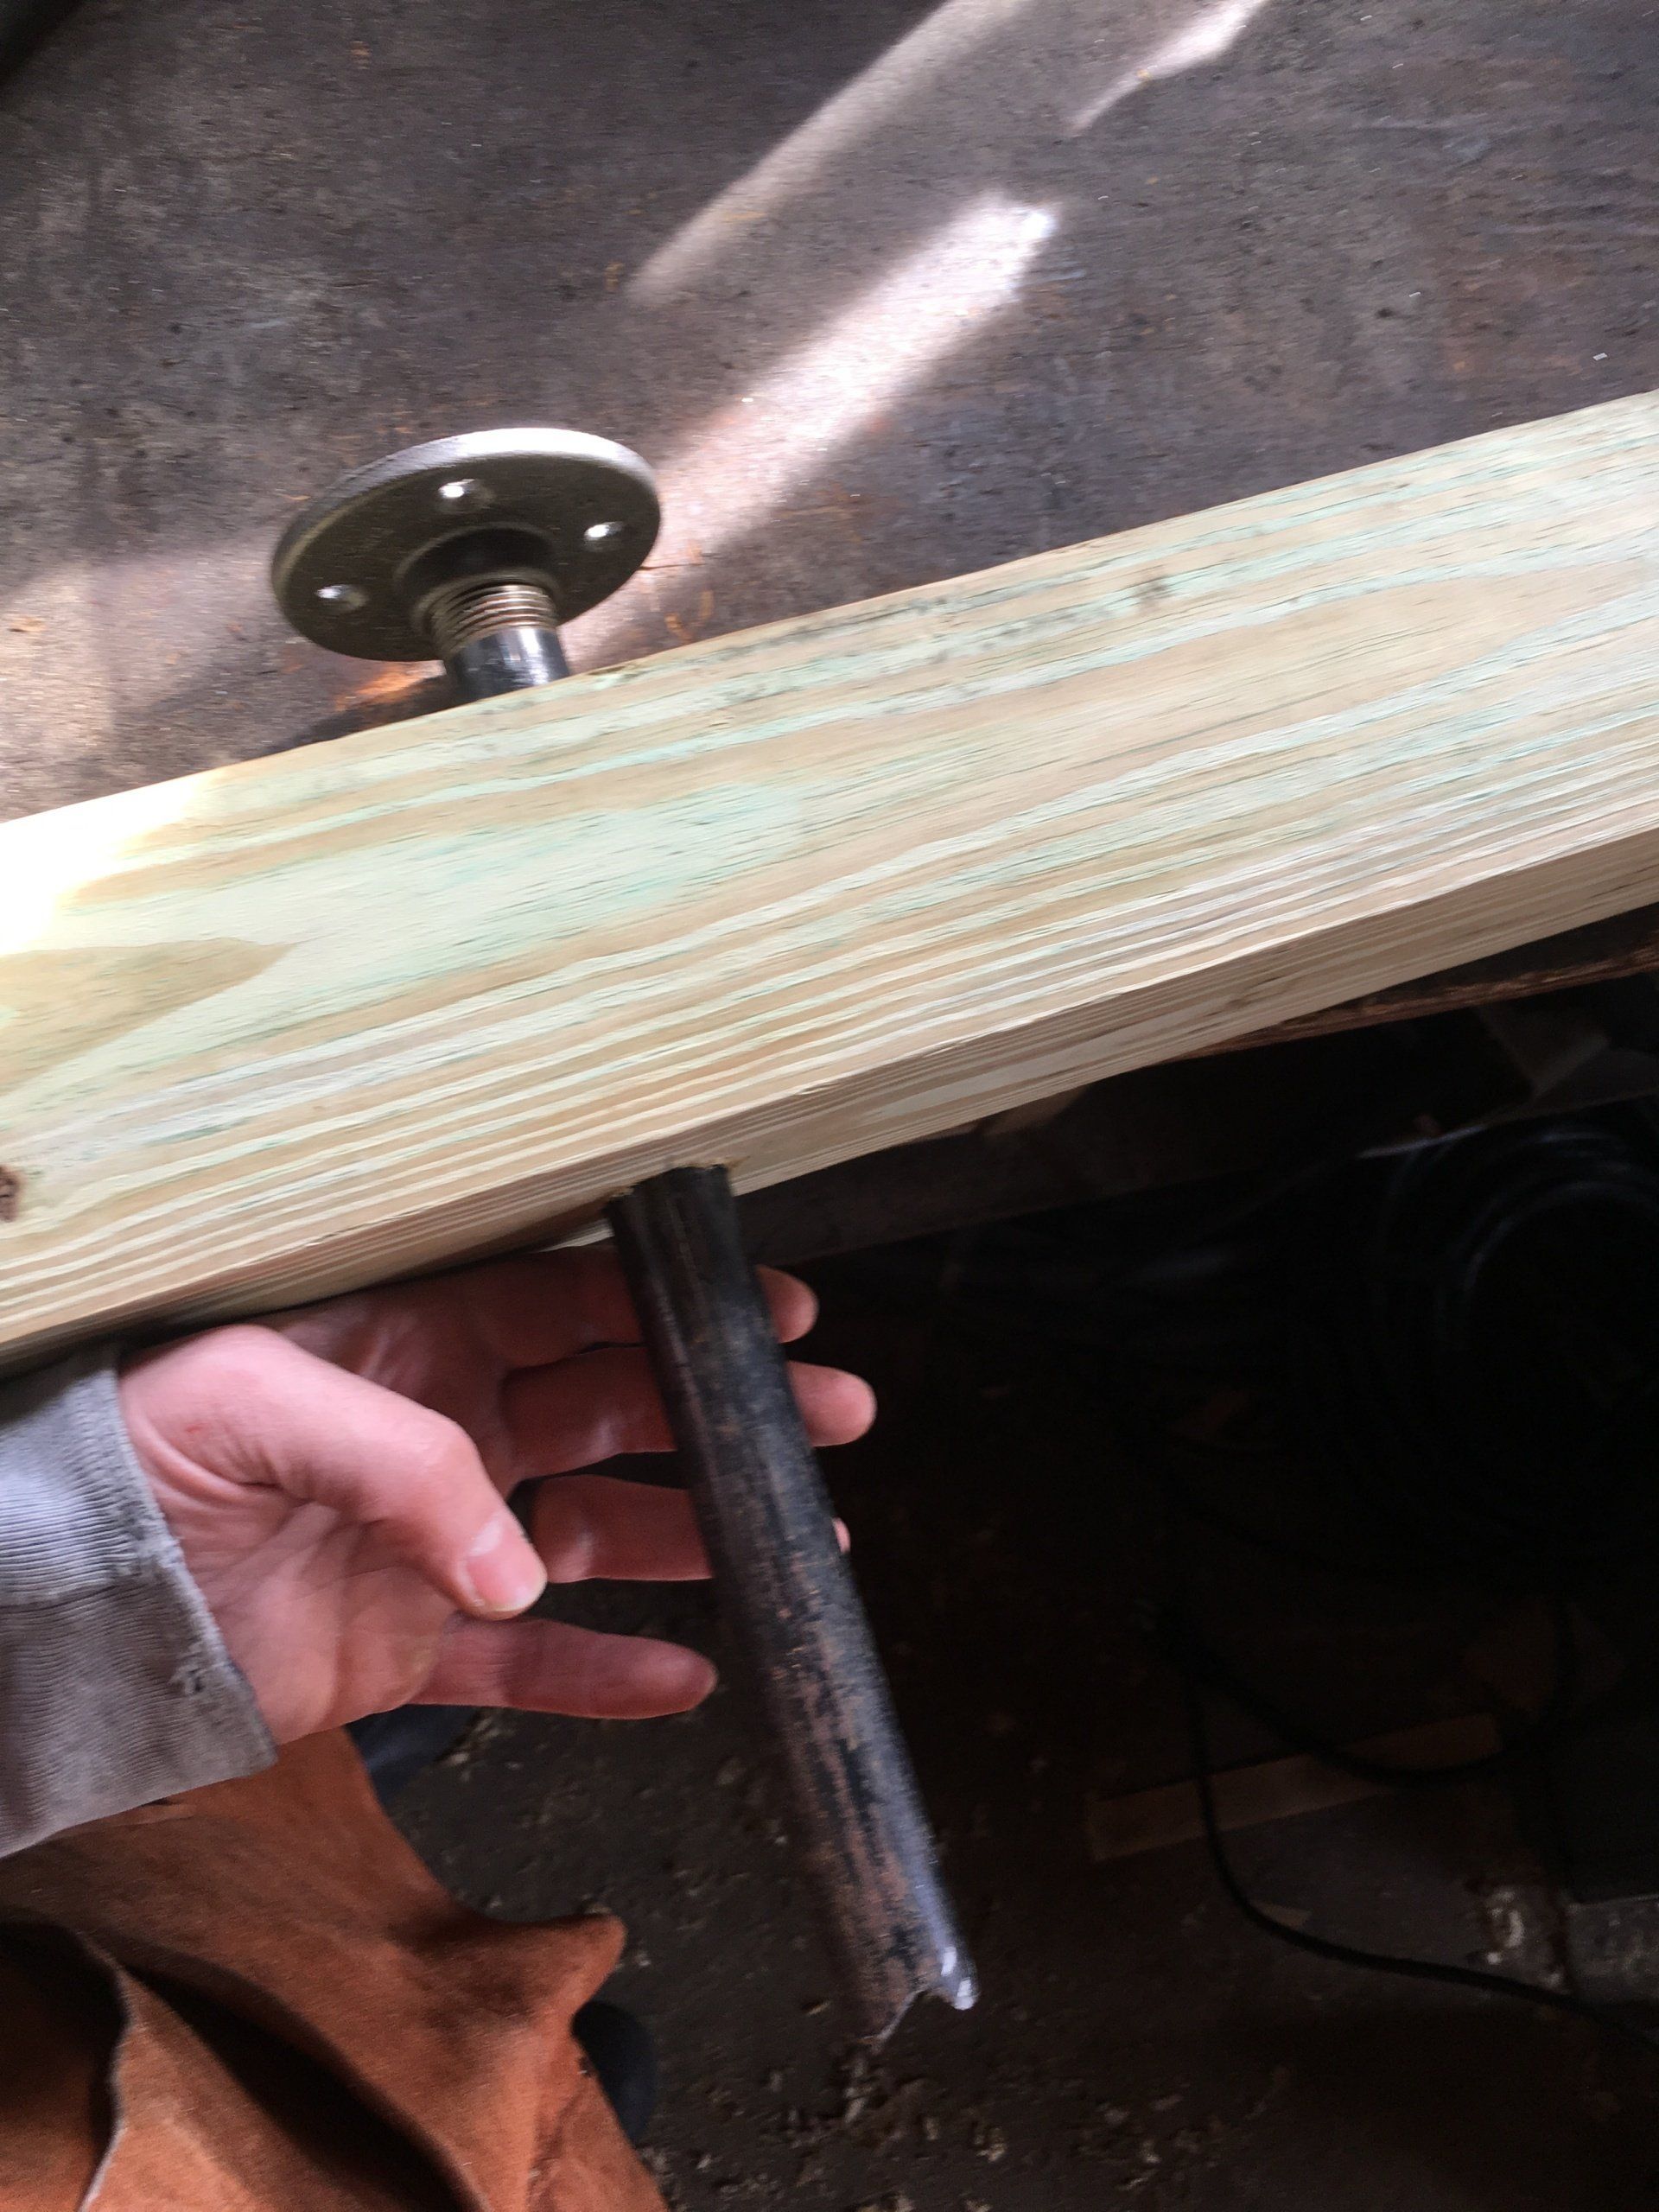
At this point you will need to drill holes all the way through the 4x4 that are just big enough for the handles to pass through. I used a 1-1/8” paddle bit, and it worked perfectly. If you have a drill press, I highly suggest using it. Otherwise, just try super hard to make sure your holes go as straight down as possible. Once the holes are drill, pass the handles through and screw the floor flanges on the ends. You’ll have to screw them on what feels like the wrong way just because of how the threads taper, but it’ll be ok. I promise.
Good job! You’re project is coming along very nicely! At least, that’s what I’m assuming. I figure if you’re reading this blog you must be in the higher echelon of intelligence and capability, so your project is probably looking incredible at this point.
Now all you need to do is toss a couple of those deck screws into each floor flange to hold the handle in place. Don’t worry, those screws won’t be holding any weight. One or two per flange will be plenty.
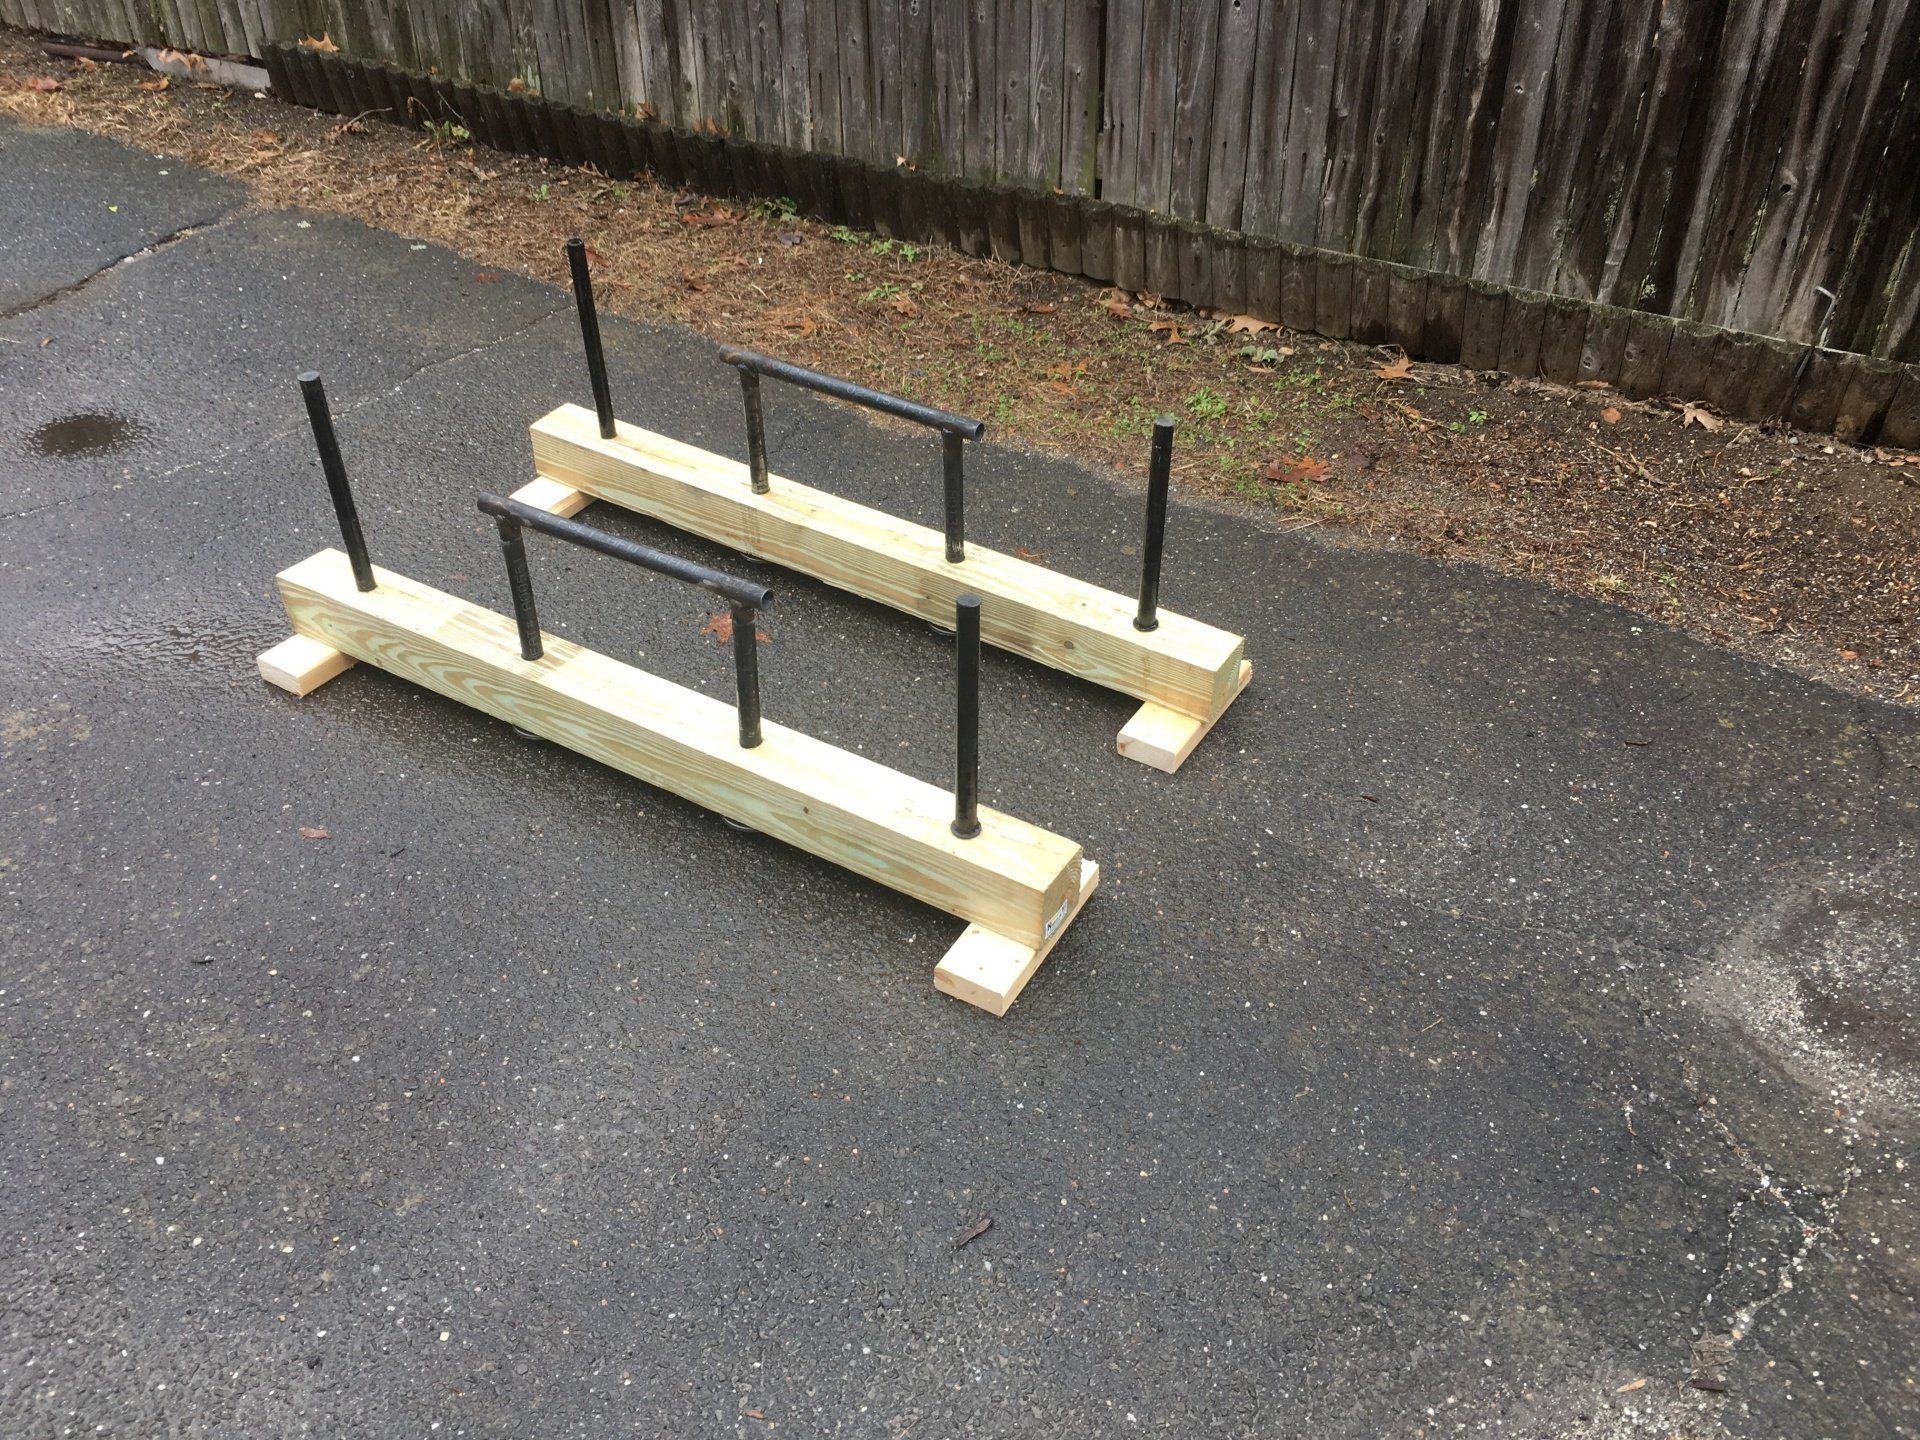
The next step is to pop some holes near either end of the 4x4 for the pipes that will hold the weights in place. These holes should be a snug fit, so when you force the pipes into place they are held tight. I dropped down to a 1” bit for these holes, and I drilled them about halfway through the 4x4. I want to say I put the holes about 4” in from the ends of the 4x4.
Now, before you put those pipes in, go ahead and flip over the whole number so you can tack those short 2x4s in place. Those will go cross-wise anywhere near the ends. Measurements are not necessary for this part unless you really want things to be even.
Ok, flip those suckers back over, hammer in the pipe bits, and you are good to go!
Oops! I almost forgot, you’ll need to repeat the process for the other handle.
Ok, now you’re good to go!
I Pick Things Up and Put Them Down
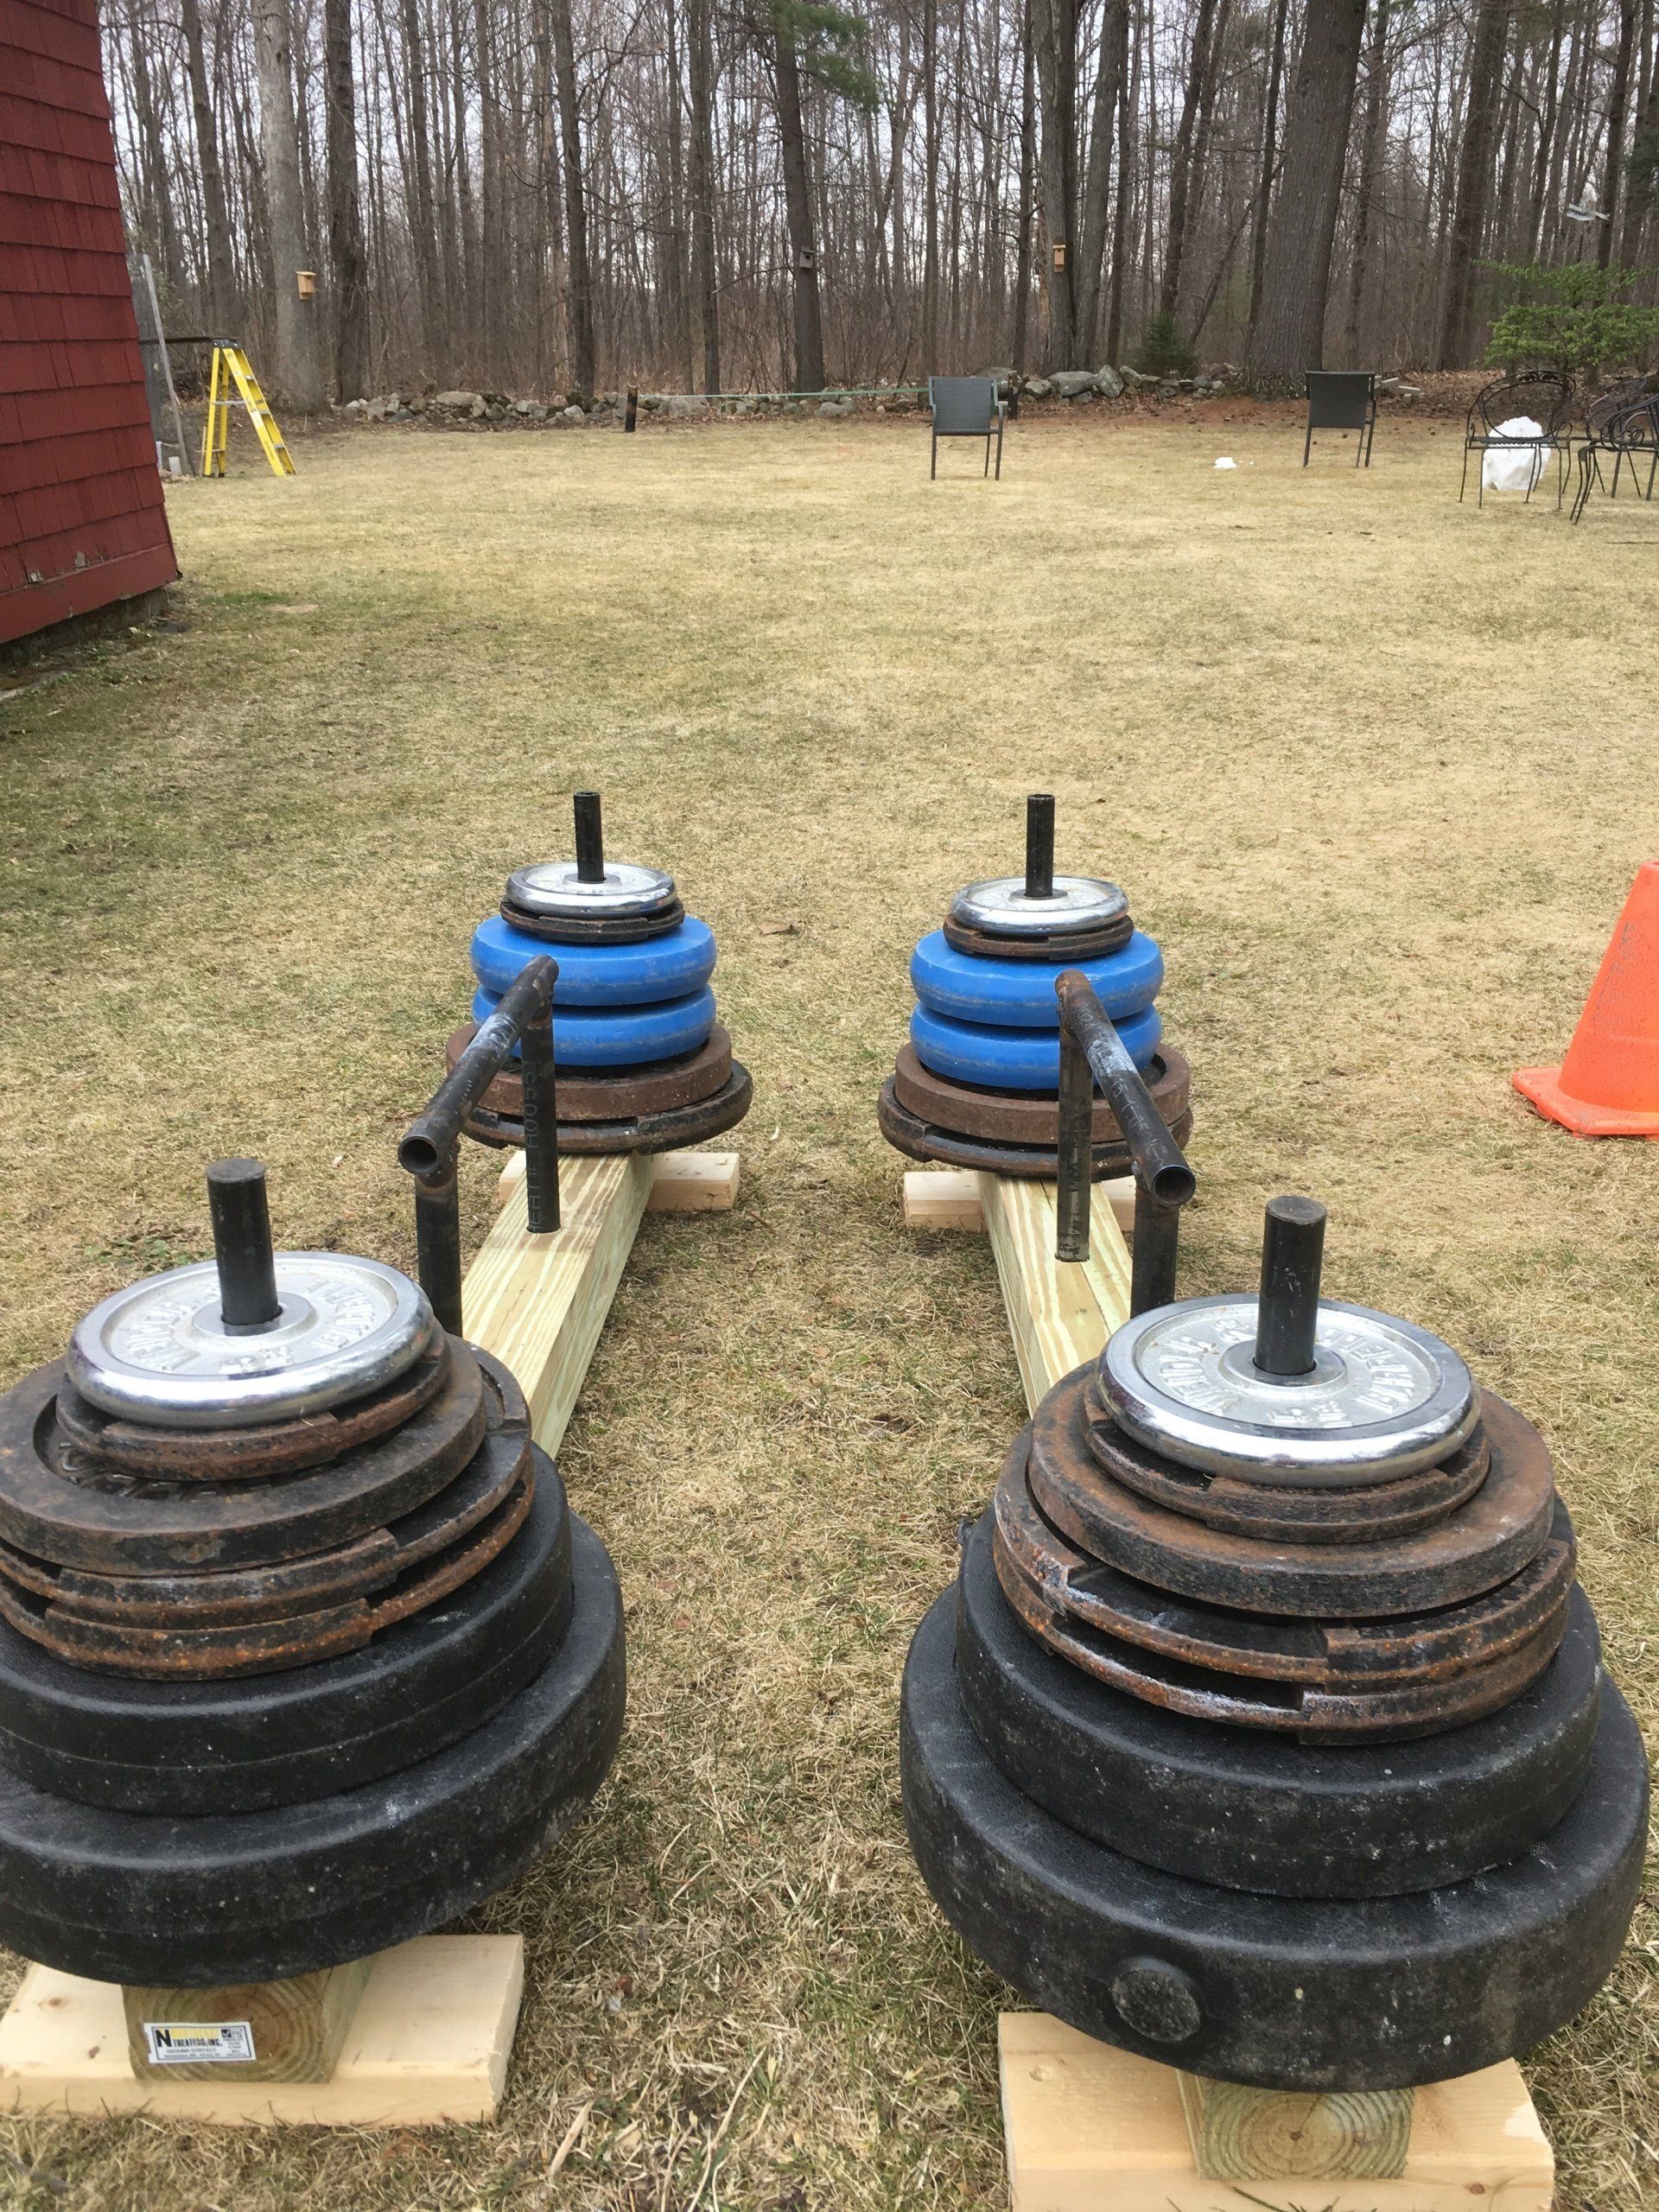
It’s time to load those bad boys up with some weights and see what you’re made of! If you’re new to the movement, I suggest taking it fairly slow. Find a space where you can measure out 50 feet, then take those handles for a walk up and down that stretch. Once you’ve gone out and back, set them down for a minute or two, maybe put a few more pounds on, and try it again. Do that 5-10 times and you should feel your upper back and grip crying like a NASCAR driver on a square track.
Once you are starting to feel confident, why not see what your limit is? I like to think of my 1-rep max as the most weight I can carry for 50 feet in a straight line. If you can do bodyweight in each hand, you are getting seriously strong!
So that’s it, folks. Put together some of these handles, check them off of your Half Hour Hank list, and send me some pics of your walks! Cheers!