Captain DIY Hangs Up Some Blinds
- By Captain DIY
- •
- 17 Jan, 2019
- •
And The Surrounding Populace Rejoices

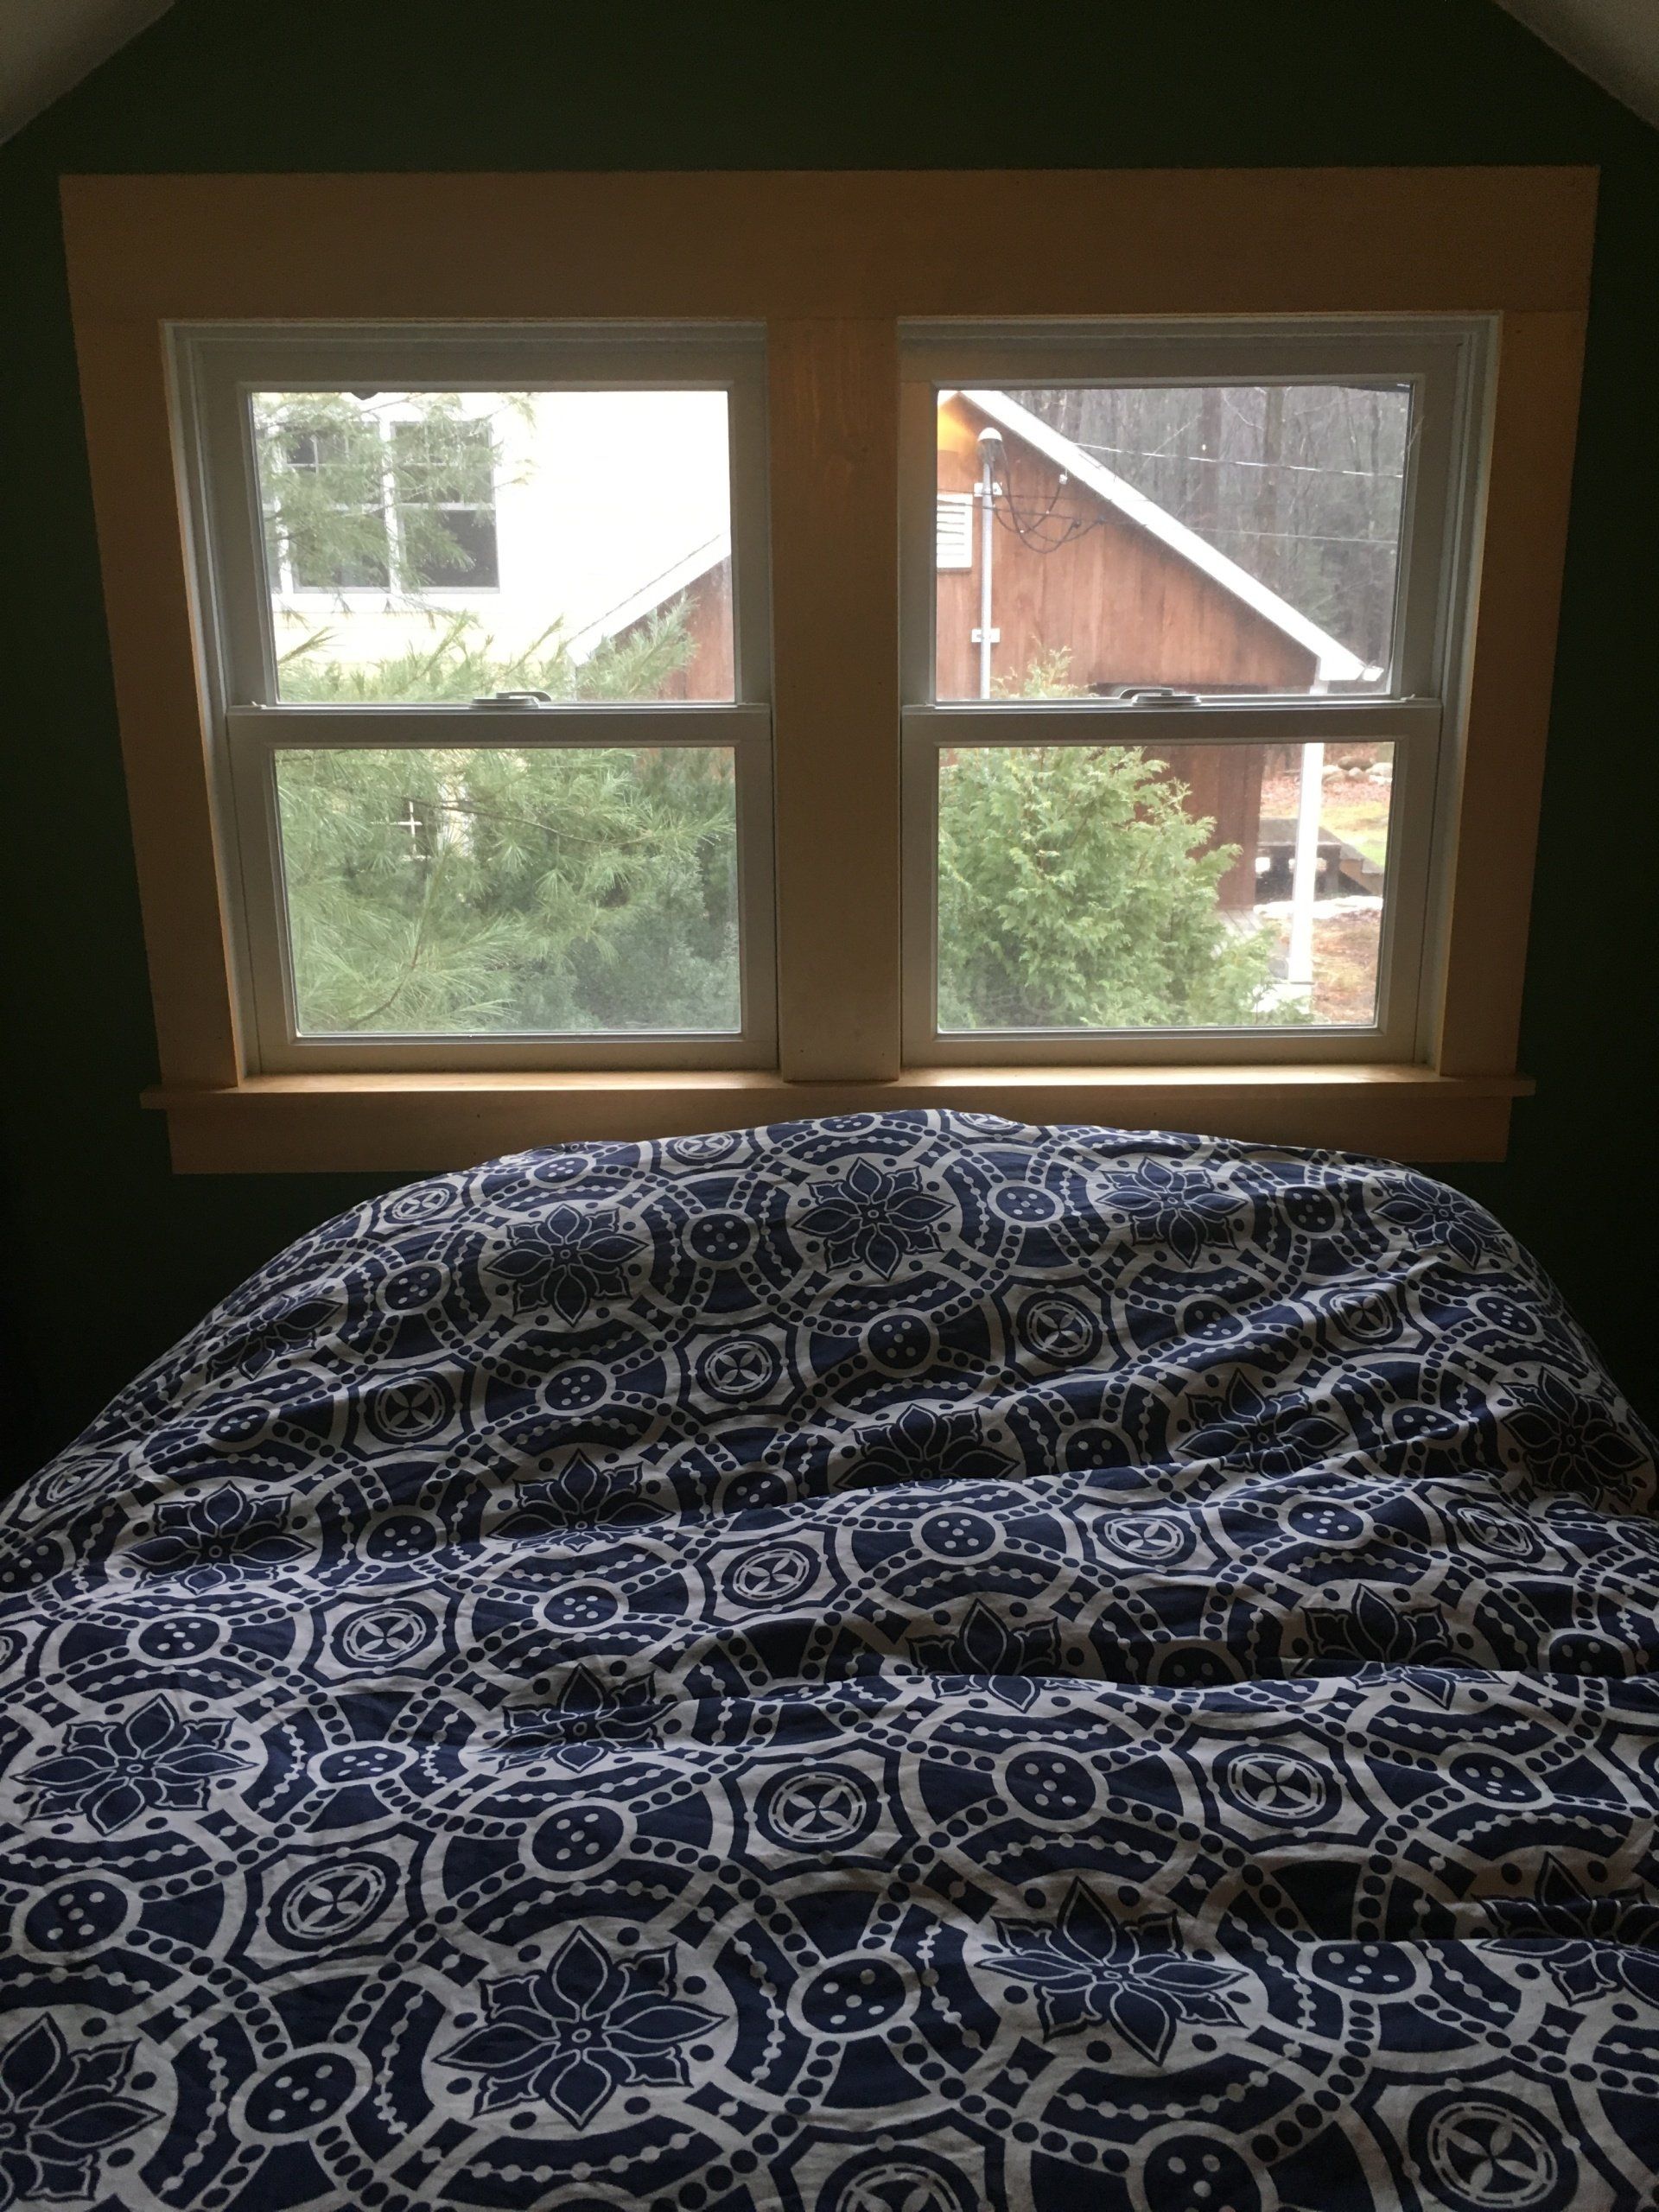
Mrs. DIY and I moved our bedroom up into our nearly-finished attic almost a year ago now, and the windows directly over our heads have been really nice for that beautiful morning light while laying in bed. Except when we are trying to sleep in said bed.
That being said, I finally decided it was time to suck it up and head over to the dreaded Big Box Hardware Store and pick up some heavy-duty light-blocking non-strangling blinds so that the misses and I could enjoy our sleeping in until slightly after dawn rather than waking up because of it. Not that we get to sleep much past that anyway, as our children seem to have an aversion to morning sleep. Yay, parenthood.
That being said, I finally decided it was time to suck it up and head over to the dreaded Big Box Hardware Store and pick up some heavy-duty light-blocking non-strangling blinds so that the misses and I could enjoy our sleeping in until slightly after dawn rather than waking up because of it. Not that we get to sleep much past that anyway, as our children seem to have an aversion to morning sleep. Yay, parenthood.
I See, Said the Blind Man
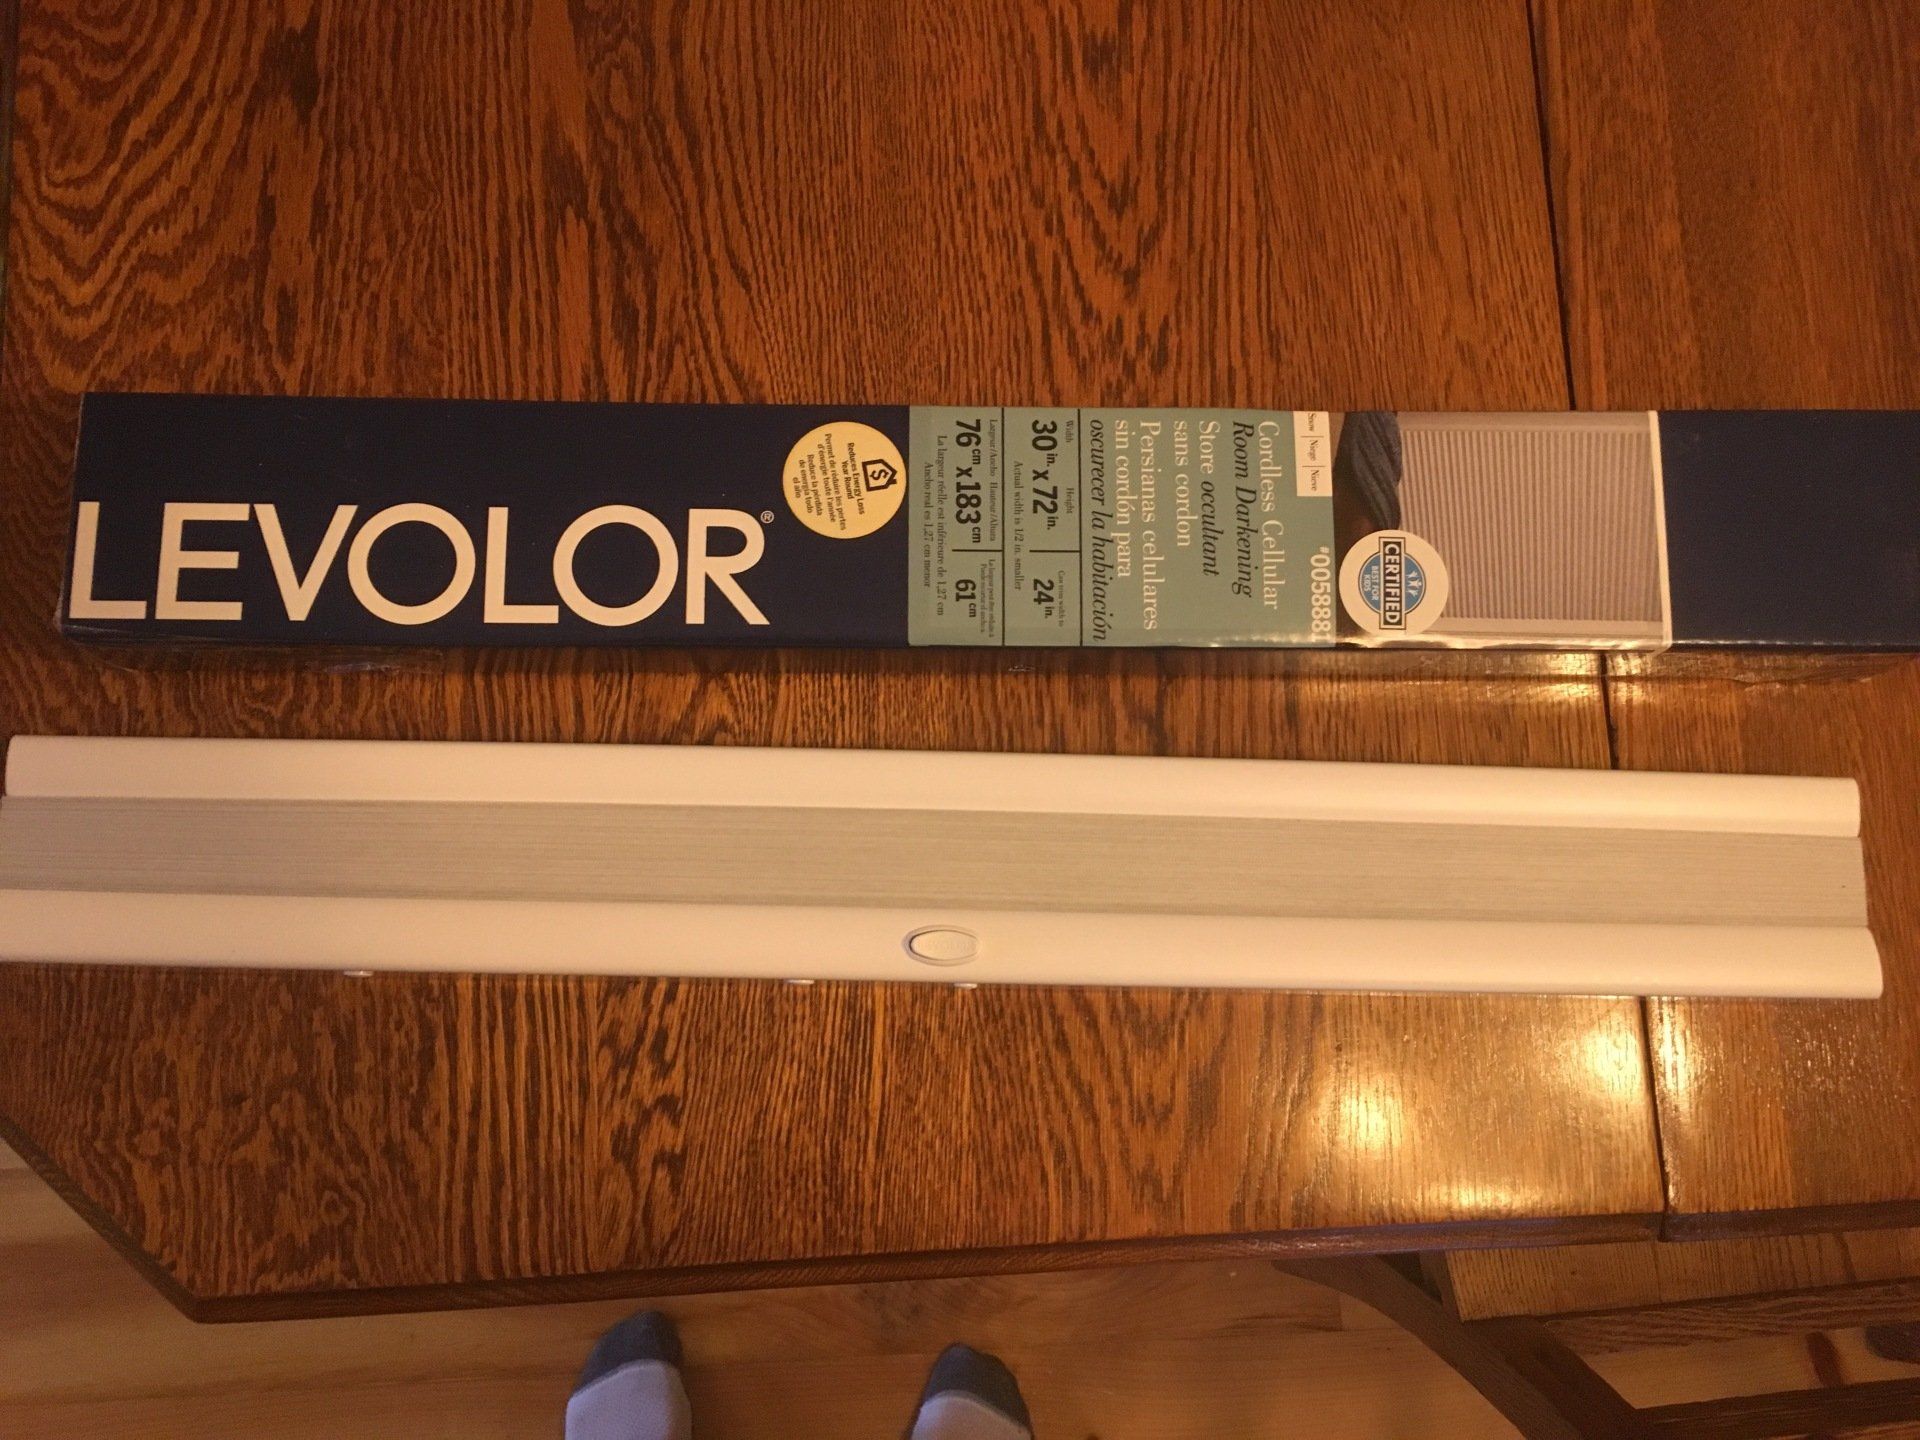
The blinds I picked up are of the moderately fancy stringless type so that we don’t manage to strangle ourselves in our sleep and wake up dead. Starting a morning routine
is hard enough without being dead in the process. These can be cut to size in the store, which is really handy if you have an old house with odd-sized windows, or if you installed new odd-sized windows like a certain not-very-forward-thinking blogger. Simply measure the opening the binds will be covering, and they will cut the blinds a half-inch shorter than that to account for any width variables.
Pro Tip: If you want a tighter fit, measure the opening at a few points and give them a “cut size” nearly equal to your smallest measurement. The danger here is a miscalculation could mean an ill-fitting blind.
Pro Tip: If you want a tighter fit, measure the opening at a few points and give them a “cut size” nearly equal to your smallest measurement. The danger here is a miscalculation could mean an ill-fitting blind.
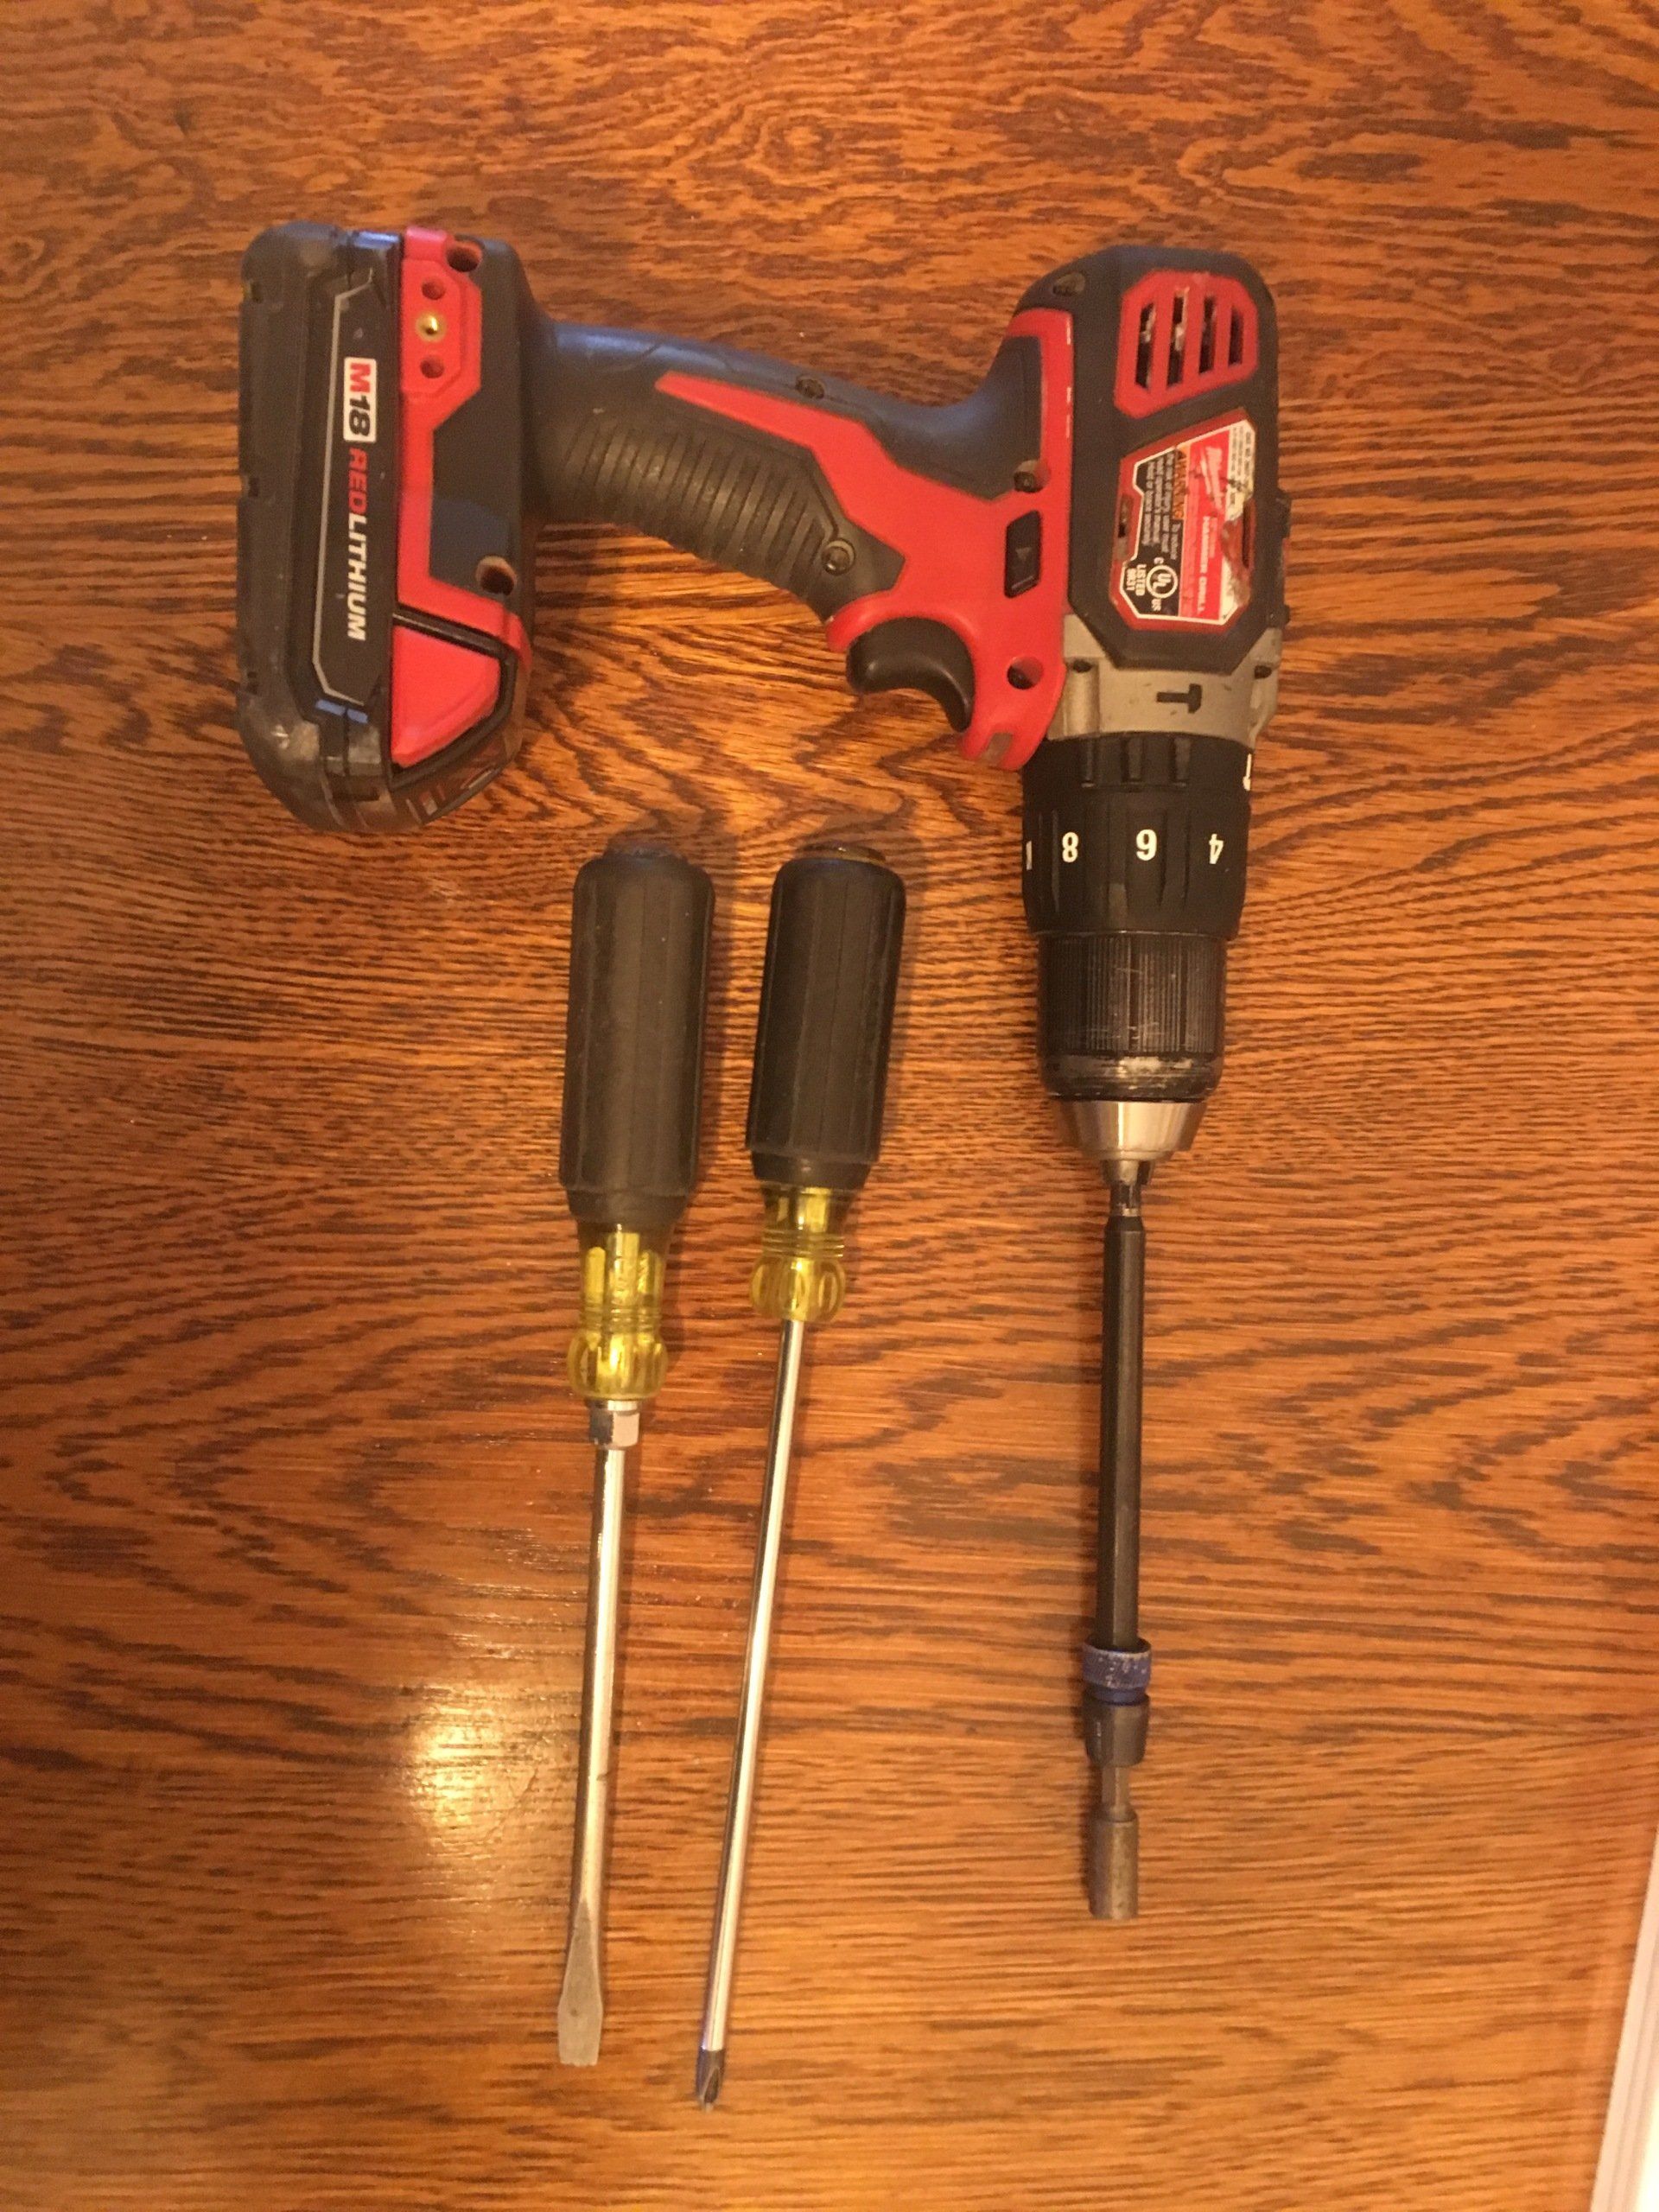
The tools you will need
to hang blinds such as these are exceedingly simple, so you won’t have to dig too far into your tool box for this project. The screwdrivers are necessary, the drill is not. In fact, if you want to beef up those forearms and make Olive Oyl swoon, skip the drill and take the (wo)manly route. Me, I decided to stay soft on this one.
A Journey of One Thousand Miles…
Step One:
open the box.
Step Two: clean up all of the dust that comes cascading out of the box from when they cut the blinds in the store. This is, by all accounts, the absolute hardest part of this project. The tiny plastic particles are statically charged and will firmly adhere to anything within three feet, therefore making their elimination nearly impossible. I recommend using a damp (but not too wet) rag.
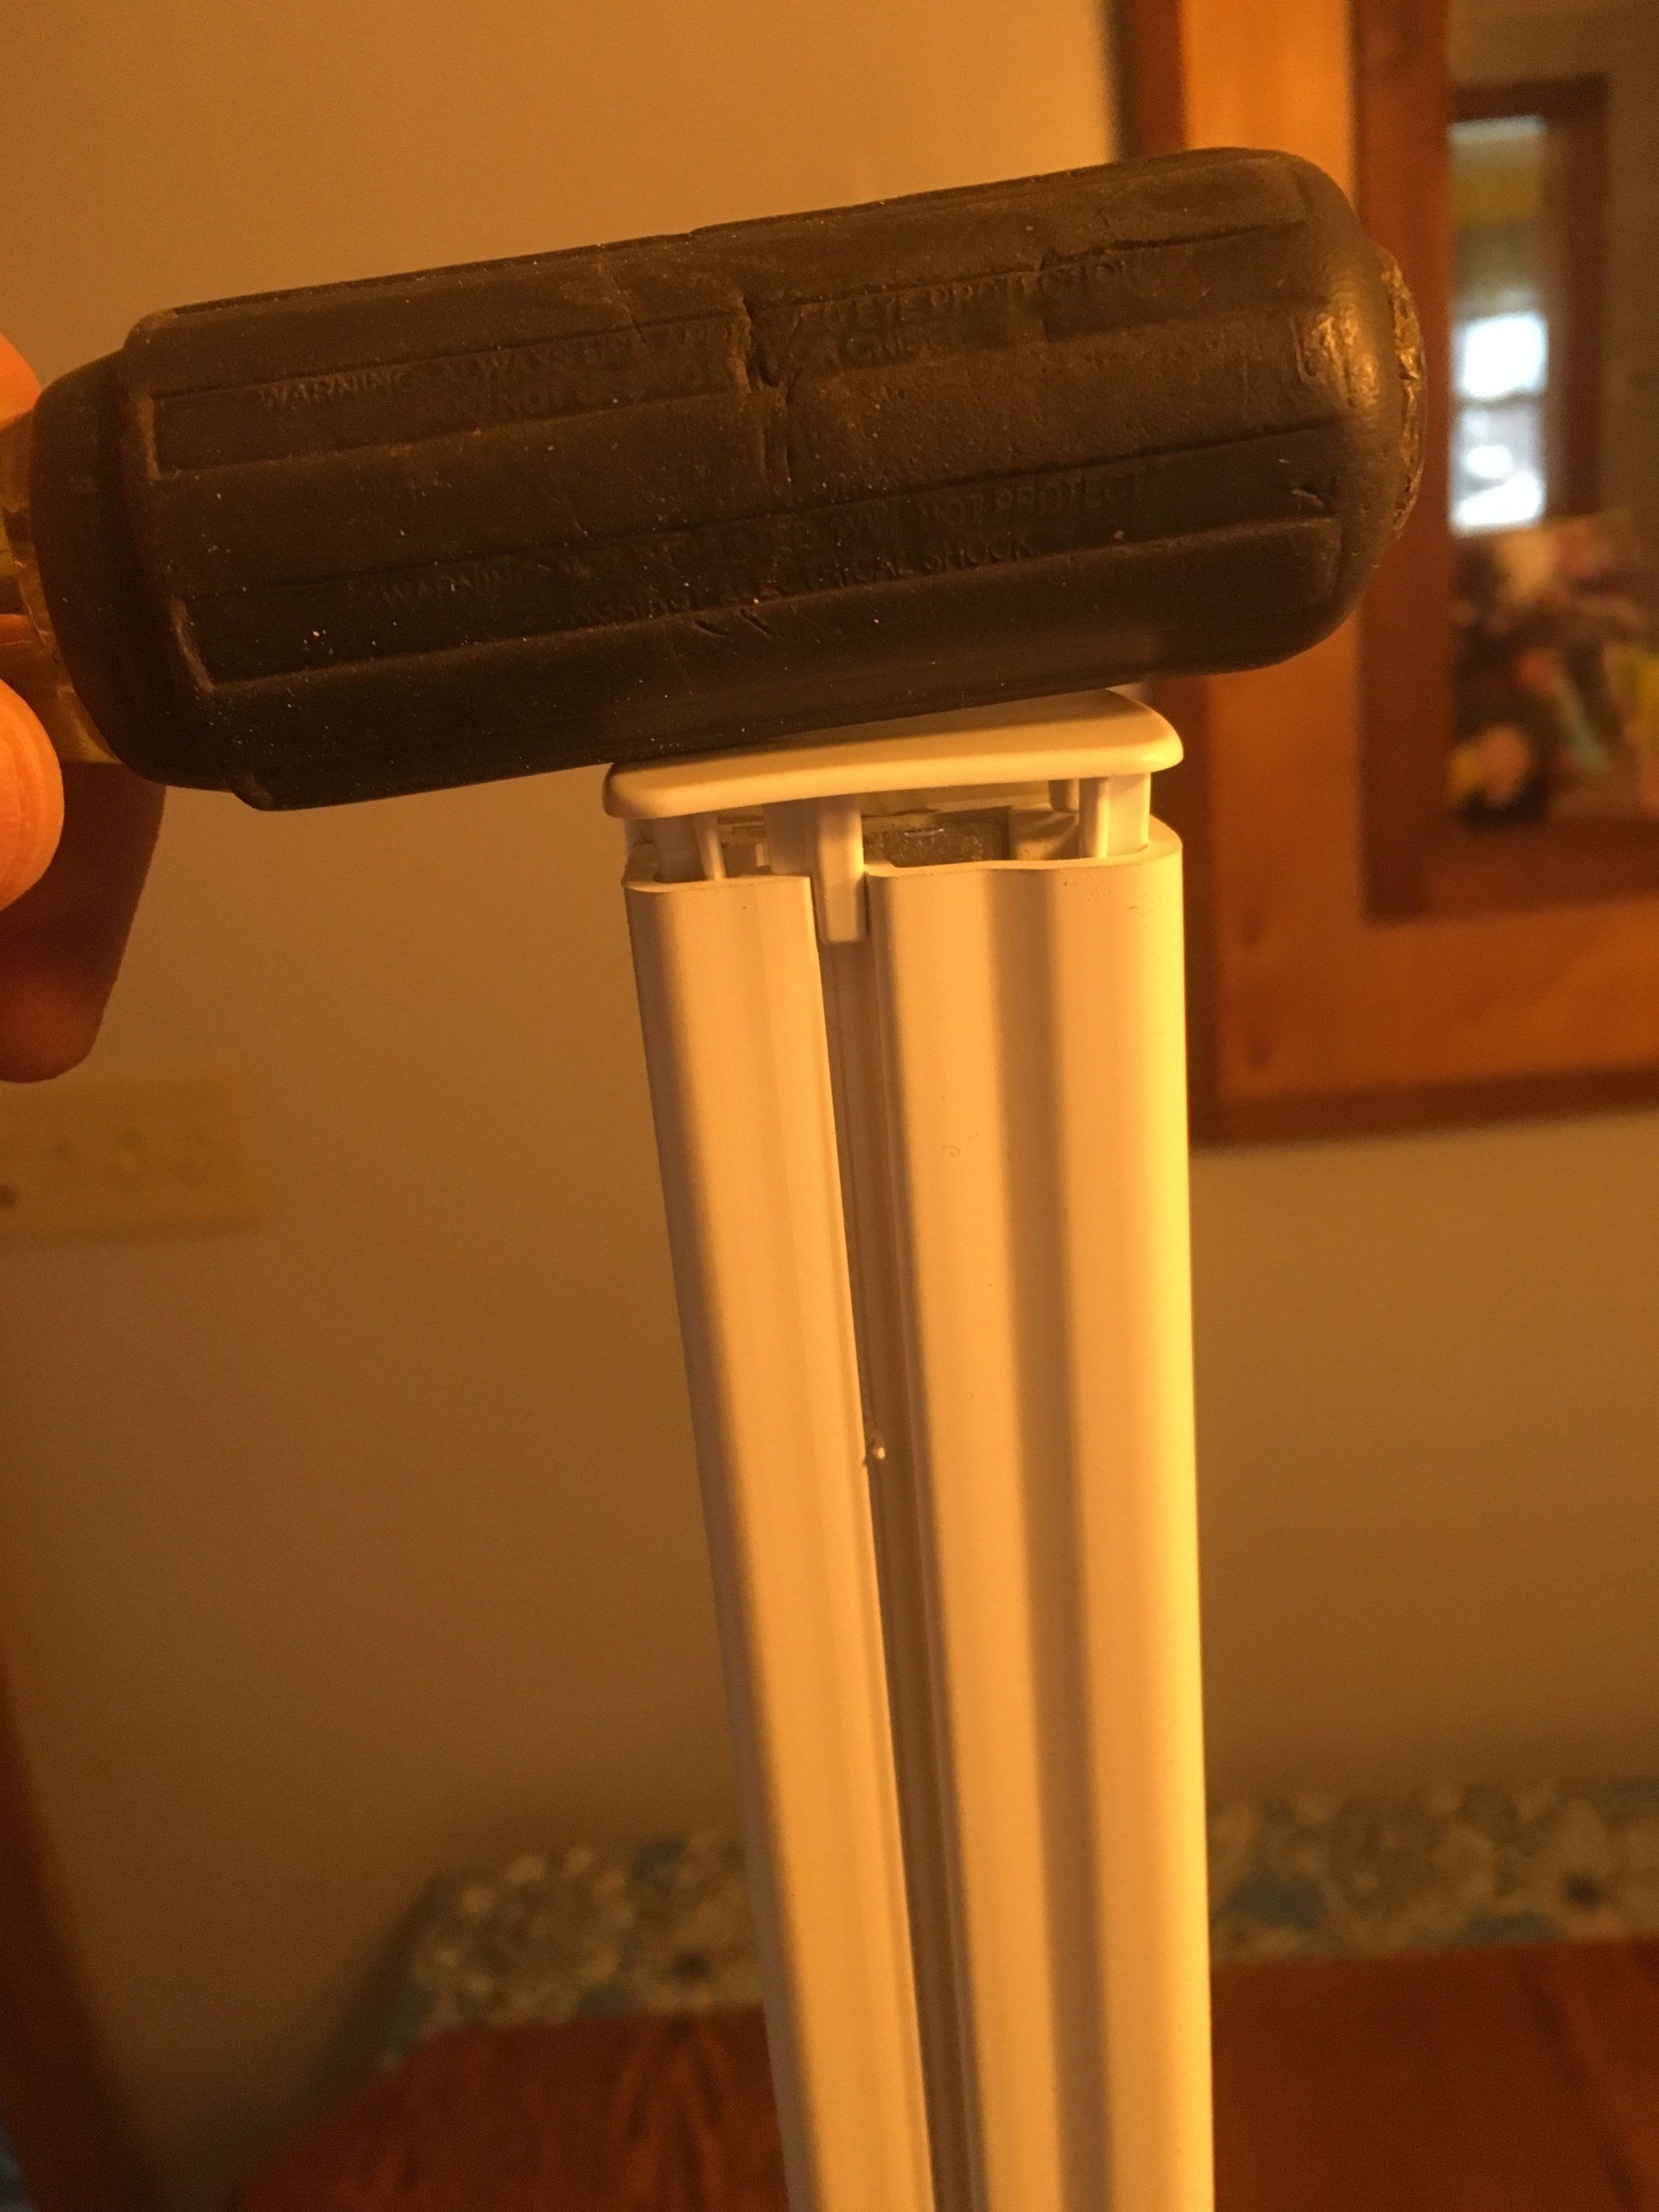
Step Three: put the little plastic ends on, then take them off and put them on in a different order because there is no way you got them on the right way on the first try. It’s not humanly possible to do so. If you did, you should check with your doctor, because there is a high likelyhood your body has been replaced with an alien drone.
Step Two: clean up all of the dust that comes cascading out of the box from when they cut the blinds in the store. This is, by all accounts, the absolute hardest part of this project. The tiny plastic particles are statically charged and will firmly adhere to anything within three feet, therefore making their elimination nearly impossible. I recommend using a damp (but not too wet) rag.
Step Three: put the little plastic ends on, then take them off and put them on in a different order because there is no way you got them on the right way on the first try. It’s not humanly possible to do so. If you did, you should check with your doctor, because there is a high likelyhood your body has been replaced with an alien drone.
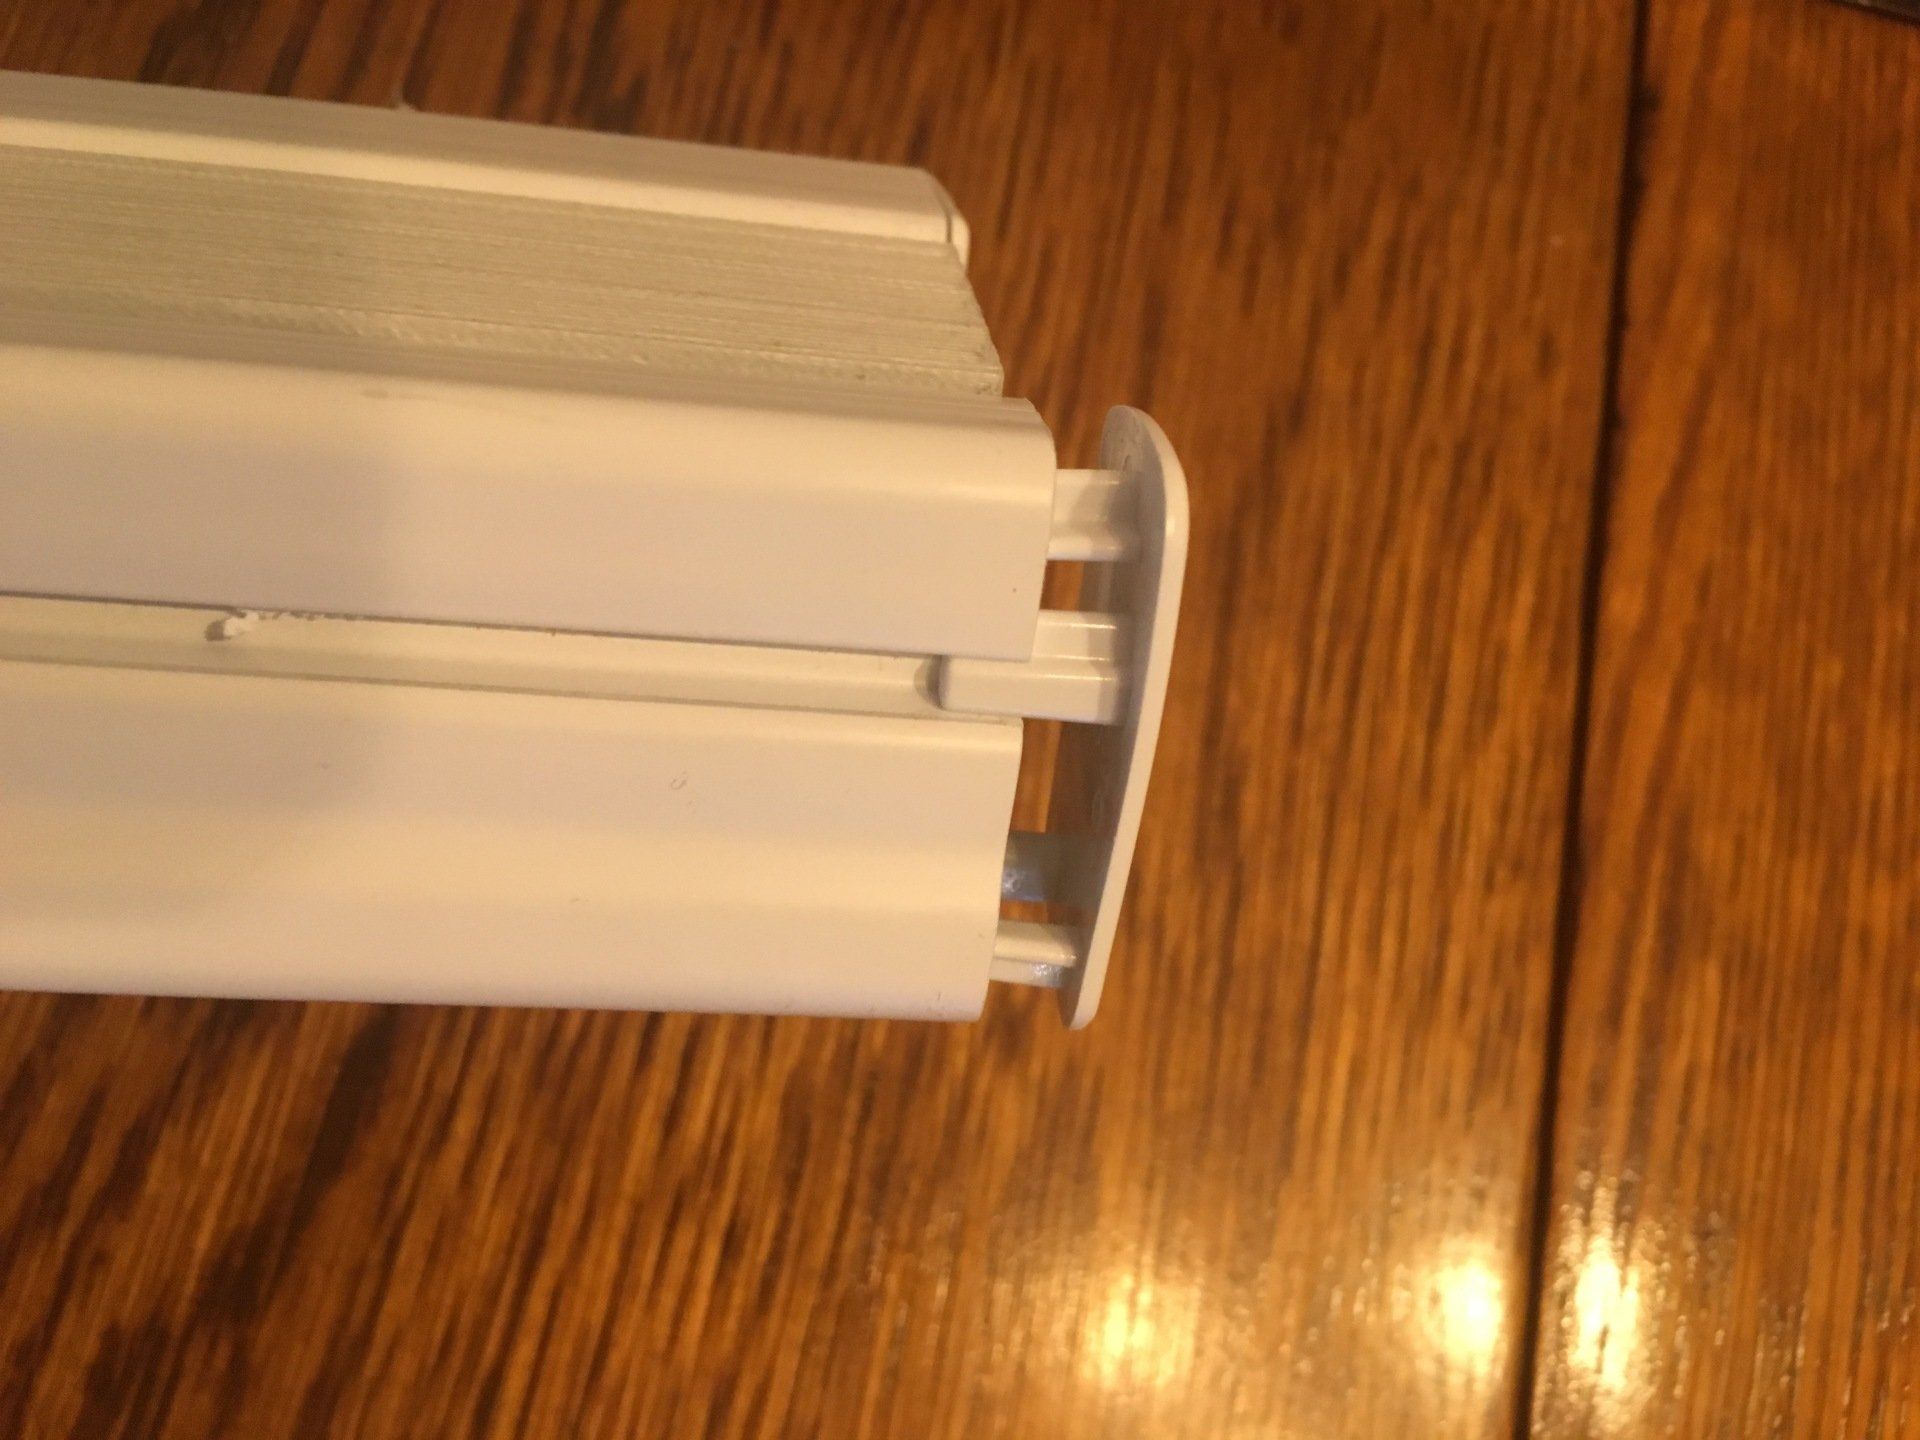
This step may require some gentle encouragement from one of your tools to get the end fully seated.
On to the Window Frame
You’ll want the blind to sit near the front edge of your window frame, so mount the little clips so they sit just a teensy bit back from the edge. By the way, that is an actual measurement term in the construction industry that no one talks about but trust me, it’s true. If you want that burly construction worker near your office to respect you, coolly slip that bit of vernacular into your dialect as you walk by.

All it takes in the case of these particular blinds is a couple of screws to hold the clips on to the frame, and then you simply snap the blinds into the clips.

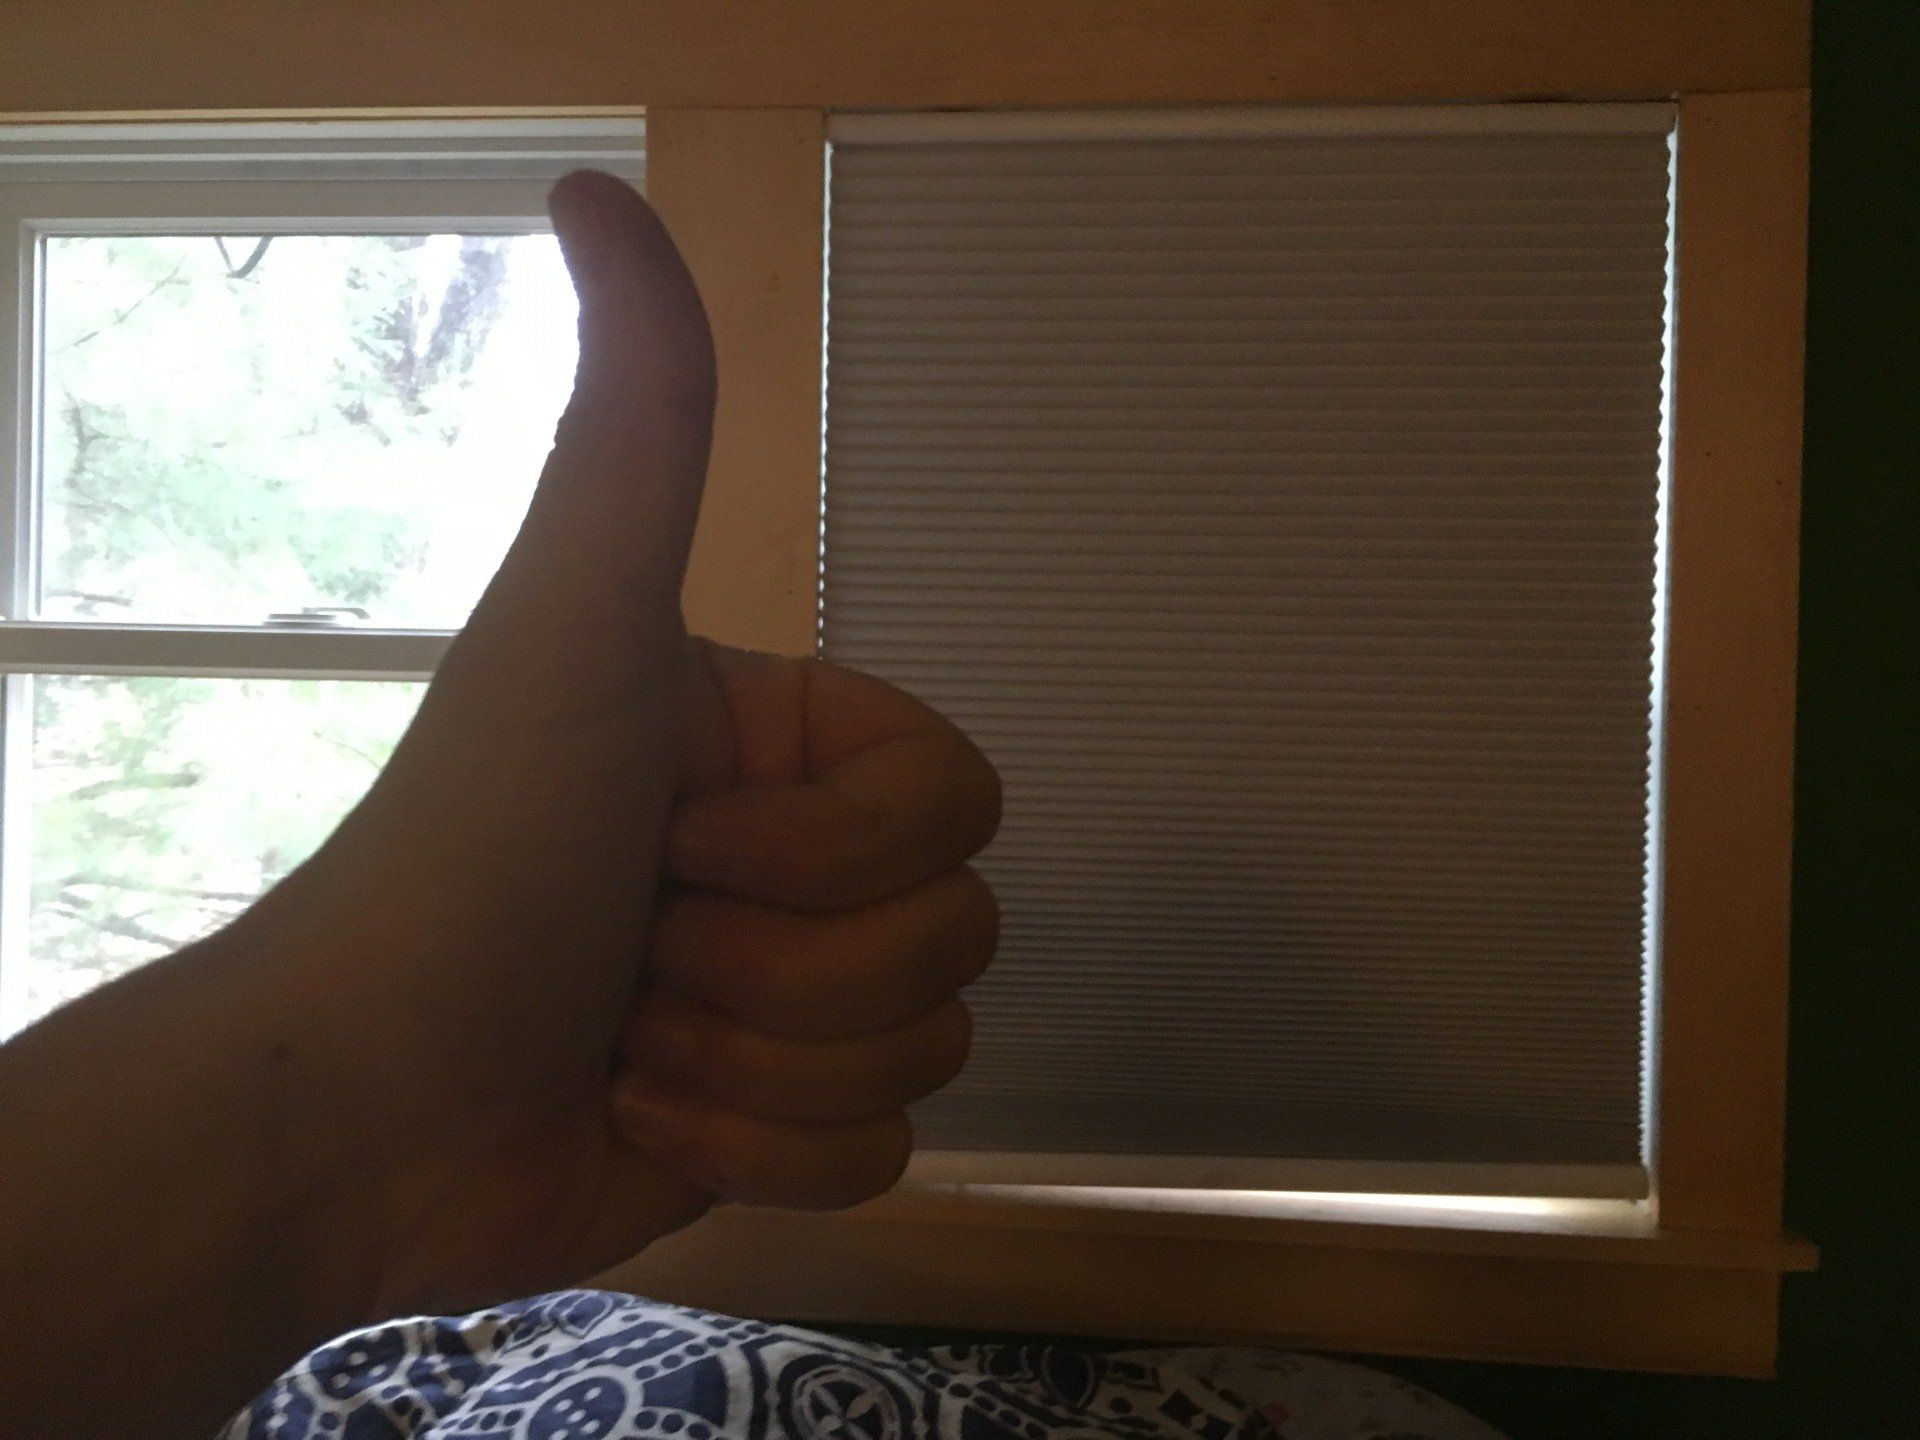
Would you look at that! Our windows are properly darkened, and peace can reign in the world once more!
There are lots of different types of blinds out there, but for the most part they follow a similar mounting pattern. Sometimes the clips go on the sides of the frame, sometimes they go on the top. Either way, installing them yourself is a fairly simple and quick job that you can use to impress your spouse. Now go get some blinds! Your neighbors have been complaining!
There are lots of different types of blinds out there, but for the most part they follow a similar mounting pattern. Sometimes the clips go on the sides of the frame, sometimes they go on the top. Either way, installing them yourself is a fairly simple and quick job that you can use to impress your spouse. Now go get some blinds! Your neighbors have been complaining!