
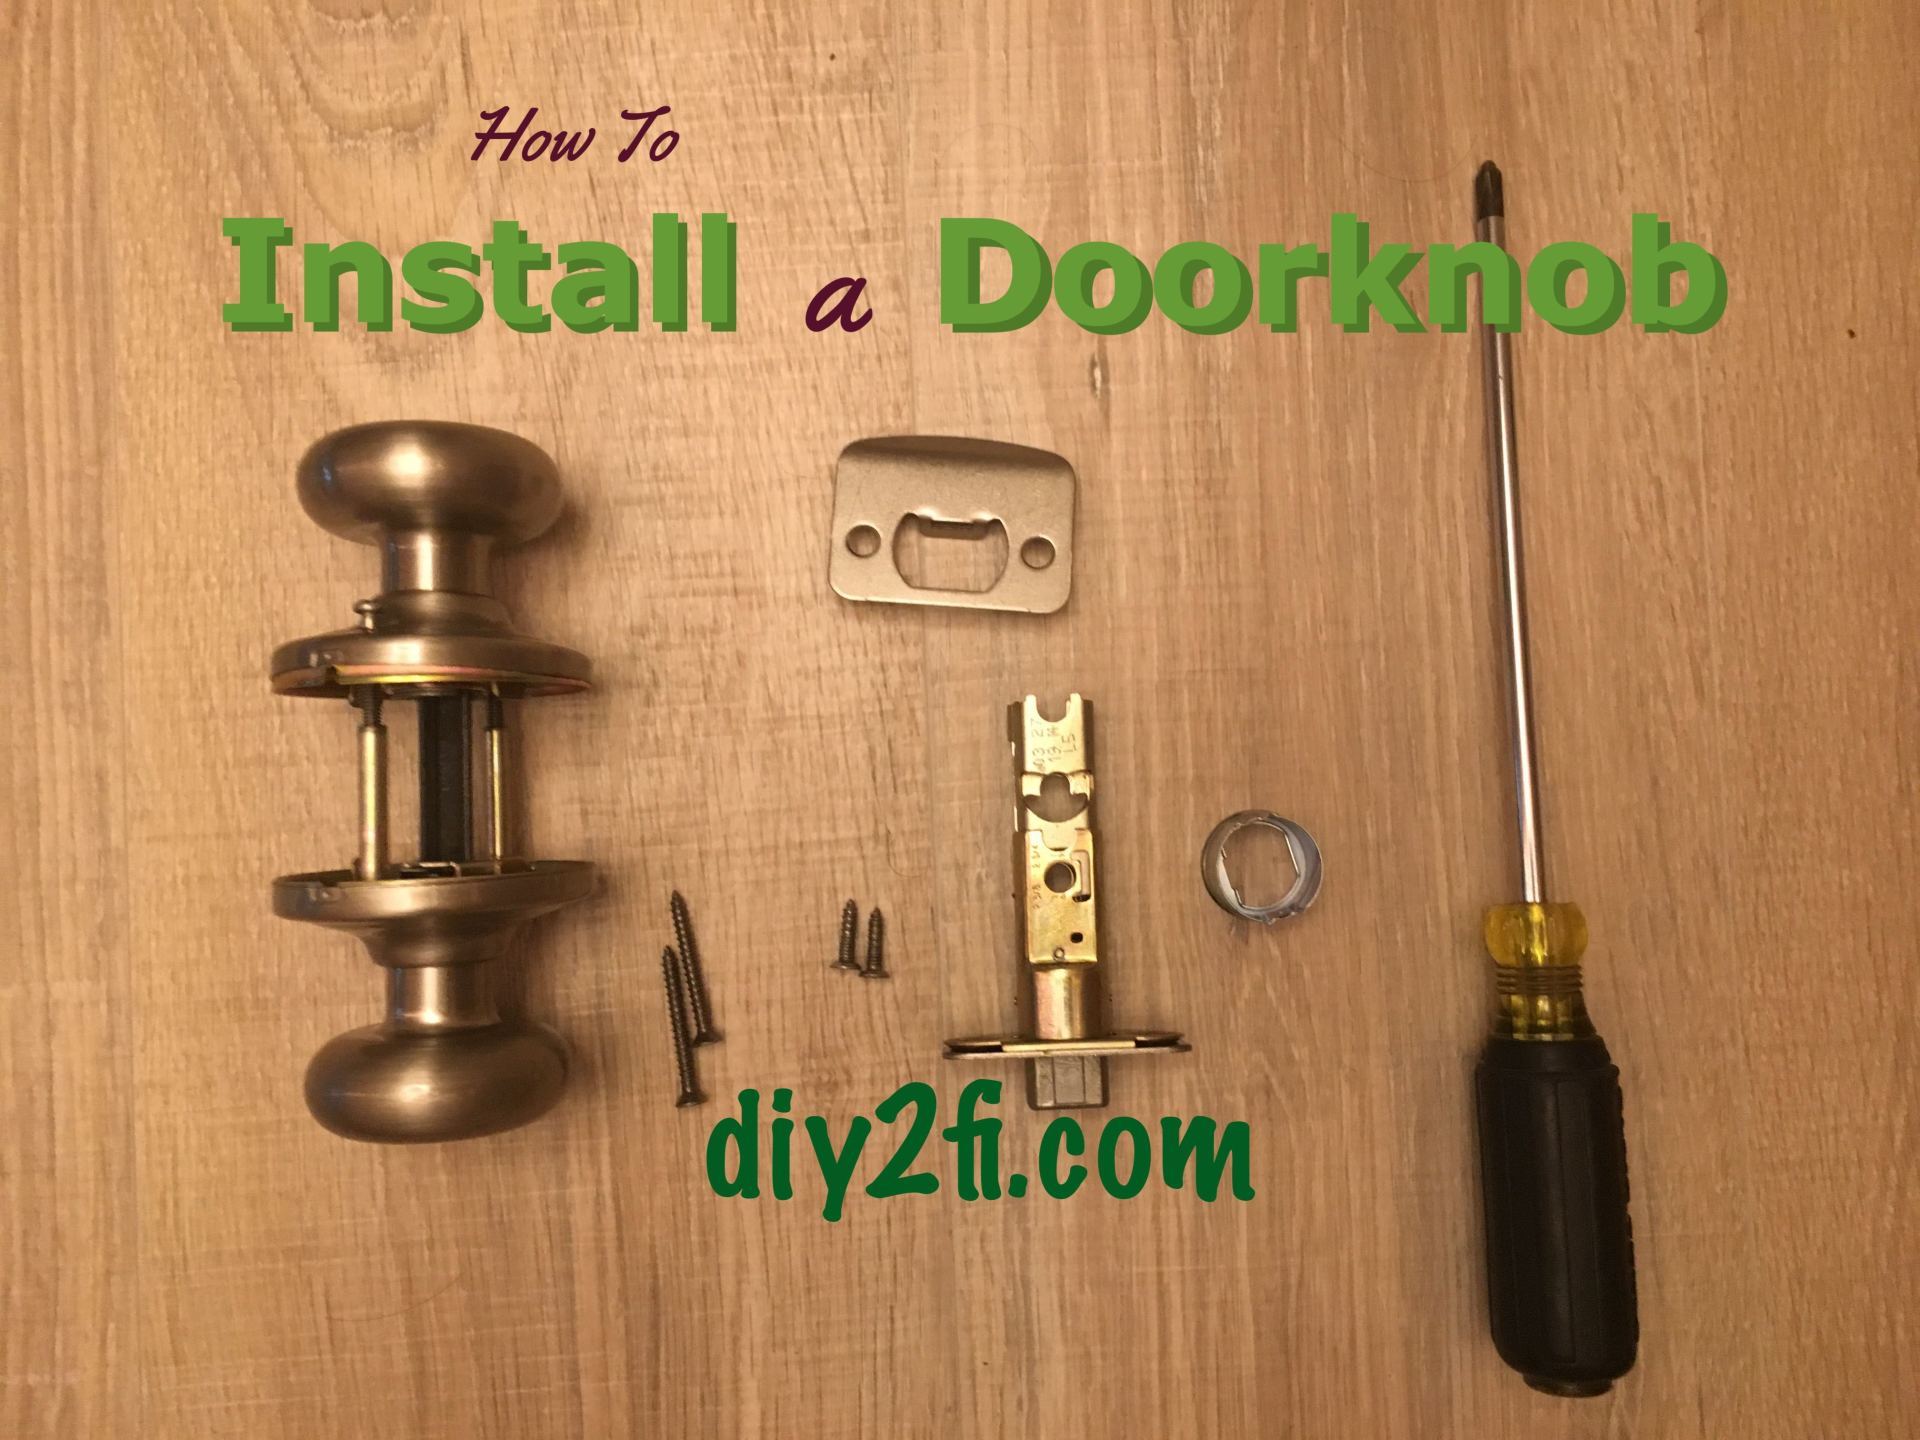
How To Install a Doorknob
- By Captain DIY
- •
- 25 Jul, 2019
- •
On a Closet in This Case, but They're All Pretty Similar
This post is sponsored by the Half Hour Hank
app. This app is designed to help you organize your DIY project ideas, and even get them done! Head over to the App Store and check it out!
As you know from my somewhat recent article smartly titled The Attic Master Bedroom Finish Conversion Project, we recently turned the attic here at the Headquarters into our master bedroom. The project was a real doozy, starting with pulling ancient insulation out on an insanely hot day, and moving all the way along to the finishing touches, a few of which have yet to be done.
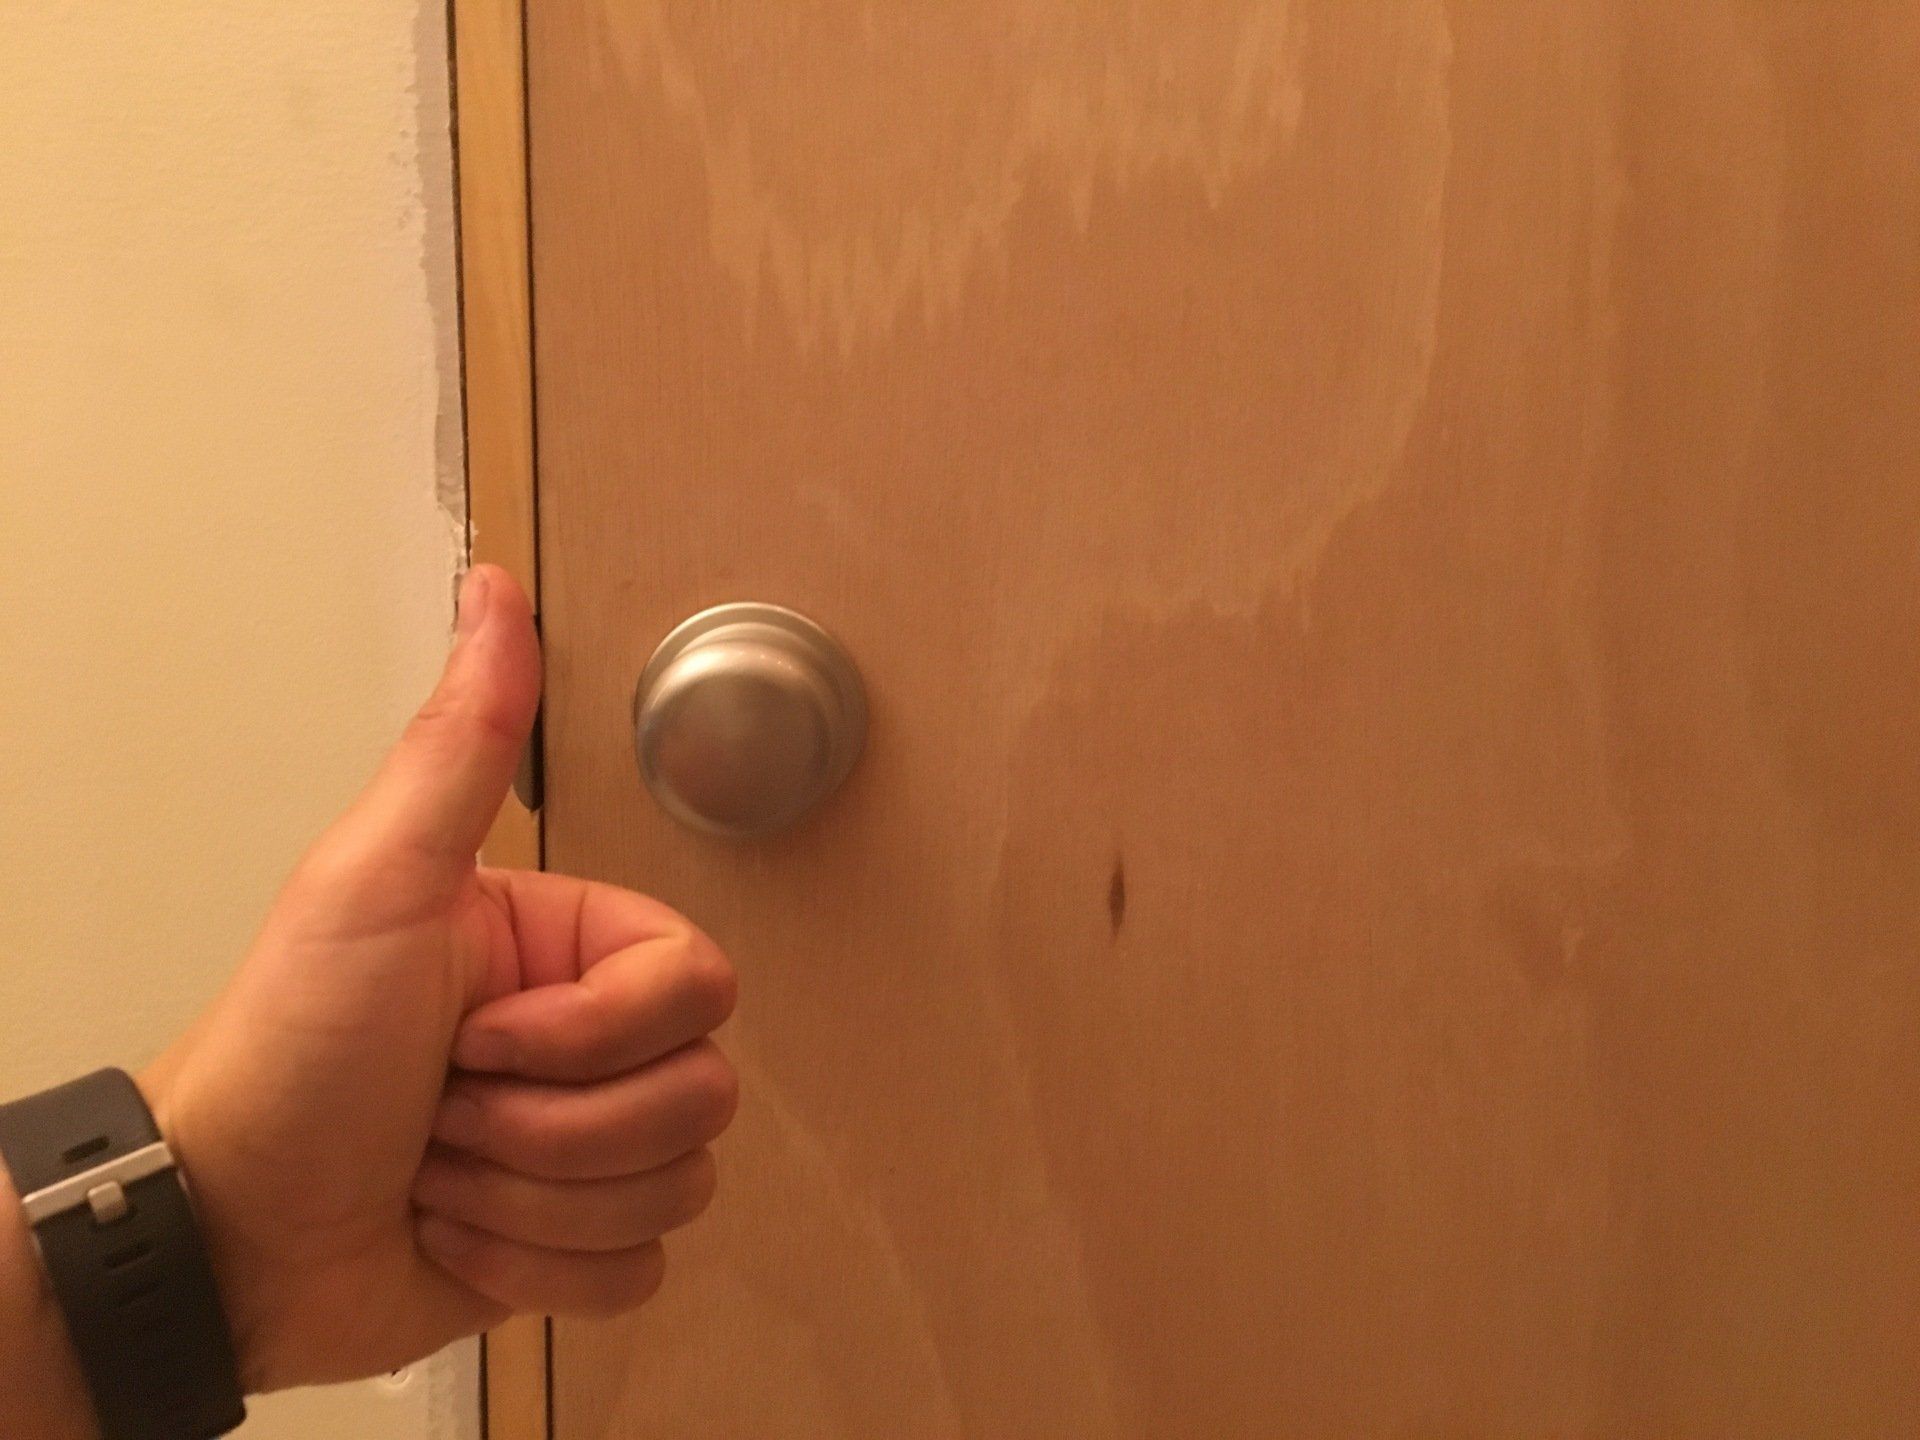
A Naked Door Gets Clothed
Ooh, there are all kinds of great puns going on here! Wow, that one really should get into the Dad Joke Hall of Fame! I mean, with the clothes closet door and all, and…what? You want me to stop trying to be funny and get on with the damn story already? Jeez, some people have no sense of humor!
It's Business Time
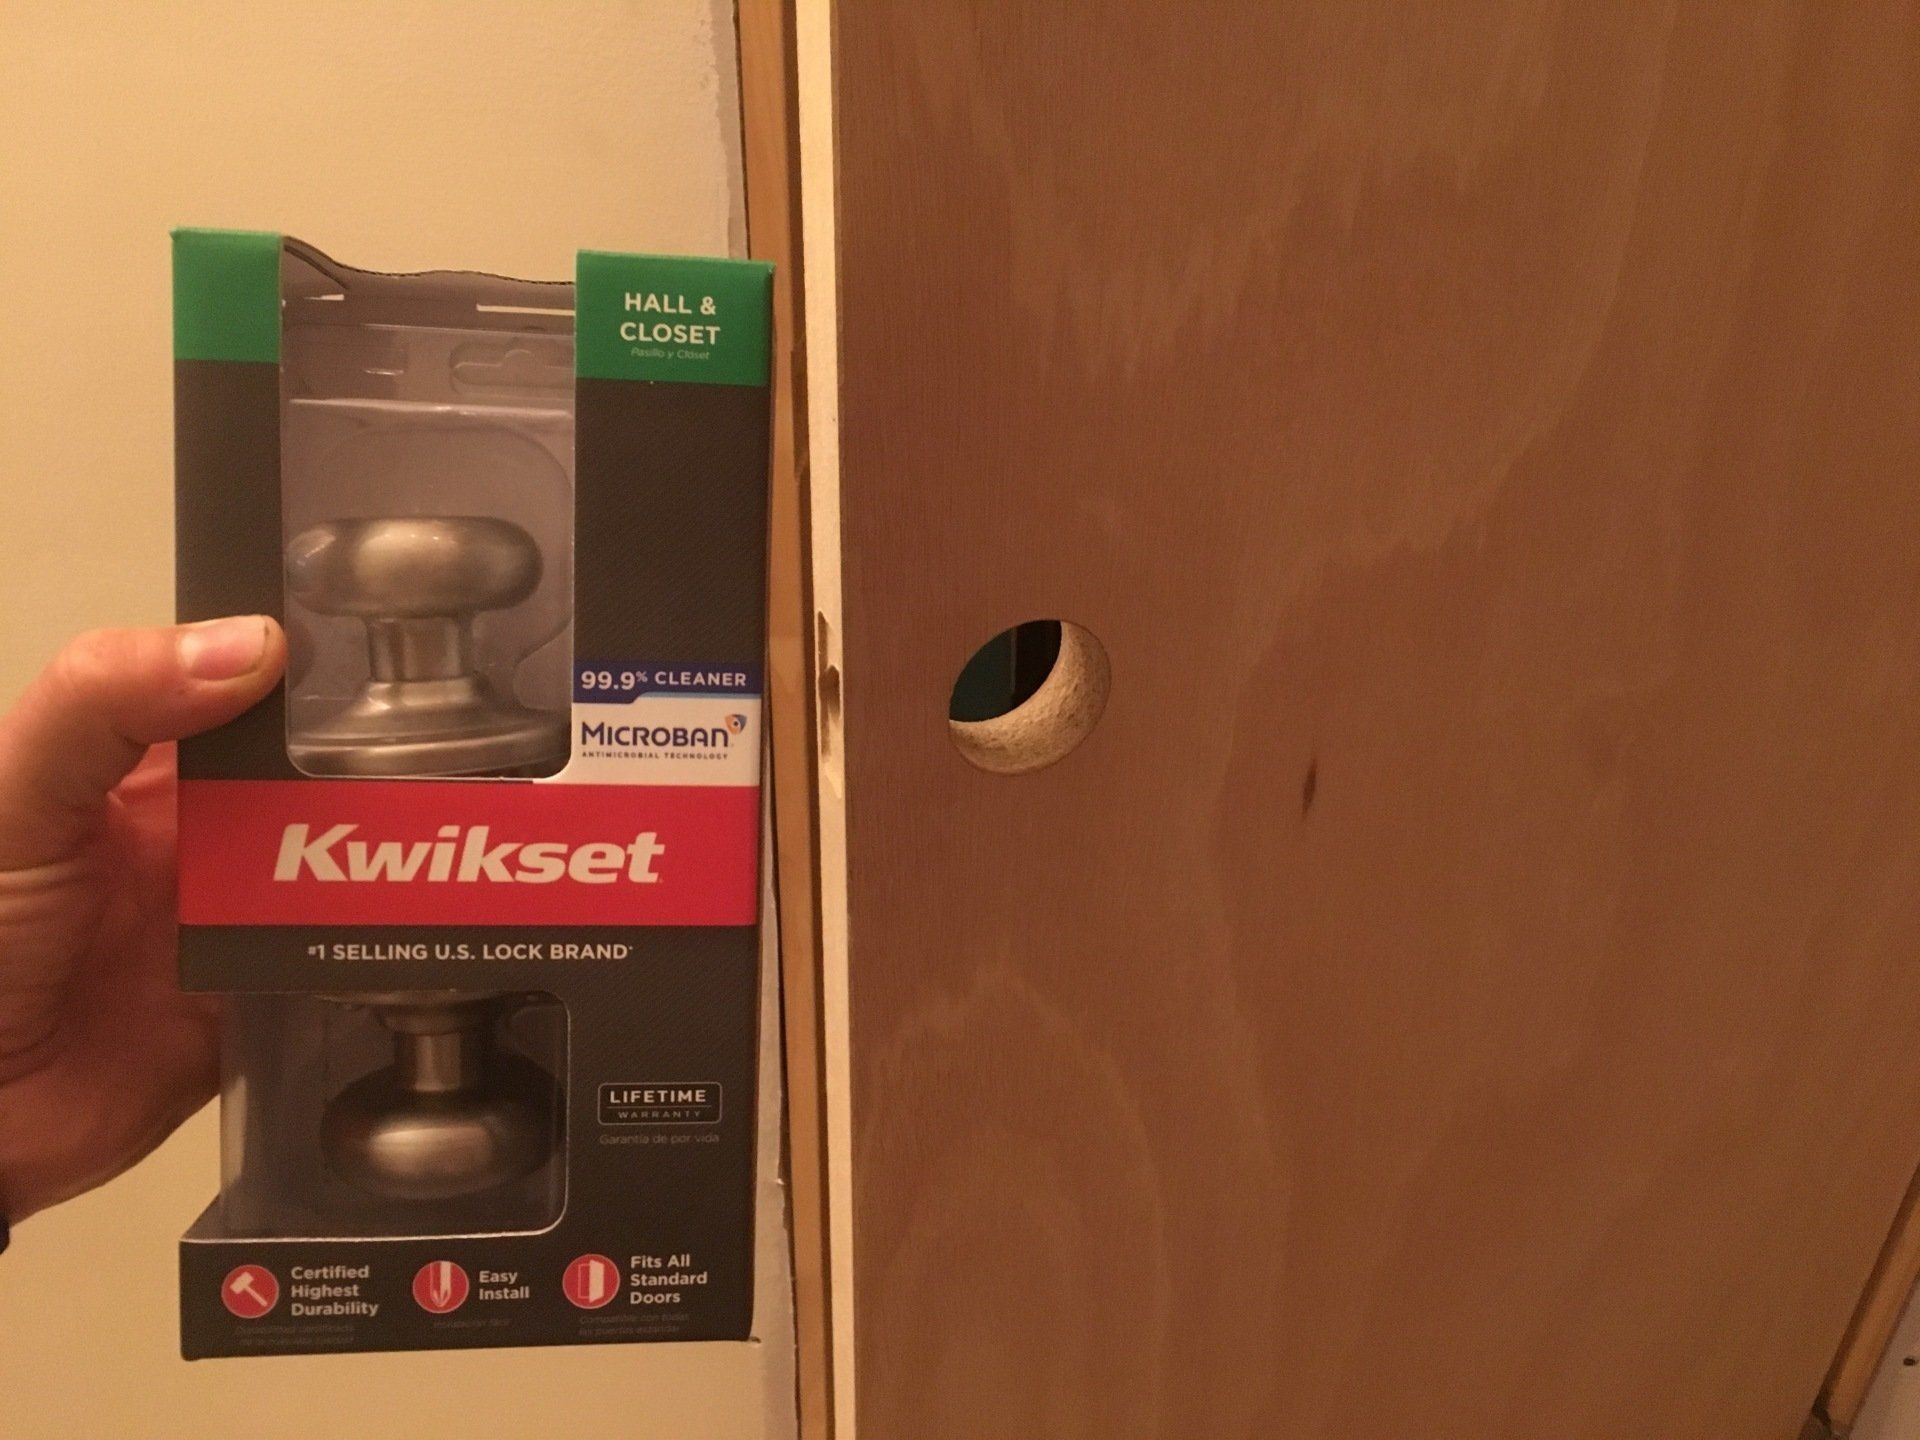
Alright, I’ll start this off thinking about those of you who have a new door. If you have an old door that already has a knob and you are just replacing it, catch up with us in a bit. The first sentence or three may not apply to you.
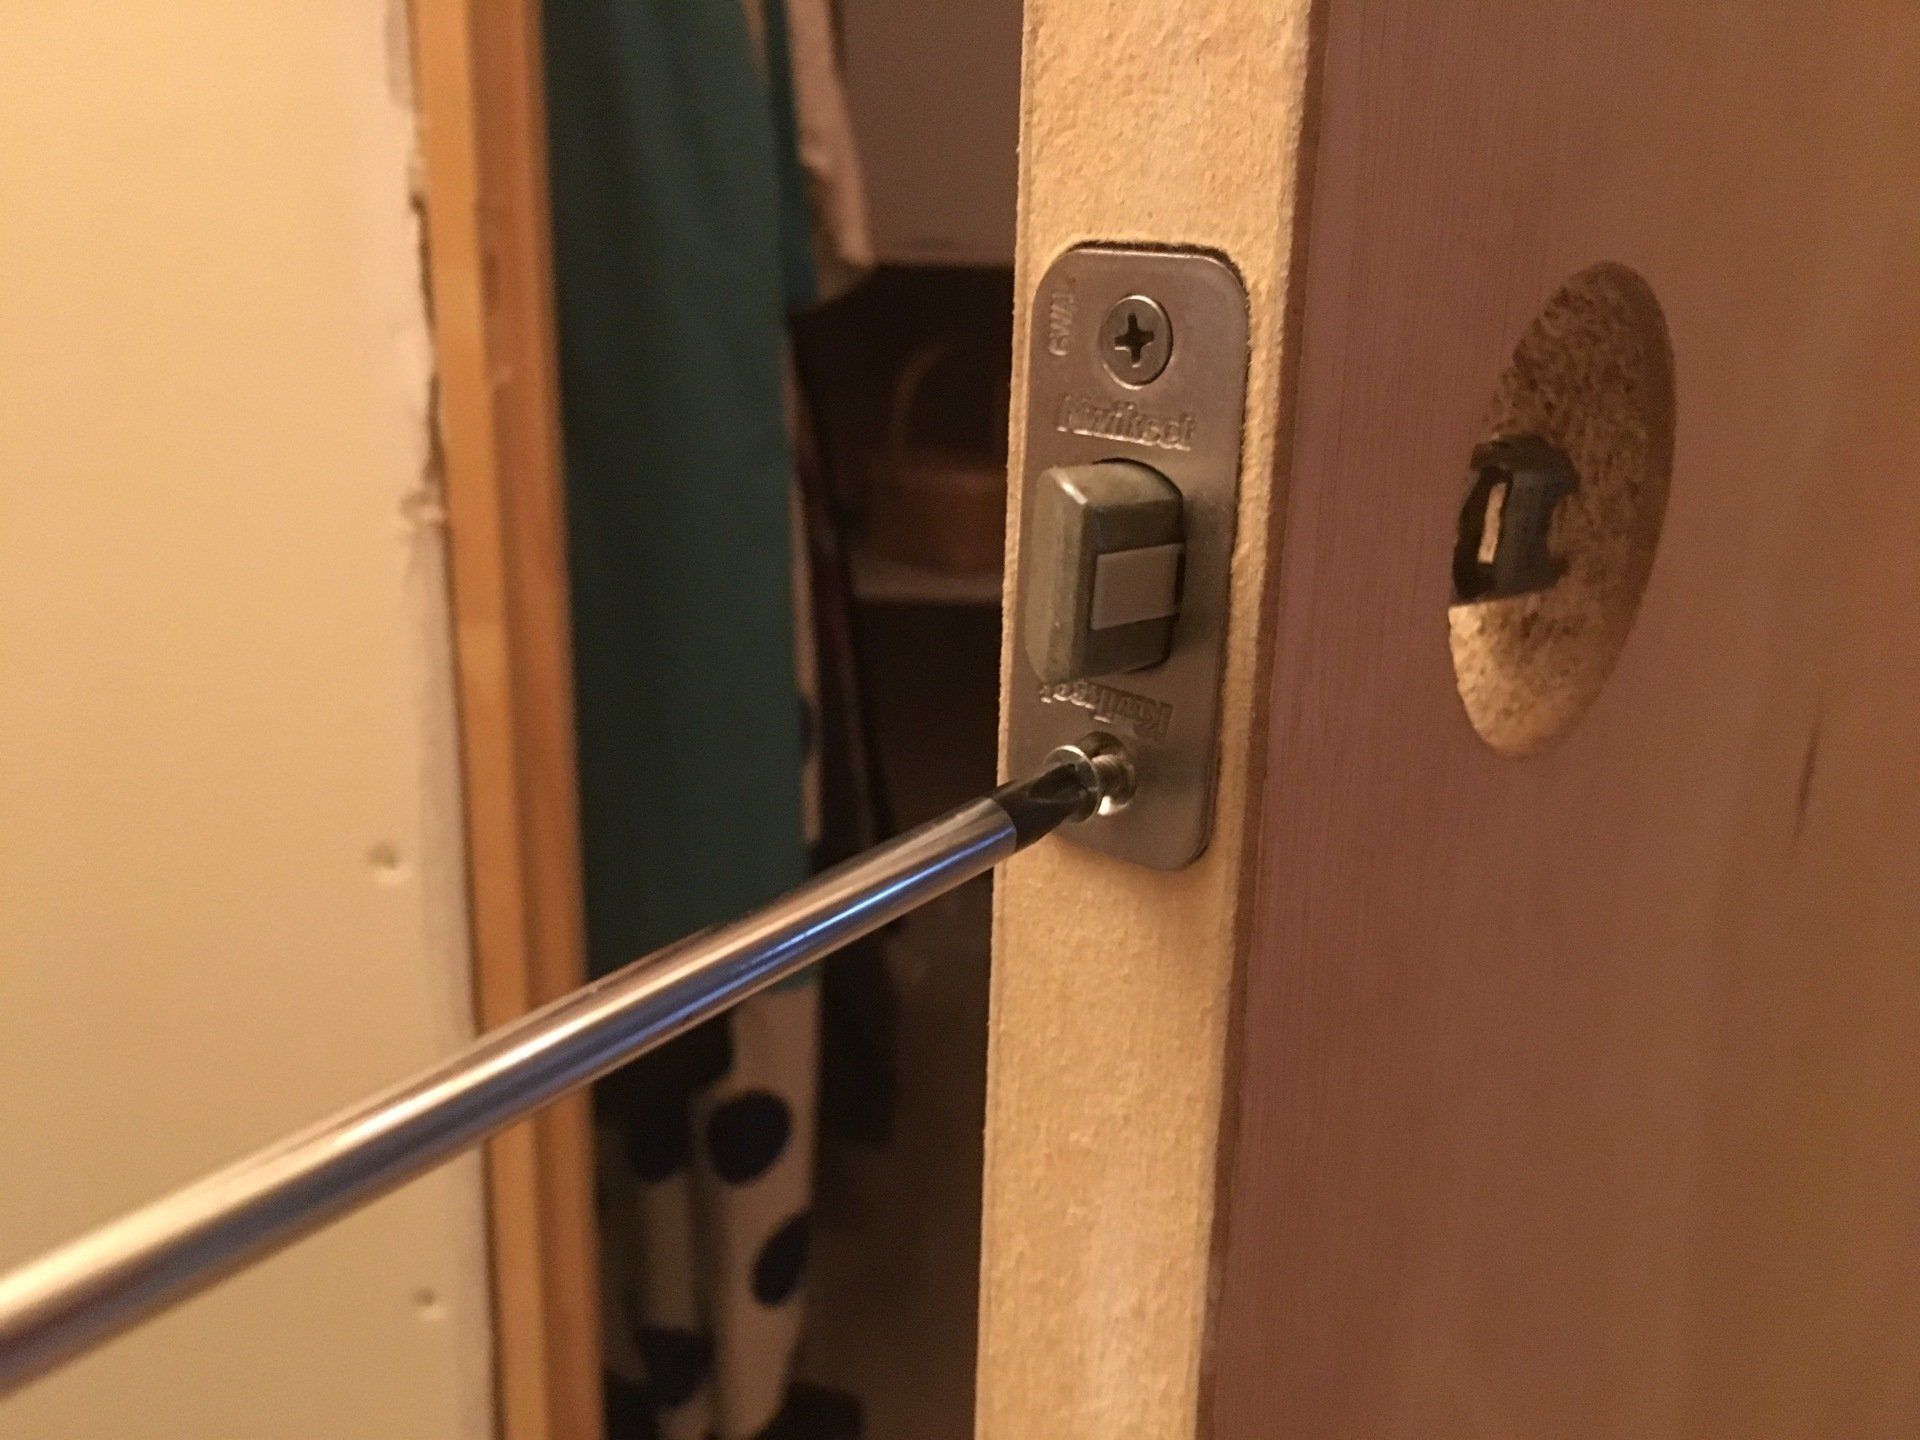
In my case, everything was already cut out. All I had to do was put screw little latch part into the door, making sure that the angled part of it was facing the frame.
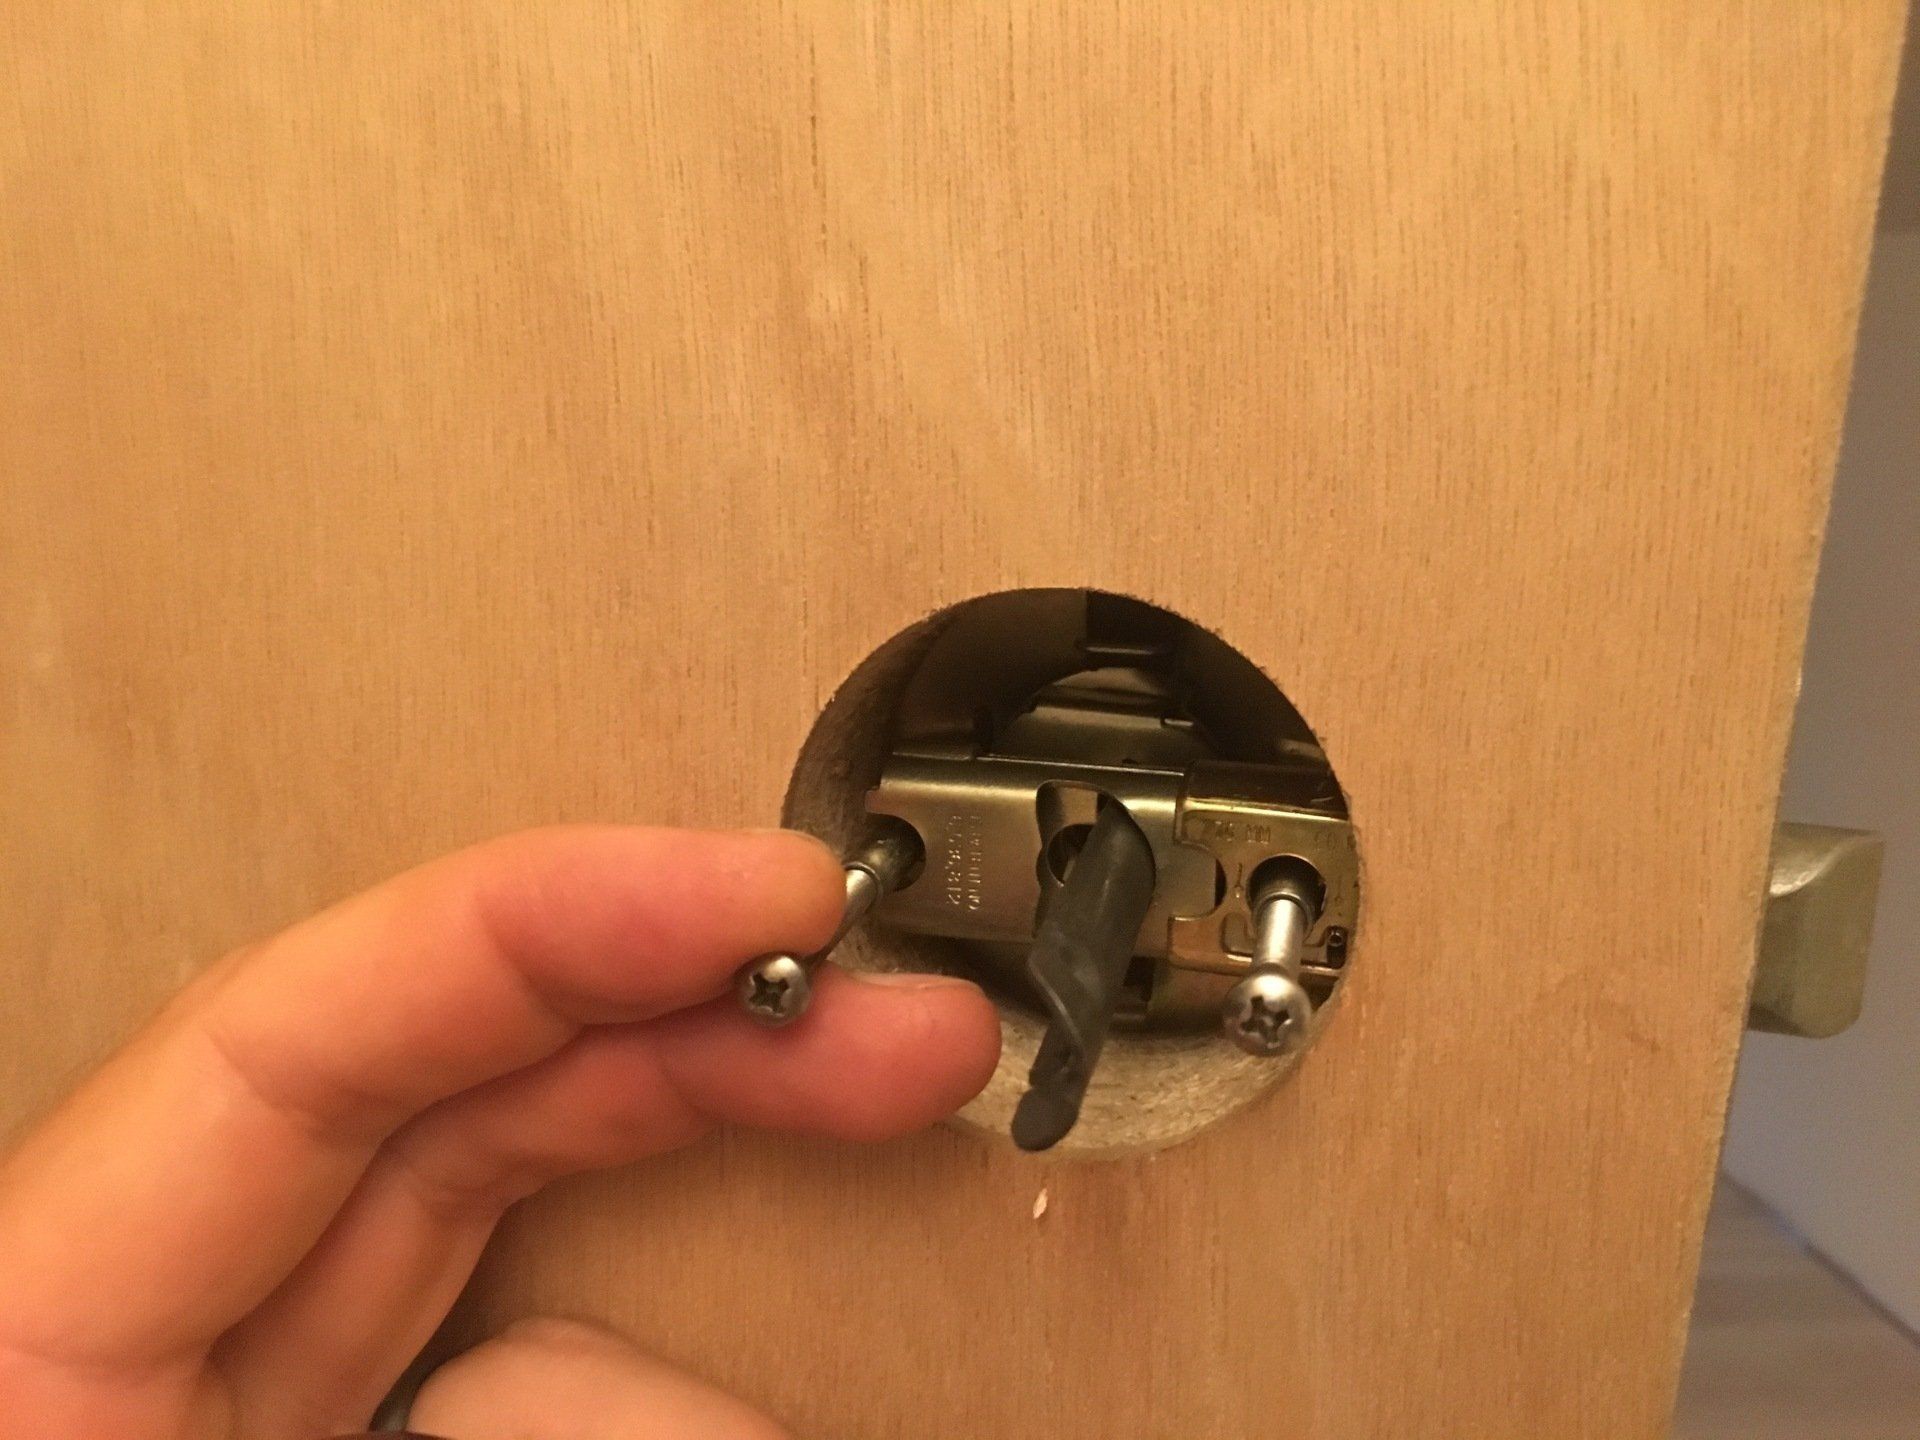
Once that was screwed in (after I made sure the holes that the knob would attach to were centered in the hole-roughly speaking) I took the doorknob apart. Here is where the instructions are handy, because the knob I got did not
want me to take the screws all the way out, as I would have thought to do.
Time for the Framework
The little metal part that catches the latch, which I’m pretty sure is called the “catch”, needed to be screwed into the door frame so the latch could get caught properly. This involved closing and opening the door several times in a very official manner, while kneeling down and muttering, also in a very official manner.
The point of all of this officiousness is to make sure the latch lines up properly with the hole in the frame, which, if you bought a door mounted on a frame, is most likely the case. If not, this is where you get out the drill and chisel.

If you do have a hole already, and it lines up with the latch, all you have to do is screw the catch in place.
If you thought that article was great, try one of these on for size!